Crafting a teapot spout is fundamental to making a functional and aesthetically pleasing teapot. This intricate process combines artistry with technical skill, highlighting the importance of the spout in the teapot’s functionality – ensuring a smooth and even flow of tea – and its overall design and appearance. Understanding how to make a teapot spout is essential for any ceramics artist or hobbyist looking to create a teapot that stands out for its beauty and practical use.
This introduction will offer an overview of the process and the skills involved in making teapot spouts, providing a foundation for those interested in exploring this unique aspect of ceramics. From selecting the right clay and tools to applying the finishing touches, creating a teapot spout is a meticulous and rewarding endeavor.
Choosing Clay and Tools
A. Selecting Suitable Clay
The foundation of a successful teapot spout starts with selecting the right type of clay. For teapot spouts, it is crucial to choose clay with proper consistency and texture, which will not only hold the delicate shape of the spout but also withstand the firing process. Porcelain or stoneware clays are typically preferred for their smoothness and resilience. These materials offer a balance of plasticity and strength, enabling the artist to mold precise shapes while maintaining the structural integrity of the spout. The right clay should neither be too wet, which may cause sagging during the forming process, nor too dry, which can lead to cracking.
B. Essential Tools
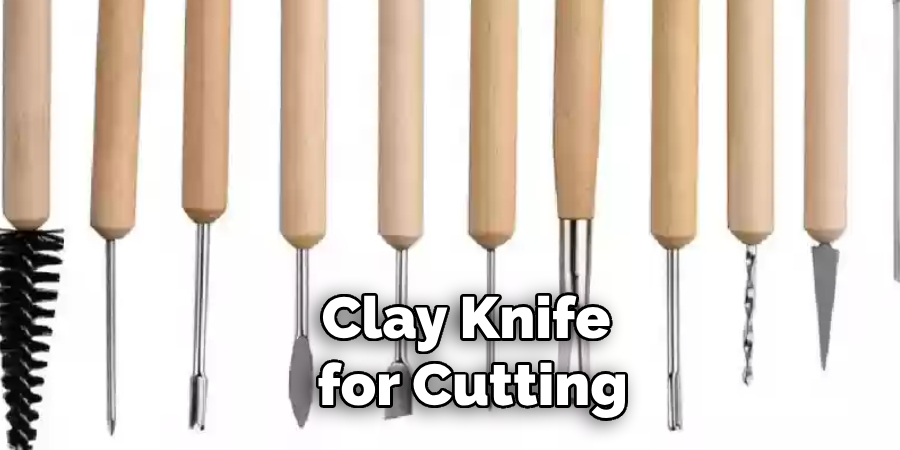
To shape the perfect spout, one must have an array of tools at their disposal. Essential tools for crafting teapot spouts include clay knives for cutting and defining shapes, ribs (both metal and rubber) for smoothing and shaping, sponges for dampening and softening the surface, and various modeling tools for adding detail. Each tool plays a specific role in the creation process, from initial shaping to final detailing, ensuring precision and finesse in the spout’s form.
C. Optional Supplies
In addition to the essential tools, optional supplies can enhance the detail and texture of the spout design. Texturing tools can add unique patterns, while stamps and carving tools can create intricate details on the spout’s surface. For those looking to experiment further, slip trailing bottles can be used to apply decorative slip designs before the first firing. Additionally, considering tools like turntables for easier access to all sides of the spout and calipers for measuring the spout’s attachment point to the teapot body can significantly ease the crafting process. Though not essential, these optional supplies can elevate the aesthetic appeal and uniqueness of the teapot spout.
How to Make a Teapot Spout: Forming the Basic Shape
Forming the basic shape of a teapot spout is a critical step in ensuring its functionality and aesthetic appeal. This phase involves several key steps, meticulously executed to achieve the desired outcome.
A. Rolling Clay Coil
The process begins with rolling out a coil of clay. This coil must be of a suitable thickness and length to match the intended size of the spout. The thickness is particularly important as it affects the spout’s strength and the tea’s flow rate. The ideal thickness varies depending on the design but should be consistent along the length of the coil to ensure uniformity in the spout’s wall.
B. Shaping the Coil
Once the coil has been prepared, the next step is to mold and manipulate it into the initial shape of the spout. This shaping process involves bending and fine-tuning the clay coil, considering the angle, length, and proportion that will best suit the teapot’s design. The curvature of the spout must be smooth, facilitating an even flow of tea. Attention should be paid to the spout’s mouth, shaping it to prevent dripping and ensure a precise pour.

C. Attaching to Teapot Body
After shaping the spout, it must be attached to the teapot body. This step requires careful alignment to ensure that the spout looks cohesive with the teapot and functions correctly. The attachment area on the teapot body should be scored and slipped to create a strong bond between the spout and the body. The angle at which the spout is attached is crucial, affecting the tea’s pouring mechanics. Once positioned, the spout is blended into the body, smoothing out any seams to maintain the teapot’s aesthetic continuity. This process may require additional clay to reinforce the joint and ensure a seamless attachment.
Throughout these steps, it is imperative to work with precision and patience. Crafting the basic shape of the spout sets the groundwork for the subsequent stages of detailing and finishing, directly impacting the teapot’s functionality and visual harmony.
How to Make a Teapot Spout: Refining and Detailing
Refinement and detailing are where a teapot spout transitions from a basic shape to a work of art, incorporating finesse into its form and function. This stage demands keen attention to the nuances that define a spout’s uniqueness and effectiveness.
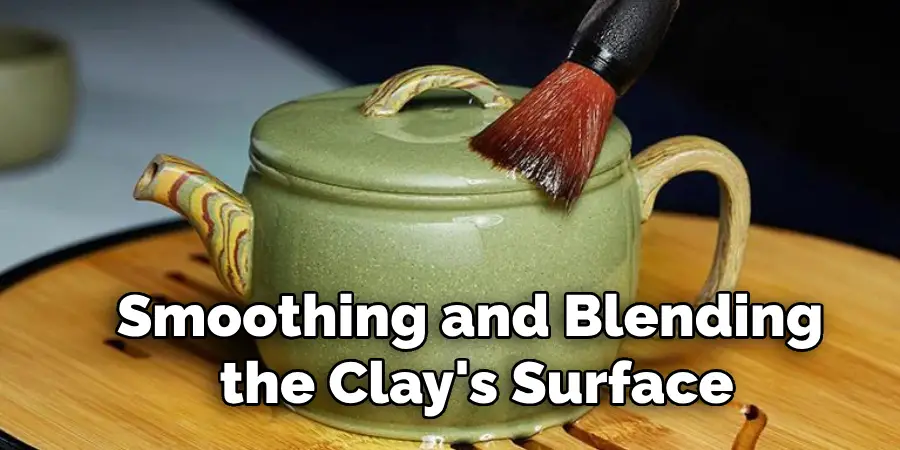
A. Smoothing and Blending
The initial step in the refinement process involves smoothing and blending the clay’s surface to achieve a seamless look. Artisans meticulously work over the spout and its attachment points using fingers, damp sponges, or various shaping tools to eliminate any irregularities or seams. This enhances the teapot’s aesthetic appeal and ensures a comfortable, drip-free pour. The transition between the spout and the teapot’s body should be undetectable, creating a unified and cohesive object.
B. Defining Features
Once the spout has been smoothly integrated with the teapot body, the focus shifts to defining its features to enhance both visual interest and functionality. Techniques such as carving, incising, or adding texture serve to individualize the spout, making each piece unique. These elements are not merely decorative; they are thoughtfully applied to improve grip, direct the flow of tea, or simply appeal to the viewer’s sense of touch and sight. For example, a subtly textured surface can offer a more interesting visual appeal and tactile experience, while skillfully incised lines can guide the eye and highlight the spout’s form.
C. Creating Lip and Pouring Opening
Forming the lip and the pouring opening is arguably the most critical aspect of defining a spout’s functionality. The lip must be shaped with precision, ensuring that it allows for a clean, controlled pour. This involves careful attention to the lip’s angle and the size of the pouring opening, factors that influence the flow rate and prevent dripping. A well-formed lip contributes to the teapot’s efficiency and completes its aesthetic, embodying the balance between beauty and utility. The opening’s edges should be gently rounded to avoid any sharpness, providing a safe and comfortable use.
Throughout these stages of refinement and detailing, the true character of the teapot begins to emerge. Each decision, from the smooth integration of the spout to the teapot to the addition of textures and the precise shaping of the lip, reflects the artisan’s skill and vision. This meticulous process ensures that the final product serves its purpose well and stands as a testament to the art of ceramics.
Drying and Firing
The transition from crafting to finalizing a teapot involves critical drying and firing stages. These phases are pivotal in ensuring the teapot’s durability, functionality, and aesthetic appeal, particularly the spout.
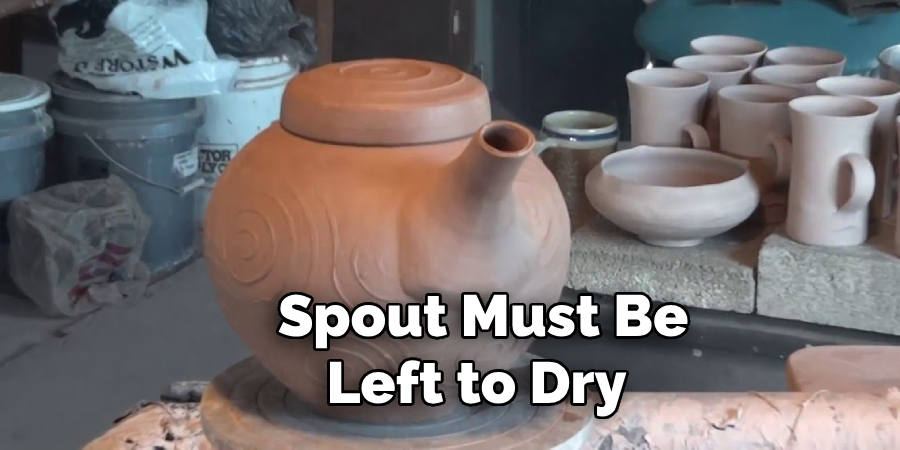
A. Allowing for Drying Time
After the meticulous process of shaping and detailing, the teapot with its newly attached spout must be left to dry. This drying phase is crucial as it prepares the clay for firing by slowly evaporating the moisture content. To avoid any cracking or warping, the teapot should be placed in a controlled environment where it can air dry evenly. The drying time varies depending on the thickness of the clay and the humidity of the environment but typically takes several days. Throughout this period, it’s essential to monitor the drying process carefully, occasionally turning the teapot to ensure that all parts dry uniformly.
B. Bisque Firing Process
Once thoroughly dried, the teapot undergoes its first firing, known as bisque firing. This process involves heating the teapot in a kiln at relatively low temperatures, usually between 1815 and 1945°F (990 and 1063°C). Bisque firing serves multiple purposes; it hardens the clay, making it more durable and less porous, and stabilizes the shape of the teapot and spout. This stage is critical as it lays the groundwork for glazing, ensuring it will adhere properly to the teapot’s surface.
C. Glazing and Final Firing
Following bisque firing, the teapot is ready for glazing, which involves coating the surface with a glaze mixture. The choice of glaze can significantly affect the teapot’s final appearance and functionality. Glazes are available in various colors, finishes, and textures, allowing for considerable creativity. Once the glaze has been applied, the teapot enters the kiln for its final firing. This time, the temperature is increased to between 2200 and 2400°F (1204 and 1315°C), depending on the type of glaze used. The high temperatures transform the glaze into a smooth, glass-like surface, completing the transformation of the clay into a fully functional and aesthetically pleasing teapot.
Each step in the drying and firing process is laced with anticipation and precision, marking the culmination of the artisan’s effort and skill. The outcome, a beautifully crafted teapot, is a testament to the intricate dance of art and science that defines the ceramic-making process.
Handling and Assembly
The culmination of creating a teapot involves careful handling and assembly, ensuring that every component fits perfectly and functions seamlessly.
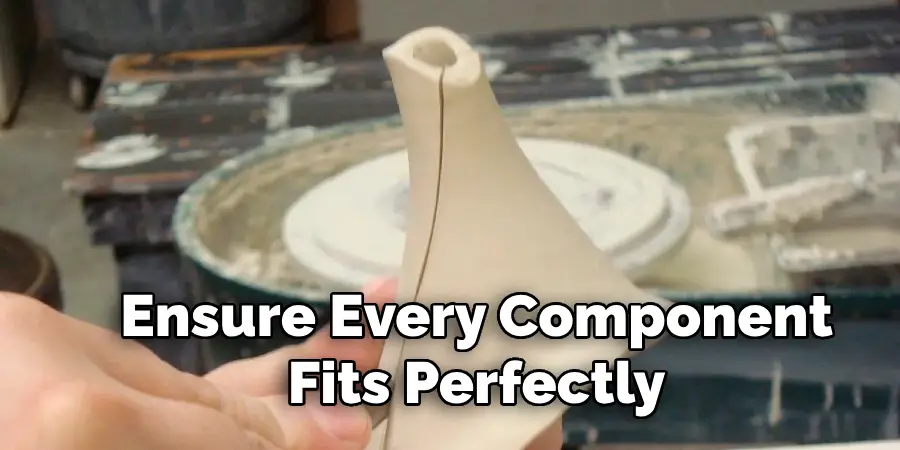
A. Checking Fit and Function
After the firing process, the first step is to ensure the proper fit and functionality of the spout with the teapot body. This crucial assessment determines if the spout pours efficiently without drips and if it is securely affixed to the teapot body. Artisans may need to make minor adjustments at this stage to perfect the spout’s alignment and attachment, ensuring a seamless flow of tea and an aesthetically pleasing integration with the teapot’s body.
B. Attaching Handle
The next step involves attaching the handle, which requires precision to maintain balance and functionality. The handle is carefully aligned with the spout and body, ensuring a comfortable grip that complements the teapot’s design. The score and slip technique is commonly used to attach the handle securely, involving scratching the surfaces to be joined, applying a slip (a liquid mix of clay), and then pressing the pieces together. This method ensures a strong bond that can withstand the handling of regular use.
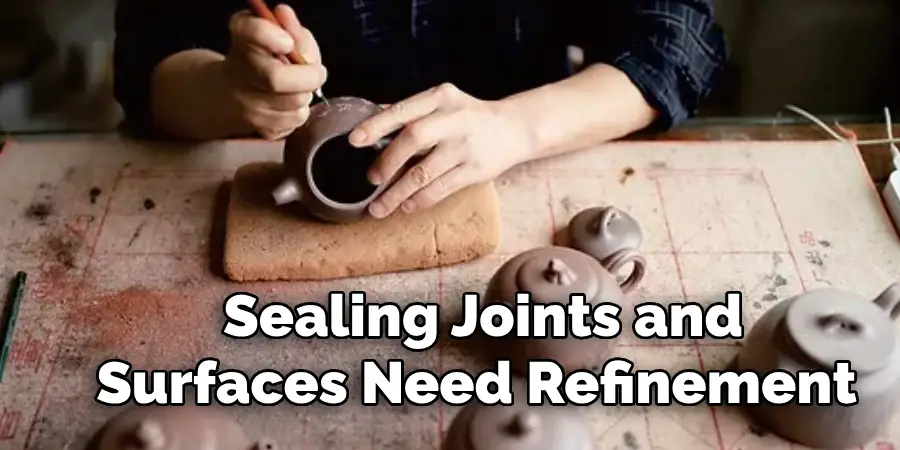
C. Sealing and Finishing
Final touches include sealing joints and any surfaces that need refinement. A clay slurry or a specialized glaze can be applied to seal the seams between the spout, handle, and body, reinforcing the teapot’s structural integrity. This step enhances durability and removes imperfections, contributing to the teapot’s final aesthetic appeal. If necessary, the teapot may undergo an additional firing to settle the glaze or sealant, transforming it from clay to a functional piece of art.
Each step, from checking the fit and function of the spout to the meticulous attachment of the handle and the final sealing and finishing touches, underscores the artisan’s dedication to creating beautiful and functional teapots. This detailed assembly process ensures that the teapot will serve its purpose gracefully, becoming a cherished part of the tea-drinking ritual.
Troubleshooting and Tips
Creating the perfect teapot, especially mastering the spout, can present unique challenges. Here, we discuss common issues and offer practical advice to ensure your teapot is visually appealing and fully functional.
A. Addressing Common Issues
Troubleshooting problems like an uneven flow, drips, or a loose fit requires a keen understanding of the craft. An uneven flow often stems from an improperly shaped spout or issues within the spout’s interior, such as irregularities or blockages. Careful reshaping and ensuring a smooth interior can remedy this. Drips can be frustrating, usually caused by a sharp or improperly angled tip. Adjusting the spout’s tip to a more rounded shape and ensuring it points slightly upwards can minimize dripping. A loose fit between the spout and the body signifies an issue with the attachment process. Reinforcement with a stronger slip or revisiting the score and slip method can strengthen the bond.
B. Practice and Patience
The art of teapot making, particularly the spout, requires persistence. Each challenge encountered builds your expertise, informing your future projects. Patience is pivotal; understanding that mastery comes over time through repetition will ease the frustration of initial failures or imperfections.
C. Experimentation and Creativity
Exploring various techniques, shapes, and styles can significantly enhance your creative output. Experiment with different spout designs, from classic to contemporary, to discover what works best for functionality and aesthetics. This approach not only refines your skill set but also creates unique and personalized teapots. Engaging in this creative exploration makes the process as rewarding as the outcome, encouraging continuous learning and growth in the art of teapot making.
Frequently Asked Questions (FAQ)
Q1. How Long Does It Take to Make a Teapot from Start to Finish?
A1. The time it takes to make a teapot can vary significantly depending on the complexity of the design and the drying times between each step. It can take anywhere from a few days to several weeks. This timeframe includes preparing the clay, shaping, drying, bisque firing, glazing, and the final firing.
Q2. Can I Make a Teapot without A Kiln?
A2. While a kiln is essential for the traditional ceramic-making process, alternative methods exist for those without access to a kiln. Air-dry clays or polymer clays can be used to make decorative teapots, though these will not be suitable for brewing tea.
Q3. Why Does My Teapot Drip When I Pour?
A3. Dripping can be caused by several factors, such as the spout’s shape, the tip’s angle, or the speed at which you pour. Adjusting the spout’s shape to ensure a smooth curve and the tip points upwards can help prevent dripping.
Q4. Can Any Clay Be Used to Make a Teapot?
A4. Not all clays are suitable for making a functional teapot. Stoneware or porcelain clay is best, as it can withstand high temperatures and ensure the teapot is durable and waterproof after firing.
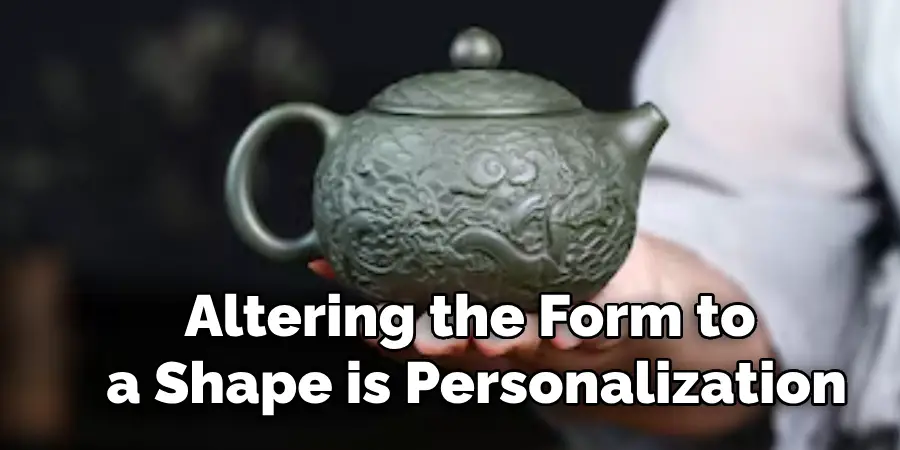
Q5. How Can I Personalize My Teapot?
A5. Personalization can be achieved in multiple ways, including carving designs into the clay, using stamps or stencils, applying colored glazes, or altering the form to create a unique shape. The stage before the first bisque firing is ideal for most decorative work, as the clay is still pliable.
Q6. What Is the Best Way to Attach a Handle so It Doesn’t Come Off?
A6. Ensuring a secure handle attachment involves scoring the areas where the handle will attach to the body and using a slip (a liquid clay mixture) as an adhesive. Applying firm pressure to bond the handle to the body and allowing proper drying time before firing are crucial steps to prevent detachment.
Q7. How Do I Fix Cracks that Appear After the First Firing?
A7. If cracks appear after bisque firing, they can sometimes be repaired with a mixture of clay and glaze applied over the crack. However, this method’s success depends on the crack’s size and severity. Sometimes, starting over with a new piece may be more effective.
Conclusion
We’ve explored various aspects of how to make a teapot spout, from the initial design considerations to troubleshooting common problems. Key techniques include ensuring a smooth spout interior for an even flow and adjusting the spout’s tip to prevent dripping. The importance of a secure attachment between the spout and the body cannot be overstated, necessitating a meticulous score and slip method.
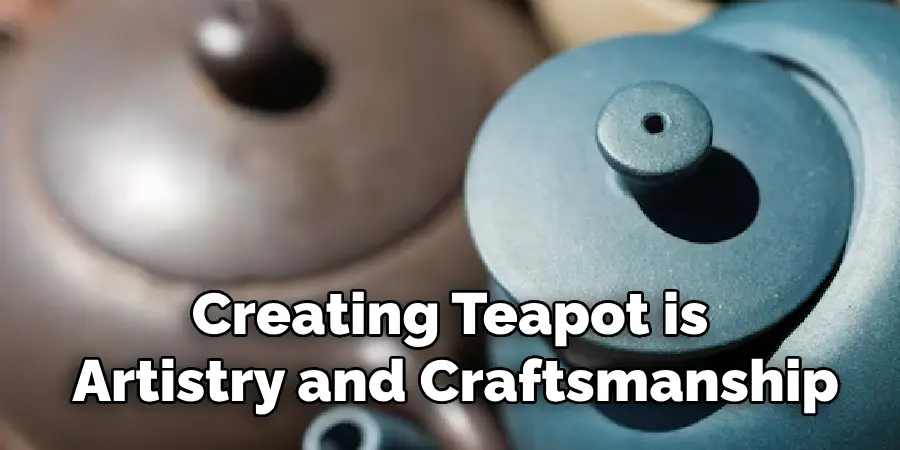
Creating a teapot spout is a testament to the intricate blend of artistry and craftsmanship. Each step, from shaping the clay to the final firing, reflects the maker’s dedication to functionality and aesthetic appeal. This process underscores the unique character infused into every handmade teapot, celebrating the individual touch of the artisan.
For those venturing into the world of pottery, the journey of learning how to make a teapot spout offers a unique blend of challenges and rewards. Experimentation and creativity play crucial roles in honing your craft. Remember, each teapot made is a step forward in your artistic path. Enjoy the process, embrace the learning curve, and cherish the satisfaction of creating something beautiful and functional.
About the Author
Adrien Rowe, an expert in knitting, fiber arts, and bookbinding, promotes sustainability and creativity through workshops and tutorials. Passionate about education and community, he inspires crafters of all levels to learn, share, and grow in a supportive, idea-driven environment.
Professional Focus
Specializes in advanced knitting techniques, fiber manipulation, and textile innovation.
Expert in book arts, including cotton papermaking, handmade paper techniques, and bookbinding.
Dedicated to educating and inspiring crafters of all skill levels through tutorials, workshops, and hands-on learning experiences.
Passionate about creating a supportive community where makers can share ideas, learn, and grow.
Education History
Rhode Island School of Design (RISD) – Bachelor of Fine Arts (BFA) in Textiles.
University of Iowa Center for the Book – Master of Fine Arts (MFA) in Book Arts.
Expertise:
Advanced knitting, fiber manipulation, papermaking, bookbinding, sustainability-focused crafting, educational workshops, creative tutorials, and fostering a supportive maker community.