Decorating with wine bottles is a creative and sustainable way to add charm to your living space. Whether you’re looking to upcycle old bottles or craft unique centerpieces, wine bottles offer endless possibilities. With just a few materials and a little imagination, you can transform ordinary bottles into stunning decorations that reflect your personal style.
This guide on how to make wine bottle decorations will walk you through simple steps and ideas to make beautiful wine bottle decorations for any occasion.
What is Needed
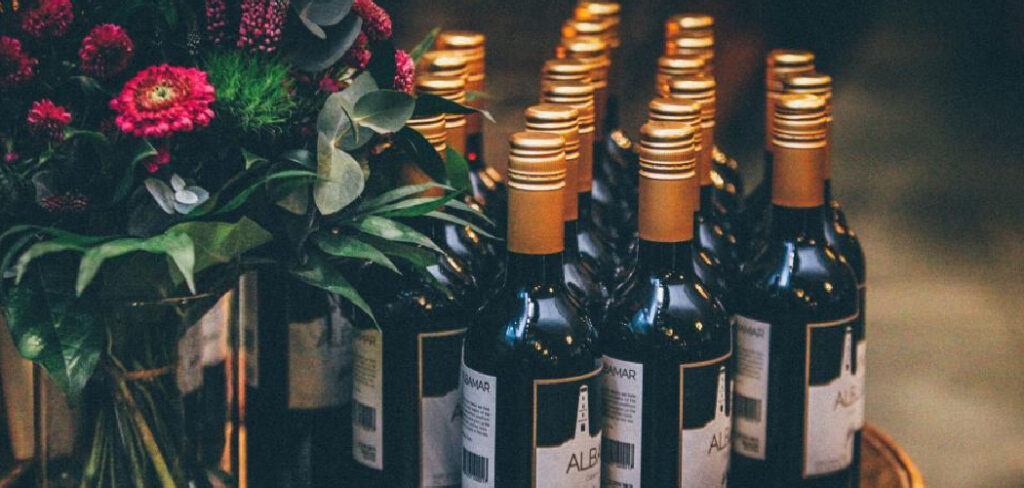
Wine Bottles
To get started, you’ll need a collection of wine bottles. You may have empty bottles lying around your house, or you can ask friends and family to save their empty bottles for you. You can also purchase inexpensive bottles from thrift stores or garage sales.
Cleaning Supplies
Before decorating your wine bottles, it’s essential to clean them thoroughly. To remove any labels or sticky residue, soak the bottles in warm, soapy water for about an hour. Then, scrub off any remaining residue with a sponge or brush. Rinse the bottles well and let them dry completely before proceeding with the decoration process.
Decorative Materials
The fun part of making wine bottle decorations is choosing the materials to decorate them with. You can use a variety of materials such as paint, glitter, ribbon, twine, fabric, and flowers. Get creative and mix and match different materials to create unique designs.
Tools
Some basic tools you may need for decorating wine bottles include scissors, a glue gun, a brush or sponge for painting, and needle-nose pliers for manipulating wire or string.
9 Steps on How to Make Wine Bottle Decorations
Step 1: Prep Your Work Area
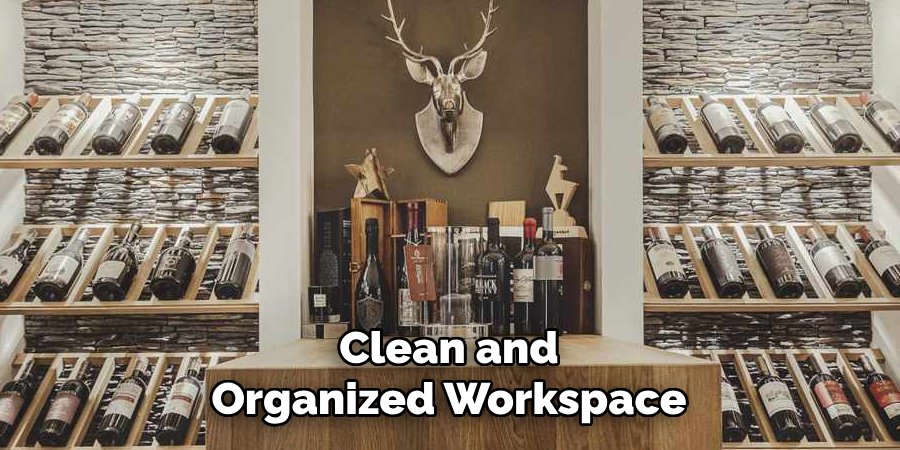
Before you begin decorating your wine bottles, it’s important to set up a clean and organized workspace. Choose a flat surface, such as a table or countertop, and cover it with newspapers or a disposable tablecloth to protect it from paint, glue, or glitter.
Make sure you have good lighting and all your materials and tools within easy reach. Having a tidy and well-prepared work area will make the crafting process smoother and more enjoyable.
Step 2: Choose a Design
Deciding on a design is a crucial step in creating beautiful wine bottle decorations. Start by considering the occasion or purpose of the decoration. Are you making a rustic centerpiece for a wedding, a festive decoration for the holidays, or a vibrant accent piece for your home?
Once you have an idea in mind, gather inspiration from online sources, craft books, or your own creativity. Sketch out your design or make a list of the materials you’ll need to achieve your chosen look. This preparation will give you a clear vision and ensure your design aligns with your theme and style preferences.
Step 3: Prep the Bottles
If you want to paint your wine bottles, make sure they are completely dry before moving on to this step. You can also choose to leave the bottles as is and move straight to decorating.
To prepare for painting, cover the interior of the bottle with a plastic bag or tape off the top opening with painter’s tape to avoid getting paint inside. This step is optional but recommended if you plan on using light or transparent colors.
Step 4: Paint the Bottles
Painting is one of the most popular ways to decorate wine bottles. You can use acrylic or spray paint in any color or combination of colors that suits your design. Before painting, make sure you shake the can or mix the paint well to ensure an even coat. You may need more than one layer of paint for full coverage, so allow each layer to dry completely before applying the next.
The beauty of painting wine bottles is that you can use various techniques such as ombre, stenciling, or freehand designs to achieve different looks. Have fun and experiment with different styles until you’re happy with the result.
Step 5: Add Texture
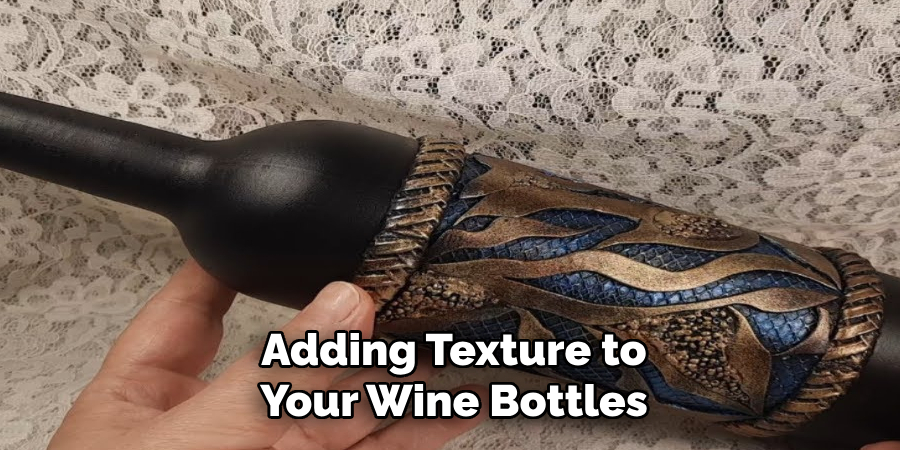
Adding texture to your wine bottles can elevate their appearance and create a more dynamic look. There are several ways to incorporate texture into your designs. For a rustic feel, wrap twine or burlap fabric around the bottle, securing it with hot glue. You can also apply modeling paste or textured paint to create a raised design or pattern on the bottle’s surface.
Another option is to glue small items such as beads, buttons, or dried flowers onto the bottle for a unique, tactile effect. Experiment with different materials and techniques to achieve the desired texture, and allow everything to dry thoroughly before continuing with additional decorations.
Step 6: Use Coloring Techniques
Coloring techniques can add depth and personality to your wine bottle decorations. Consider using gradient effects by blending two or more colors for a smooth transition, commonly known as ombre. You can achieve this by using a sponge to dab and blend colors while the paint is wet. Another technique is dry brushing, where you lightly sweep a nearly dry paintbrush over the surface to highlight details or create a distressed look.
For more precision, use stencils to create specific shapes or patterns with paint. You can also try splatter painting by flicking paint onto the bottles with a brush for a playful, abstract design. Metallic or pearlized paints can add a glamorous touch, while chalkboard paint allows you to write messages or change the design as desired. Experiment with different techniques to complement your theme, and remember to allow the paint to dry completely before proceeding to the next step.
Step 7: Add Decorative Elements
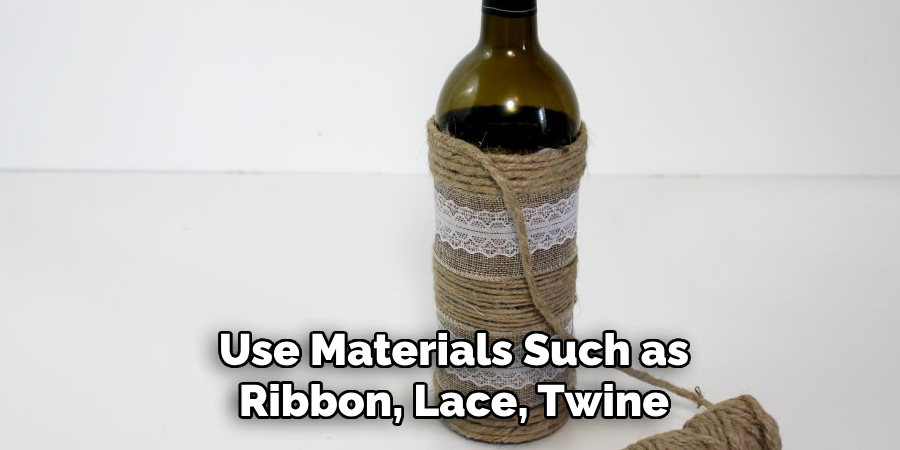
Now, it’s time to add the decorative elements that will bring your design to life. You can use materials such as ribbon, lace, twine, or fabric to wrap around the bottles and secure them with hot glue. For a romantic touch, tie a bow with ribbon or add a small bouquet of flowers to the bottle’s neck. These embellishments are perfect for adding texture and visual interest to your decorations.
For more intricate designs, you can also use beads, gems, or buttons by threading them onto wire or string and wrapping them around the bottle in creative ways. This step allows you to let your imagination run wild and customize each bottle according to your desired look.
Step 8: Personalize
Personalizing your wine bottle decorations adds a special touch and makes them unique to you or the recipient. Consider adding names, dates, quotes, or images using stencils, paint pens, or vinyl decals. These personal touches can turn a simple decoration into a cherished keepsake.
You can also incorporate photos by printing them onto decoupage paper and adhering them to the bottles with Mod Podge for a vintage or nostalgic feel. Whatever you choose to add, make sure it aligns with your overall design and completes the look.
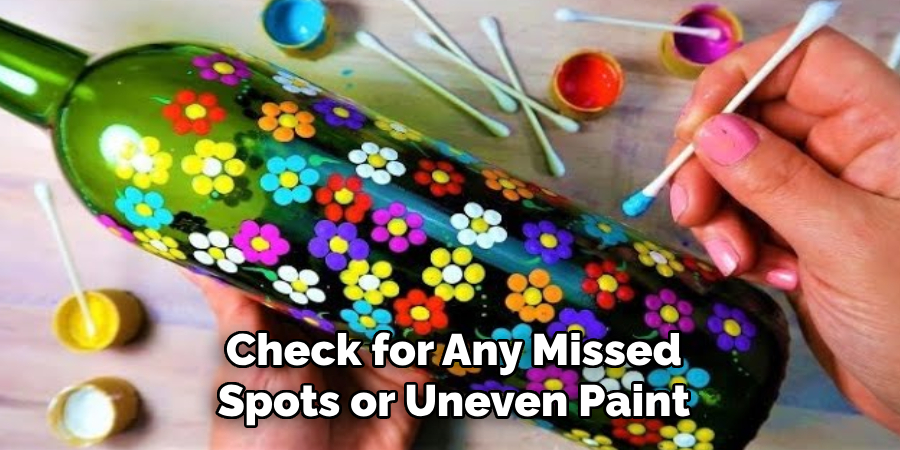
Step 9: Finishing Touches
Before displaying your wine bottle decorations, check for any missed spots or uneven paint and touch up as needed. You can also seal the bottles with a clear coat of varnish or spray sealer to protect the paint and add a glossy finish.
For added ambiance, consider adding fairy lights inside the bottles for a soft glow or placing them on candle holders for an elegant centerpiece. Now, you’re ready to showcase your beautifully decorated wine bottles and enjoy their charm in your home or at an event.
Following these steps and tips on how to make wine bottle decorations, you can create stunning wine bottle decorations that are sure to impress. Don’t be afraid to experiment with different techniques and styles to make the design your own. With a little creativity and patience, you can transform ordinary wine bottles into unique and eye-catching pieces of decor.
Additional Tips
- When painting wine bottles, start with light colors as a base before adding darker shades.
- Use painter’s tape or stencils to create clean lines when using different paint colors or techniques on one bottle.
- Consider using glitter or metallic spray paint for added sparkle and shine.
- Take inspiration from nature by incorporating dried or pressed flowers and leaves into your designs.
- You can also use wine bottles as vases for fresh flowers to add a touch of charm to your home decor.
- Don’t limit yourself to just wine bottles – you can also decorate other glass jars and containers using these same techniques.
- Have fun and let your creativity guide you in your wine bottle decoration journey. The possibilities are endless!
Conclusion
Decorating wine bottles is not only fun but also allows you to unleash your creativity and customize decorations according to any occasion or theme. These step-by-step instructions on how to make wine bottle decorations provide a foundation for creating stunning wine bottle decorations, but don’t be afraid to deviate; make them your own.
Whether you’re looking for a budget-friendly way to decorate or want to add a personal touch to an event, wine bottle decorations are versatile and can suit any style or aesthetic. So gather your supplies, follow these steps, and let your imagination lead the way! Happy decorating!
Professional Focus:
Dedicated to exploring and advancing the intersection of traditional craftsmanship and contemporary design. Specializing in textile arts, woodworking, and mixed media, with a commitment to sustainable practices and the art of upcycling. Focused on creating meaningful connections through craft, empowering individuals to unlock their creativity, and preserving cultural heritage through innovative, hands-on projects.
Vission:
To inspire and empower crafters of all experience levels to unlock their creative potential. Encourages hands-on experimentation, self-expression, and exploration through diverse craft projects.
Education:
- Bachelor of Arts (BA) in Craft and Material Studies – Virginia Commonwealth University.
- Specialized training in various crafting disciplines and material handling.
Recognition:
- Featured in local art exhibits for groundbreaking craft projects
- Partnered with community organizations to host crafting workshops
- Recognized for contributions to sustainable and eco-conscious crafting
Expertise:
Crafting expert with a focus on blending traditional techniques with innovative designs. Specialization:
- Textile arts (weaving, embroidery, fabric dyeing)
- Woodworking and furniture design
- Mixed media and upcycling projects