Are you looking for a fun and easy way to add some flair to your crochet projects? Pom poms are the perfect solution! These cute and fluffy accents can be added to hats, scarves, blankets, and more.
How to crochet pom pom is a fun and creative way to add a touch of flair to your projects. Whether you’re embellishing hats, scarves, blankets, or other handmade items, pom poms can bring personality and charm to your work. This simple yet versatile craft technique is easy to learn and requires minimal materials, making it perfect for both beginners and seasoned crafters.

With just a few steps, you’ll be able to create fluffy and colorful pom poms that enhance the look of your crochet projects. Let’s dive into the process of making crochet pom poms and discover some creative ways to use them.
What Are the Benefits of Adding Pom Poms to Your Crochet Projects?
Crochet pom poms are a fun and playful addition to any project, but they also offer several benefits. Here are some reasons why you should consider adding pom poms to your crochet repertoire:
- Adds Texture: The fluffy texture of pom poms adds dimension and interest to your crochet projects. By incorporating them into your design, you can create a unique and eye-catching piece that stands out from the crowd.
- Enhances Color Scheme: With endless color options available, pom poms provide an opportunity to add pops of color or tie together different shades in your project. You can mix and match colors for a bold look or stick to a single color for a more cohesive design.
- Versatile Use: Pom poms can be used in various ways, giving you the flexibility to incorporate them into any type of crochet project. They can be attached as a border on a blanket or scarf, sewn onto a hat or bag, or even strung together to create a garland.
What Will You Need?
- Crochet Hook: A crochet hook is needed to create the base for your pom pom.
- Yarn: Yarn will be used to make the actual pom pom, so choose a color or a combination of colors that complement your project.
- Scissors: Scissors are essential for trimming the yarn and shaping the pom poms.
- Cardboard or Pom Pom Maker: You can use either cardboard or a specialized pom pom maker to create your desired size of pom poms. Each option has its benefits, so choose one based on personal preference and availability.
10 Easy Steps on How to Crochet Pom Pom
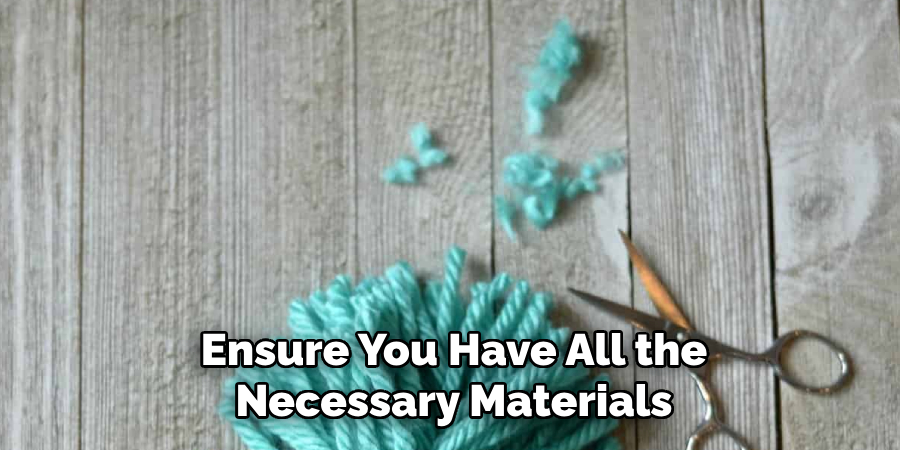
Step 1. Gather Your Materials
To begin, ensure you have all the necessary materials ready before starting your project. You will need yarn in your preferred color or colors, a pair of sharp scissors for precise trimming, and either a cardboard cut-out or a pom pom maker, depending on what you have available. Having everything prepared and within reach will make the process smoother and more enjoyable. Organize your tools and set up a comfortable workspace to get started on your pom pom creation.
Step 2. Crochet a Base
To create a sturdy base for your pom pom project, begin by crocheting a small circle or square, depending on your design. Start with a slip knot and crochet a chain of 4-6 stitches, then connect the ends to form a ring. Next, crochet single stitches around the ring, gradually increasing the stitch count as needed to achieve the desired size and shape of your base. Ensure your stitches are even and tight to provide a solid foundation for attaching your pom poms later. Take your time during this step, as a well-made base will ensure the durability and overall quality of your final creation.
Step 3. Prepare the Pom Pom Maker or Cardboard
If you are using a pom pom maker, assemble it according to the instructions provided with the tool. Typically, this involves aligning the arms or pieces to form a circular mold. For those using cardboard, cut out two identical circular templates with a small hole in the center, resembling a donut shape. Ensure the cardboard is sturdy and the edges are smooth to make wrapping the yarn easier and more efficient. Whichever method you choose, have your tools prepared and ready before moving on to creating the pom poms.
Step 4. Wrap the Yarn
Start by taking your chosen yarn and securing the loose end against the edge of the mold or cardboard template. Begin wrapping the yarn evenly around the mold, ensuring each layer is neat and overlaps slightly for a fuller pom pom. Continue wrapping until the mold is thickly covered with yarn, as this will determine how fluffy and dense your pom pom will be. Don’t hesitate to use plenty of yarn, as a thicker wrap results in a better final product. Once satisfied with the thickness, cut the yarn, leaving a small tail for the next step.
Step 5. Tie the Pom Pom

Cut a separate piece of yarn, approximately 10-12 inches long, and slide it carefully between the two halves of the mold or underneath the wrapped yarn, depending on your pom pom tool. Pull the yarn tightly and tie a secure knot in the center of the wrapped yarn. To ensure the knot holds, double or triple knot it. This step is crucial as it keeps your pom pom from falling apart and helps maintain its shape. Make sure the tied yarn is as tight as possible without breaking to achieve a sturdy pom pom.
Step 6. Cut the Edges
Using a sharp pair of scissors, carefully cut through the loops of yarn on each side of the mold. Make sure to cut every loop to ensure your pom pom has a full and fluffy appearance. Be precise and take your time to avoid missing any loops. Once all the loops are cut, gently fluff the yarn to shape the pom pom and check for any uneven strands. If needed, give your pom pom a quick trim to even out the edges and achieve a neat, rounded shape.
Step 7. Shape the Pom Pom
Gently roll the pom pom between your hands to shape it into a smooth, round form. Inspect it from all angles to ensure the yarn is evenly distributed and no areas look sparse or lopsided. If needed, use scissors to trim any stray or uneven strands, shaping the pom pom until you are satisfied with its appearance. This step is crucial for giving your pom pom a polished and professional look.
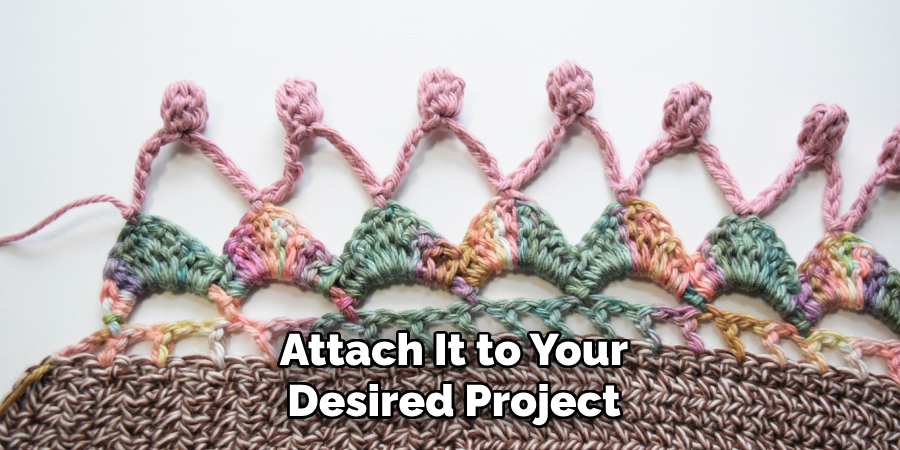
Step 8. Attach the Pom Pom
Once your pom pom is perfectly shaped, it’s time to attach it to your desired project. Use the long tails of yarn you set aside earlier to secure the pom pom. Thread the tails through a yarn needle and stitch the pom pom firmly onto your project, ensuring it’s tightly secured. If it’s a wearable item, such as a hat or scarf, make sure to stitch it on with extra care to withstand regular use. Tie a sturdy knot, trim any excess yarn, and voila! Your project now has a delightful, fluffy finishing touch.
Step 9. Double-check the Attachment
Take a moment to carefully examine the attachment of the pom pom. Gently tug on it to ensure it is securely fastened and won’t come loose during use. Look for any loose stitches or weak spots that might need reinforcement. If necessary, add a few extra stitches to strengthen the connection. Properly securing the pom pom ensures it will remain intact and enhance the durability of your finished project.
Step 10. Finalize Your Project
Take a moment to admire your completed project and ensure that all aspects are finished to your satisfaction. Trim any excess threads, fluff or shape the pom pom if needed, and inspect your work for any final adjustments. Depending on the purpose of the project, you may want to wash or block it to achieve the desired look. Once you’re confident in the quality and appearance of the finished item, your project is officially complete and ready to use, gift, or display proudly!
By following these steps and using your creativity, you can create a wide range of projects with pom poms.
5 Things You Should Avoid
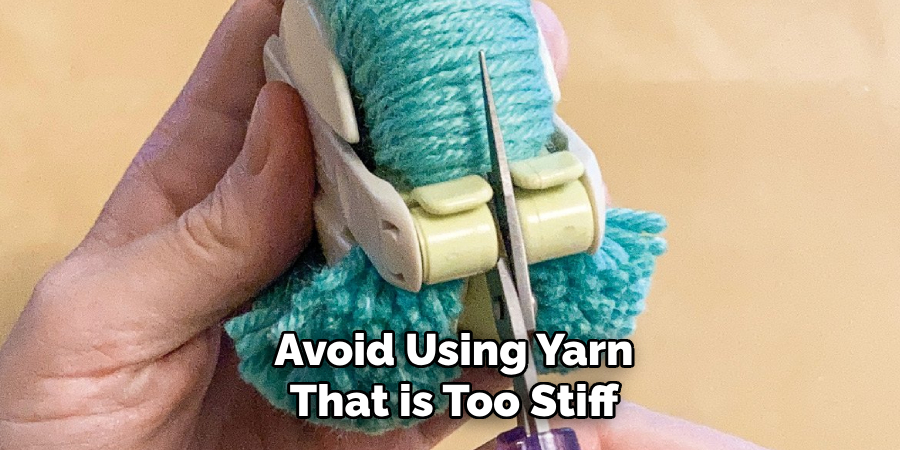
- Using the Wrong Yarn: Avoid using yarn that is too stiff or too delicate, as it can affect the shape and durability of your pom pom. Choose a soft and flexible yarn that fluffs up easily for the best results.
- Skipping the Trimming Process: Do not skip trimming the pom pom after crafting it. Uneven strands can make the pom pom look messy and unpolished. Take the time to shape it evenly for a professional finish.
- Making Loose Knots: Ensure that you tie the center of the pom pom securely. A loose knot can cause the pom pom to fall apart over time. Always double-knot for added security.
- Using Dull Scissors: Avoid using dull or inappropriate scissors for cutting yarn. Sharp scissors are essential for achieving clean cuts and ensuring the pom pom is tidy and uniform.
- Overpacking the Yarn: While it might seem like a full pom pom requires as much yarn as possible, overpacking can make it too dense and difficult to shape properly. Maintain a balanced amount of yarn for a fluffy yet well-formed pom pom.
Conclusion
How to crochet pom pom can be a fun and rewarding addition to your crafting repertoire.
By following the steps carefully and avoiding common mistakes, you can create fluffy, well-shaped pom poms that enhance your projects beautifully. Remember to use the right tools, maintain balance in yarn usage, and secure your knots tightly for the best results.
With a bit of practice and patience, your pom poms will truly elevate your crochet creations. Happy crafting!
Professional Focus:
Dedicated to exploring and advancing the intersection of traditional craftsmanship and contemporary design. Specializing in textile arts, woodworking, and mixed media, with a commitment to sustainable practices and the art of upcycling. Focused on creating meaningful connections through craft, empowering individuals to unlock their creativity, and preserving cultural heritage through innovative, hands-on projects.
Vission:
To inspire and empower crafters of all experience levels to unlock their creative potential. Encourages hands-on experimentation, self-expression, and exploration through diverse craft projects.
Education:
- Bachelor of Arts (BA) in Craft and Material Studies – Virginia Commonwealth University.
- Specialized training in various crafting disciplines and material handling.
Recognition:
- Featured in local art exhibits for groundbreaking craft projects
- Partnered with community organizations to host crafting workshops
- Recognized for contributions to sustainable and eco-conscious crafting
Expertise:
Crafting expert with a focus on blending traditional techniques with innovative designs. Specialization:
- Textile arts (weaving, embroidery, fabric dyeing)
- Woodworking and furniture design
- Mixed media and upcycling projects