Are you tired of wearing the same old boring hats during the summer? Why not make your own stylish and unique summer hat with crochet?
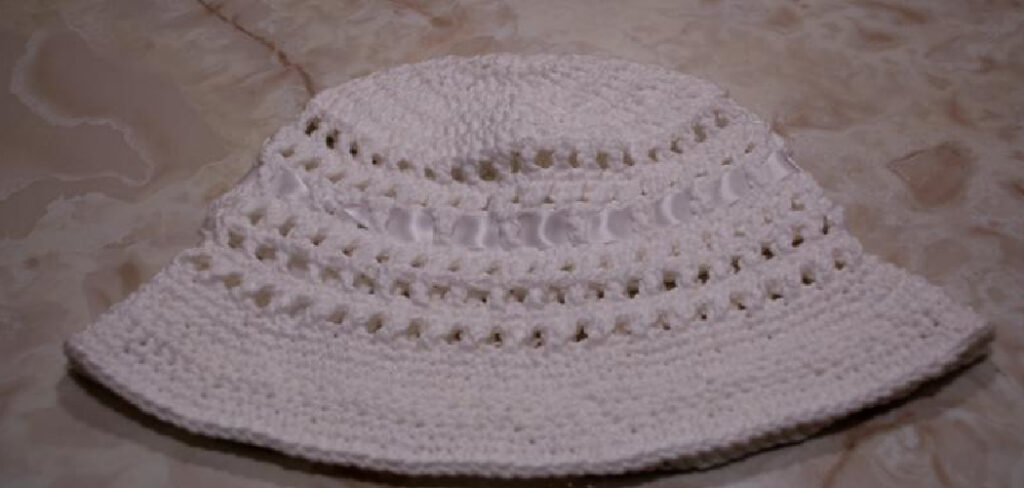
Crocheting a summer hat is a fun and creative project combining style and functionality. Perfect for sunny days, a handmade summer hat protects you from the sun and adds a personal touch to your wardrobe. Whether you’re a beginner or an experienced crocheter, this project is a great way to experiment with different yarn types, stitches, and patterns.
In this guide on how to crochet a summer hat, we will go through the materials needed, step-by-step instructions, and tips to help you create your own fashionable hat.
What Are the Benefits of Crocheting?
Before diving into the step-by-step process on crochet summer hats, let’s look at some of the benefits of crocheting.
- Crocheting is a great way to relax and destress. The repetitive motions of crochet can have a calming effect on your mind and help you unwind after a long day.
- It allows for self-expression and creativity. You can create unique and personalized pieces that reflect your style and personality.
- Crochet is also a practical skill that can save money by making handmade items instead of buying them.
These are just a few of the many benefits of crocheting. Now, let’s get started on making your own summer hat.
What Will You Need?
- Yarn of your choice (cotton or lightweight yarn is best for summer)
- Crochet hook (size depends on the type of yarn you choose)
- Scissors
- Tapestry needle
- Stitch markers (optional)
Once you have all your materials ready, it’s time to choose a pattern and get started.
10 Easy Steps on How to Crochet a Summer Hat
Step 1: Choose a Pattern
When choosing a pattern, it’s essential to consider your skill level and the style of hat you’d like to make. Beginners might opt for a simple sunhat pattern with basic stitches, while more experienced Crocheters can experiment with intricate designs, like lacy or textured patterns.
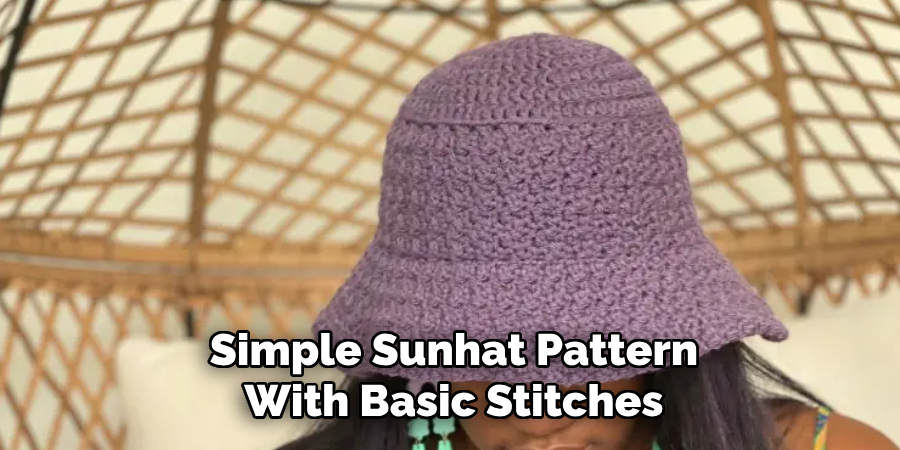
You can find a variety of free and paid crochet patterns online or in craft books, each offering a unique style to suit your needs. Additionally, think about the functionality of the hat—do you want a wide-brimmed hat for extra sun protection or a lightweight and airy design for breathability? Selecting a pattern that matches your preferences and abilities will set you up for success as you begin your crocheting project.
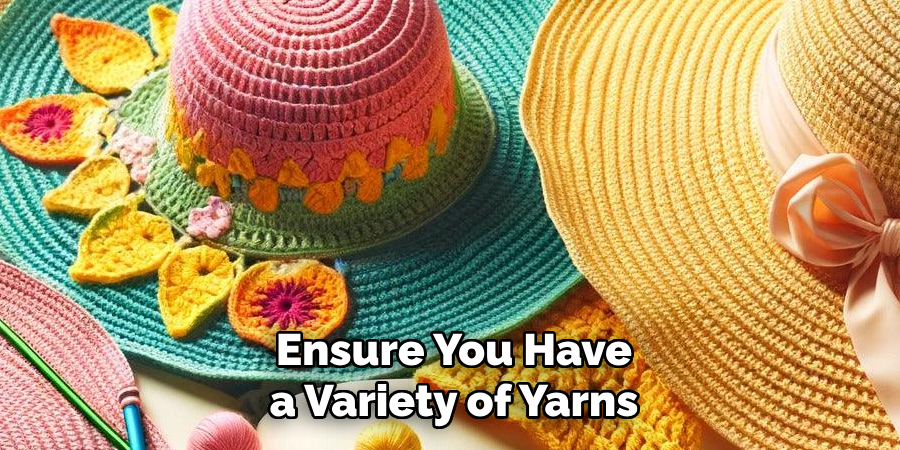
Step 2: Gather Your Materials
Having the right materials is essential for a smooth and enjoyable crocheting experience. To get started, ensure you have a variety of yarns in the appropriate weights and colors for your chosen pattern. For summer hats, lightweight cotton or linen yarns are ideal, as they are breathable and comfortable to wear in warm weather.
Along with yarn, you’ll need the right crochet hook size, usually recommended in your pattern. Using the correct hook ensures your project maintains the proper tension, resulting in a well-shaped hat.
Step 3: Practice Basic Stitches
Before you start working on your hat, it’s a good idea to familiarize yourself with the basic crochet stitches needed for your pattern. Common stitches for crochet projects include the chain stitch, single crochet, and double crochet. Practicing these stitches on a small swatch will help you get comfortable with the movements and maintain consistent tension.
If your pattern involves more advanced techniques, such as shell stitches or puff stitches, take some time to review tutorials or practice scrap yarn. Mastering these basics will make your crocheting process smoother and more enjoyable.
Step 4: Begin Your Hat Project
With your materials ready and basic stitches practiced, it’s time to start your crochet hat project. Begin by following the pattern’s initial instructions, which often include creating a foundation chain or starting with a magic ring.
Pay close attention to the stitch counts and ensure your foundation is even and secure. If your pattern requires working in the round, use a stitch marker to keep track of the starting point for each round. Take your time with the first few rows, as they form the base of your hat and set the tone for the rest of the project.
Step 5: Build Up the Body of the Hat
Once the foundation is set, continue working through the pattern to build up the body of the hat. This typically involves adding rows or rounds of stitches to create the desired height and shape. Pay attention to any increases or decreases outlined in the instructions, as these will help form the contour of your hat. Keep your stitches consistent, and check your work periodically to ensure it matches the pattern. Don’t hesitate to unravel and redo a section if necessary to maintain the quality of your project. Take breaks as needed to avoid hand fatigue, and enjoy watching your hat take shape.
Step 6: Shape the Crown of the Hat
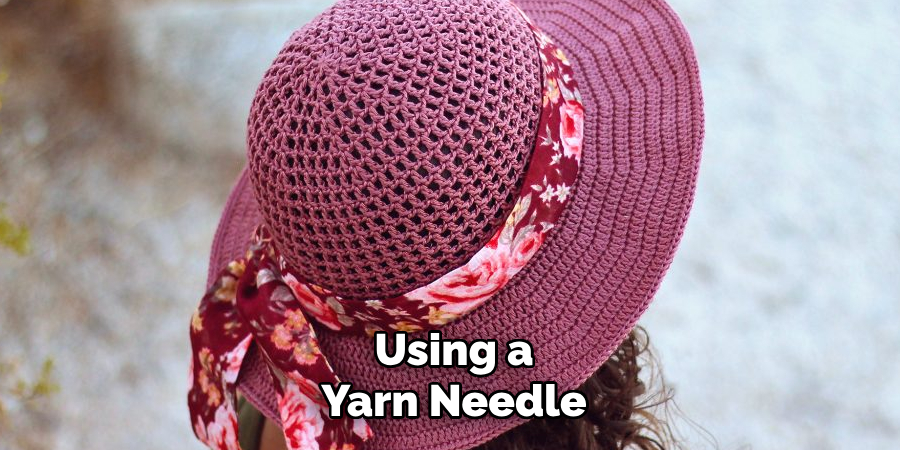
As you approach the top of the hat, follow the pattern’s instructions to shape the crown. This usually involves gradually decreasing the number of stitches in each round to create a snug, rounded finish. Use a stitch marker to keep track of your decreases and ensure they remain evenly spaced. Remember your tension during this step, as uneven stitches can cause puckering or gaps. Continue reducing until only a few stitches remain at the top.
Once satisfied with the crown’s shape, cut your yarn, leaving a long enough tail to weave in securely. Use a yarn needle to thread the tail through the remaining stitches and pull tightly to close the top. Knot and weave in the ends to secure your work.
Step 7: Add Finishing Touches
With the crown complete, it’s time to add the finishing touches to your hat. Weave in any remaining loose ends using a yarn needle, ensuring they are neatly tucked away on the inside of the hat. Now is the perfect time to attach or apply if your pattern includes embellishments, such as pom-poms, bows, or decorative stitching. Block your hat if necessary to help shape it and even out any irregularities in the stitches. Congrats—you’ve completed your handmade hat! Take a moment to admire your work and feel proud of your accomplishment.
Step 8: Care for Your Finished Hat
After finishing your hat, proper care will ensure its longevity and keep it looking its best. If your hat is made of washable yarn, follow the care instructions provided on the yarn label. Handwashing in cold water with a gentle detergent is often the safest option for handmade items. Gently reshape the hat and lay it flat to dry to avoid stretching or distorting the fabric. Consider dry or light spot cleaning as needed for hats made of delicate or specialty fibers. Proper care will preserve your hard work and keep your handmade hat ready for wear season after season.
Step 9: Personalize Your Hat Style
Now that your hat is complete and adequately cared for, consider how you want to incorporate it into your style. Pair your handmade creation with your favorite outfits, or give it a thoughtful, unique gift to a friend or loved one. You can even experiment with combining your hat with scarves, gloves, or other accessories for a coordinated look. Handmade items tell a story, so enjoy showcasing your creativity and craftsmanship whenever you wear your hat!
Step 10: Explore Variations and New Projects
Once you’ve mastered making one hat, consider exploring variations to keep your skills growing and creativity flowing. Try experimenting with different yarn textures, colors, or patterns to create a completely unique design. You might also challenge yourself by learning new techniques like adding cables, colorwork, or embellishments like pom-poms or buttons. Each project offers an opportunity to refine your skills and discover new ways to express your artistry. Keep pushing your boundaries and enjoy the endless possibilities of handmade creations!
By following these steps and practicing your crochet skills, you can create beautiful, functional and stylish hats.
5 Things You Should Avoid
- Using the Wrong Yarn Type: Avoid using thick, heavy yarns or those unsuitable for warm weather. Opt for lightweight, breathable options like cotton or bamboo yarn to ensure the hat is comfortable for summer wear.
- Skipping a Gauge Swatch: It might be tempting to skip this step, but not checking your gauge can result in a hat that’s too large or too small. Take the time to create a swatch to ensure your sizing is accurate.
- Ignoring Proper Tension: Crocheting with uneven or overly tight stitches can lead to a stiff, uncomfortable hat. Practice maintaining consistent tension to achieve a smooth, flexible fabric.
- Overloading on Decorative Elements: While embellishments like flowers or beads can add charm, too many can weigh down the hat or make it impractical in the heat. Keep decorations light and minimal.
- Neglecting to Block Your Hat: Failing to block your finished project can leave the hat misshapen or with uneven stitches. Blocking your hat will give it a polished, professional look and ensure it fits perfectly.
Conclusion
How to crochet a summer hat can be an enjoyable and rewarding project, especially when you plan carefully and pay attention to details.
By selecting the right materials, checking your gauge, maintaining proper tension, and finishing your work with techniques like blocking, you can create a stylish and functional hat for warm weather. Remember to keep your design lightweight and practical, ensuring your hat is comfortable for all-day wear.
With patience and creativity, you’ll have a beautiful summer accessory you can take pride in wearing or gifting.
Professional Focus:
Dedicated to exploring and advancing the intersection of traditional craftsmanship and contemporary design. Specializing in textile arts, woodworking, and mixed media, with a commitment to sustainable practices and the art of upcycling. Focused on creating meaningful connections through craft, empowering individuals to unlock their creativity, and preserving cultural heritage through innovative, hands-on projects.
Vission:
To inspire and empower crafters of all experience levels to unlock their creative potential. Encourages hands-on experimentation, self-expression, and exploration through diverse craft projects.
Education:
- Bachelor of Arts (BA) in Craft and Material Studies – Virginia Commonwealth University.
- Specialized training in various crafting disciplines and material handling.
Recognition:
- Featured in local art exhibits for groundbreaking craft projects
- Partnered with community organizations to host crafting workshops
- Recognized for contributions to sustainable and eco-conscious crafting
Expertise:
Crafting expert with a focus on blending traditional techniques with innovative designs. Specialization:
- Textile arts (weaving, embroidery, fabric dyeing)
- Woodworking and furniture design
- Mixed media and upcycling projects