Crocheting is more than just a pastime—it’s an art form that allows your creativity to flourish while also producing beautiful, tangible results. Whether you’re searching for a new hobby, a unique handmade gift, or an eye-catching piece of home décor, crochet offers endless opportunities. Among the many captivating patterns you can try, learning how to crochet sunflower motifs stands out as an especially rewarding project.
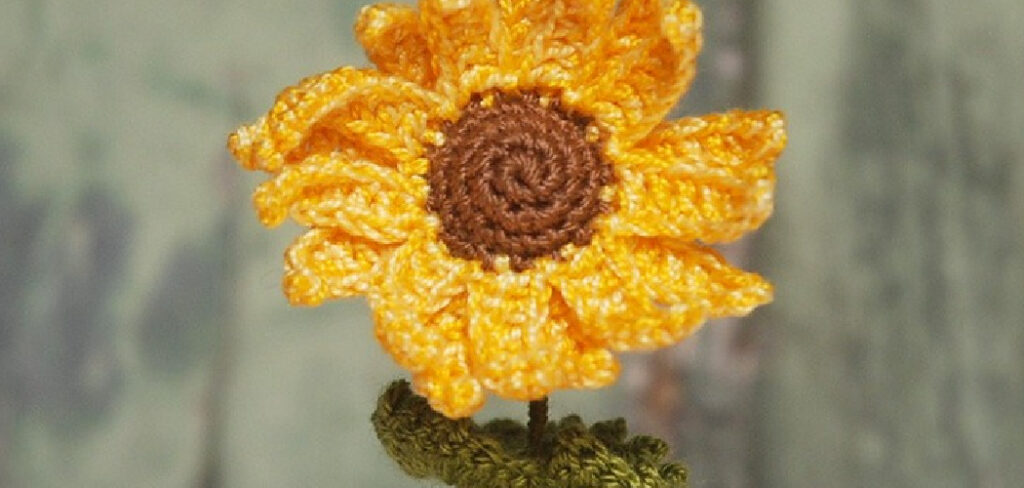
Sunflowers are symbols of warmth, positivity, and cheerfulness. Their bright yellow petals and bold centers bring a splash of joy wherever they appear, making crocheted sunflowers popular as gifts or decorative accents in any season.
In this guide, you’ll discover how to crochet sunflower designs, even if you’re a total beginner. The steps are detailed, the instructions are clear, and tips are included to help you succeed no matter your experience level. By following along, you’ll learn all you need to know—from foundational stitches to final assembly—ensuring you can craft your very own sunflowers with confidence.
Materials Needed
Essential Tools and Supplies
A successful project starts with the right materials. To crochet a sunflower, you’ll need a few key supplies:
- Yarn: Select yellow for the petals, brown for the center, and green for the leaves. Worsted weight yarn (also called medium #4) is often ideal for structure and ease of use.
- Crochet Hook: The size depends on your yarn choice, but a 4.0 mm (G-6) or 4.5 mm (7) hook is a reliable starting point. Check your yarn’s label for guidance.
- Scissors: Sharp scissors are necessary for cleanly trimming yarn ends.
- Tapestry Needle: This blunt needle helps weave loose ends and attach various sunflower elements together.
Choosing a suitable yarn is crucial, as a stiff or scratchy yarn may not yield the best results. Opt for quality fibers that hold their shape but are soft to the touch. Colored yarn can dramatically influence the overall appearance of your sunflower, so pick shades that capture the vibrance of the real bloom.
Optional Items
Consider picking up stuffing (polyester fiberfill) if you want to create a three-dimensional (3D) sunflower, which adds volume and shape. Floral wire is another handy item for those aiming to craft upright stems suitable for bouquets or arrangements.
Understanding Basic Crochet Stitches
Crochet Techniques to Master
Before diving into how to crochet sunflower pattern free, it’s important to be comfortable with several basic stitches. Most sunflower projects use foundational techniques such as:
- Chain (ch): This creates the initial row and forms the base for most crochet work.
- Slip Stitch (sl st): Used for joining rounds and finishing elements neatly.
- Single Crochet (sc): A tight, compact stitch, perfect for firm shapes.
- Double Crochet (dc): Taller and more flexible, often used to create texture in petals or leaves.
Other stitches or combinations, like half-double crochets, may be used depending on the pattern. Each of these techniques builds upon the last, and once you have these mastered, more intricate projects become much easier.
Practice Makes Perfect
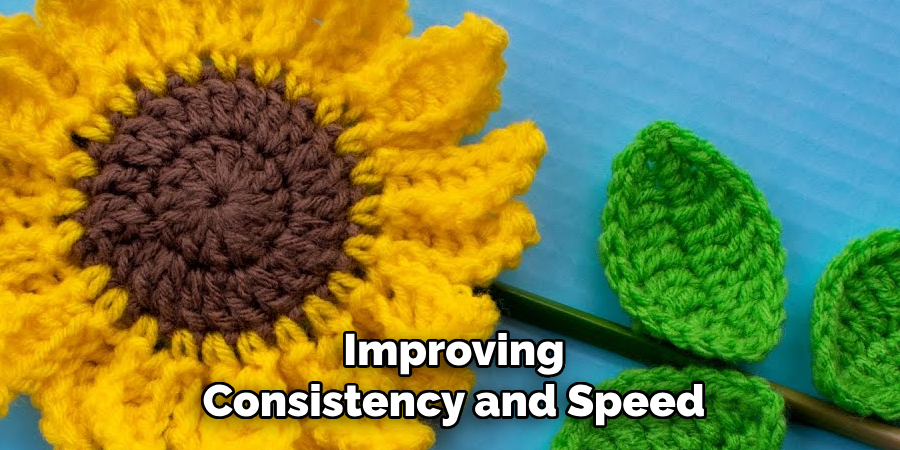
If you’re just starting, take some time to practice these stitches with a scrap of yarn. Even a few minutes of repetition helps your hands and eyes adjust to the motions, improving consistency and speed. It’s worth the effort—confident stitch work results in a neater, more polished sunflower.
How to Crochet Sunflower: Creating the Sunflower’s Center
Crocheting the Brown Circle
The heart of your sunflower is its distinctive brown center, crocheted in the round. Start by making a magic circle with your brown yarn—this adjustable loop lets you create a tight, gap-free center. Into this ring, you’ll crochet multiple single crochets, then pull the loop tight so the center closes firmly.
As you continue, work in rounds to build up the size. Increase each round by adding stitches at regular intervals—often by making two single or double crochets in the same stitch, following your pattern’s instructions. Typically, two or three rounds suffice for a standard sunflower center, but you can make yours as large or small as you wish. Remember to count your stitches carefully for an even edge.
Ensuring a Smooth Finish
A common issue with crocheting in the round is visible gaps or lopsided centers. To counter this:
- Always pull your magic circle tight and weave in the loose end securely.
- Maintain even tension as you crochet, which prevents holes or uneven surfaces.
- Finish the last round with a slip stitch to create a smooth edge.
Perfecting these small details elevates the appearance of your sunflower and provides a sturdy base for the petals.
Crafting the Petals
Adding Yellow Petals
Once the center is complete, it’s time to add the iconic, sunny petals. With your yellow yarn and crochet hook, begin by working new stitches directly into the edges of the brown center. Most patterns use a series of chains and double crochets to form each petal shape.
For example, you might chain three to five stitches, then work several double or single crochets back into the chain to create a rounded or pointed tip before joining back to the circle with a slip stitch. Repeat this process evenly around the edge, planning your stitch placement so that the petals are equally spaced and uniform in size.
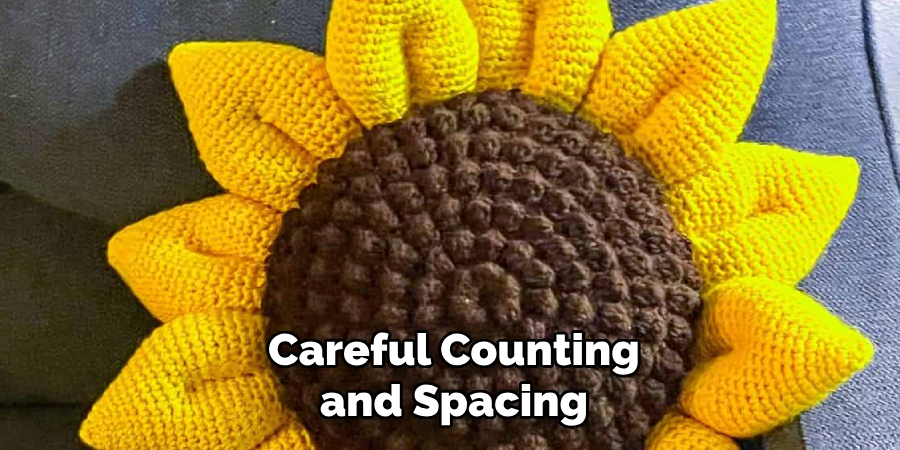
Aim for between 12 and 18 petals per sunflower for a full effect—though you can adjust this number for smaller or larger flowers. Careful counting and spacing keep the sunflower looking symmetrical and realistic.
Variation in Petal Styles
One of the joys of learning how to crochet sunflower motifs is customizing the petal shapes. Modify the pattern by using different stitch types or varying the number of chains for longer or shorter petals. Try experimenting with:
- Pointed Petals: Use more chains and a mix of single and double crochets ending in a slip stitch.
- Rounded Petals: Fewer chains and all single crochets provide a softer, rounded tip.
- Textured Petals: Combining stitches (like half-double or treble crochets) can add dimension or ruffled edges.
Mixing these techniques allows you to create sunflowers bursting with personality and realism.
Adding the Green Leaves
Crocheting Leaf Shapes
A sunflower wouldn’t be complete without the contrast of fresh, green leaves. Using your chosen green yarn, make individual leaf motifs. Begin each leaf with a small number of chains—usually between eight and twelve—and build up the leaf shape by crocheting back and forth along the chain with single, half-double, and double crochets.
Taper the leaf by decreasing stitch height as you approach the tip, then mirror the process on the other side of the chain for a symmetrical appearance. If you want each sunflower to feature a pair of matching leaves, craft two leaves or as many as you desire per flower.
Positioning the Leaves
Leaves can be attached at the base of the petals or behind the flower, depending on your goal. For bouquets, space leaves evenly on the stem, or cluster them to create a fuller, natural look. If your sunflower is a single, flat motif, sew leaves onto the back for additional color and texture.
Consider arranging leaves differently when making multiple sunflowers meant for a collective display—experiment until you find what looks best for your project.
Connecting All Components
Assembly Process
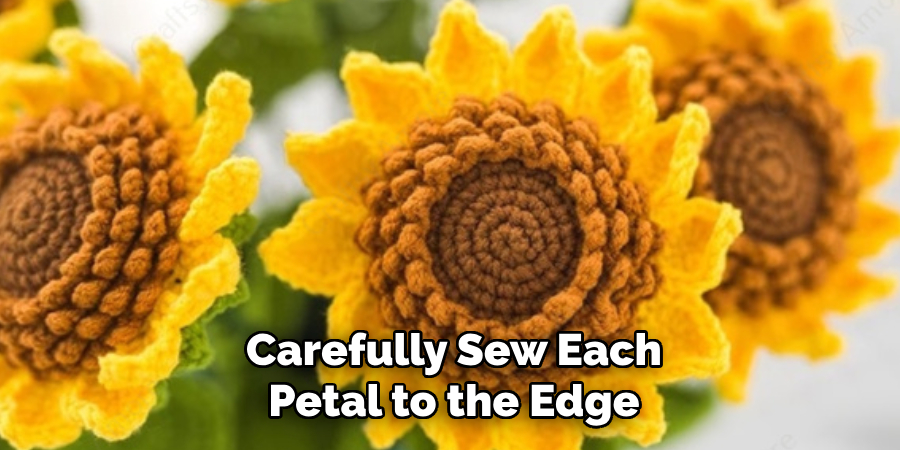
Now it’s time to bring your sunflower together. Start by threading your tapestry needle with a length of yarn matching the outermost color (usually yellow or green). Carefully sew each petal to the edge of the center, placing small, even stitches. Once the petals are secure, attach the leaves at your preferred points.
Be gentle but firm—tight enough for stability without distorting the pieces. Neatly weave in any loose ends and trim excess yarn for a tidy finish.
Reinforcing for Durability
Durability is key, especially if your crocheted sunflower will be handled frequently or given as a keepsake. Reinforce attachment points by going over stitches once or twice more, particularly where several pieces connect. Examining the flower from all sides during assembly helps catch any loose elements before finishing.
If installing a stem or making 3D models, secure the wire or stuffing at this stage, ensuring it won’t shift or poke through the fabric over time.
Optional Step: Creating 3D Sunflowers
Adding Stems
To craft sunflowers that stand upright, you’ll need to attach a stem. Cut a length of floral wire a few inches longer than your desired stem. Wrap it in green yarn, using a slip stitch or tight crochet stitches to cover the wire completely. Carefully push the wire through the center of the flower and attach it securely by stitching the flower base closed around it.
Alternatively, you can crochet a tubular stem (using the amigurumi technique) and sew it tightly to the base of the flower.
Stuffing for Dimension
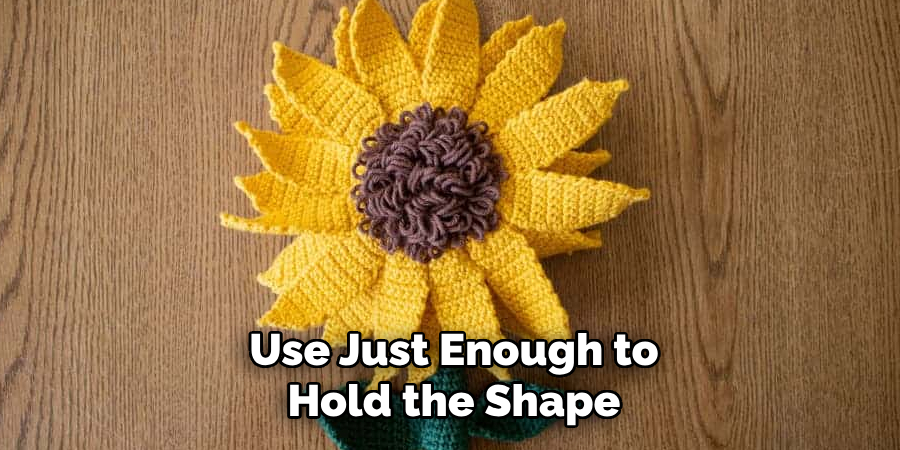
For 3D sunflowers, add a small amount of stuffing (polyester fiberfill or similar material) to the flower’s center and, if desired, around the base of the petals. Use just enough to hold the shape firmly. After stuffing, stitch the opening closed carefully to keep the shape round and plump.
Stuffed petals may be shaped slightly for dynamic, realistic effects, making your sunflower even more charming and unique.
Styling and Display Tips
Creative Ways to Use Your Sunflower
Crocheted sunflowers are versatile. You can sew a pin to the back and use them as brooches, attach a magnet for refrigerator décor, or stitch several together for a cheery garland. They also make eye-catching appliqués on hats, bags, or even sweaters, adding a handmade touch to ordinary items.
For table centerpieces or bouquets, wire-stemmed sunflowers can be arranged just like the real thing—without the risk of wilting. Try using different yarn types for varied textures and experiment with oversized or mini sunflowers for different projects.
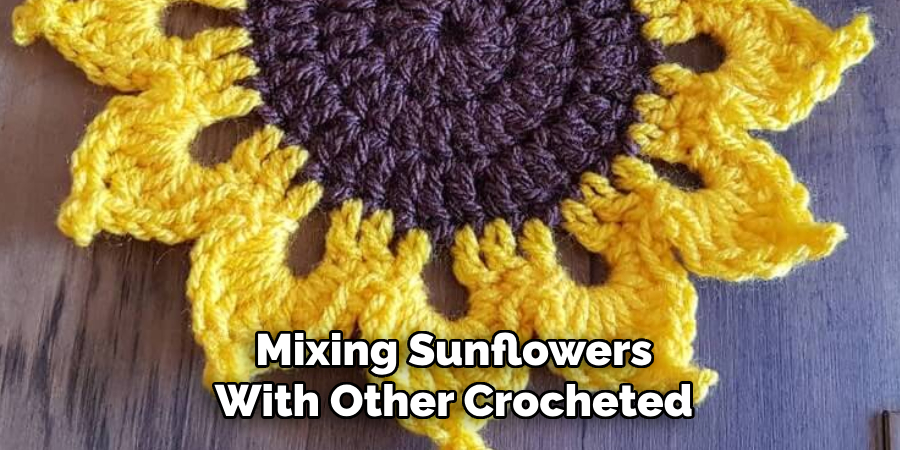
Combining with Other Crochet Flowers
Mixing sunflowers with other crocheted blooms—like daisies, roses, or tulips—lets you create lush arrangements for gifts, weddings, or seasonal décor. Vary stem lengths for more natural bouquets, or arrange flat motifs on a wall for a vibrant art display. Don’t hesitate to play with colors, shapes, and patterns to achieve the perfect look for your space.
Troubleshooting and Common Mistakes
Fixing Uneven Petals or Gaps
Even experienced crocheters make mistakes, but most are easy to fix. If your petals seem uneven or the center has visible gaps:
- Count stitches regularly to ensure consistency and symmetry.
- If petals are different sizes, double-check your chains and stitches for each one, adjusting as you go.
- Gaps in the center are best remedied by pulling the magic ring tight and weaving in the yarn end securely.
You can always unravel and redo small sections—crochet is forgiving, and practice improves every project.
Avoiding Yarn-Related Issues
Yarn can twist, snag, or split while you work. Prevent tangling by pulling from the yarn’s center and keeping skeins neat. Use your fingers and hook to guide the yarn smoothly through each stitch, and if splitting occurs, gently adjust your hook’s angle for cleaner loops. Taking your time helps minimize errors and leads to neater results.
Conclusion
By now, you should feel confident in each step of creating a crocheted sunflower, from the first chain to the final stitch. Learning how to crochet sunflower designs is both accessible and customizable, letting you celebrate the sunny beauty of sunflowers in every season. Whether you craft a single bloom or a whole bouquet, you’ll find this pattern adapts to your skill level, supplies, and creativity.
The project is about more than making something pretty—it’s a testament to patience, attention to detail, and the satisfaction of handmade artistry. Use your newly acquired knowledge of how to crochet sunflower patterns to brighten up your surroundings or bring a smile to someone else’s face. With creativity and practice, the possibilities truly bloom.
Professional Focus:
Dedicated to exploring and advancing the intersection of traditional craftsmanship and contemporary design. Specializing in textile arts, woodworking, and mixed media, with a commitment to sustainable practices and the art of upcycling. Focused on creating meaningful connections through craft, empowering individuals to unlock their creativity, and preserving cultural heritage through innovative, hands-on projects.
Vission:
To inspire and empower crafters of all experience levels to unlock their creative potential. Encourages hands-on experimentation, self-expression, and exploration through diverse craft projects.
Education:
- Bachelor of Arts (BA) in Craft and Material Studies – Virginia Commonwealth University.
- Specialized training in various crafting disciplines and material handling.
Recognition:
- Featured in local art exhibits for groundbreaking craft projects
- Partnered with community organizations to host crafting workshops
- Recognized for contributions to sustainable and eco-conscious crafting
Expertise:
Crafting expert with a focus on blending traditional techniques with innovative designs. Specialization:
- Textile arts (weaving, embroidery, fabric dyeing)
- Woodworking and furniture design
- Mixed media and upcycling projects