Are you tired of plain, boring flower pots in your garden? Do you want to add a touch of creativity and personality to your outdoor space?
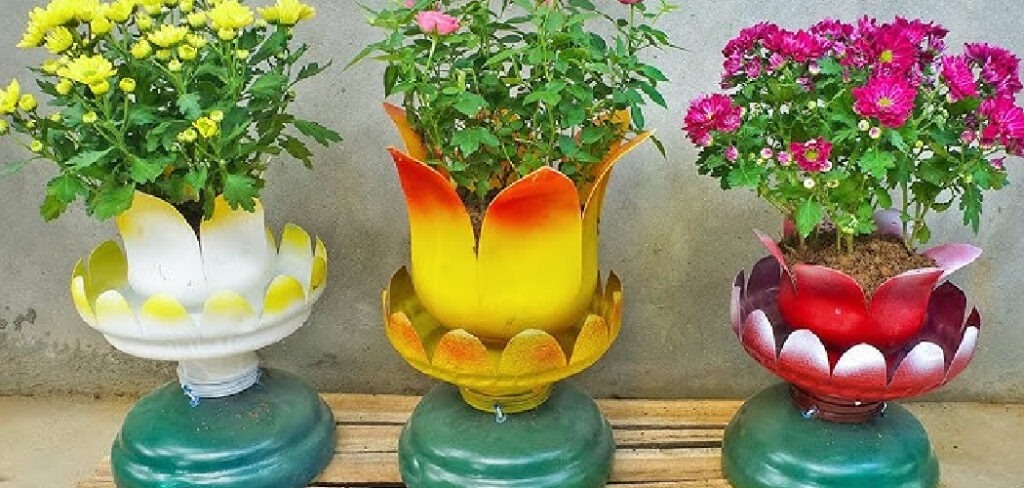
Decorating flower pots ideas is a fun and creative way to bring personality and charm to your indoor or outdoor spaces. Whether you want to add a splash of color, a touch of elegance, or a unique design, decorating flower pots allows you to showcase your style while enhancing the beauty of your plants. With a variety of techniques and materials available, from painting and stenciling to decoupage and mosaic art, the possibilities are endless.
This guide on how to decorate flower pots will provide you with tips and inspiration to transform ordinary pots into stunning decorative pieces. Let’s get started!
What Are the Benefits of Decorating Flower Pots?
Here are some of the top reasons why you should consider decorating your flower pots:
- Express Your Creativity: Decorating flower pots is a fun and creative way to express yourself. You can experiment with different colors, patterns, and textures to create a unique design that reflects your personality.
- Add Visual Interest: Plain terracotta or plastic pots can be boring and unappealing. By decorating them, you can add visual interest to any space and make your plants stand out.
- Protect Against Harsh Weather: Depending on the material of your pot, decorating it can also help protect it from harsh weather conditions. Paint or varnish can act as a barrier to extreme temperatures and moisture.
- Personalized Gifts: Decorated flower pots also make great personalized gifts for friends and family. You can paint their favorite colors or add special messages or designs that hold meaning to them.
What Will You Need?
To decorate a flower pot, you will need:
- A clean and dry terracotta pot
- Acrylic paints or spray paint
- Paintbrushes (if using acrylic paints)
- Stencils (optional)
- Painter’s tape (optional)
- Sealant (optional)
Once you have gathered all the necessary materials, you can start decorating your flower pot!
10 Easy Steps on How to Decorate Flower Pots
Step 1: Clean Your Flower Pot
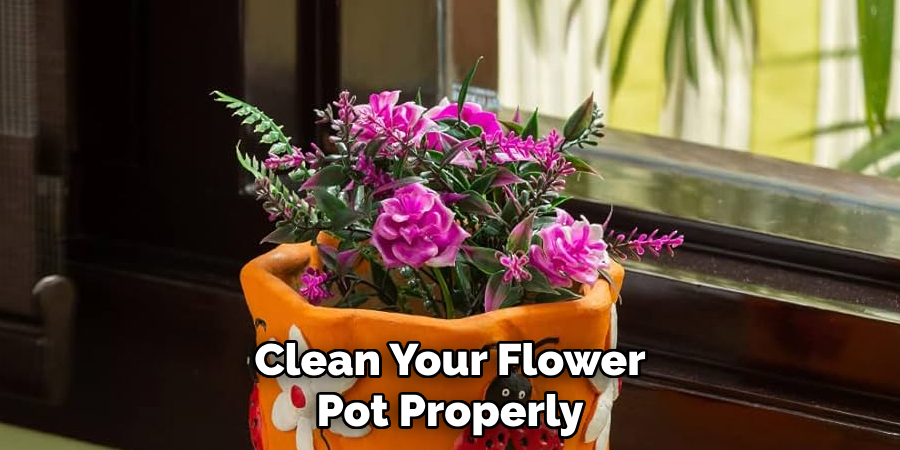
Before starting the decoration process, it’s essential to clean your flower pot properly. Begin by washing the pot with warm, soapy water to remove any dirt, dust, or debris that may prevent the paint from adhering smoothly. If the pot has been previously used, make sure to scrub off any residual soil or stains. Once cleaned, rinse the pot thoroughly with clean water and allow it to air dry completely. This step ensures you have a clean surface to work with, which is crucial for achieving a polished and long-lasting design on your flower pot.
Step 2: Apply a Base Coat
Once the pot is clean and dry, it’s time to apply a base coat of paint. The base coat serves as the foundation for your design, ensuring the colors are vibrant and evenly applied. Start by choosing a high-quality acrylic paint or outdoor paint, as these are durable and adhere well to both clay and plastic surfaces.
Using a wide, flat brush, apply a thin and even layer of paint, covering the entire surface of the pot, including the edges and rim. Allow the base coat to dry completely, which may take anywhere from 20 minutes to an hour, depending on the type of paint and humidity levels. For a more opaque finish, you can apply a second layer of the base coat after the first one dries.
Step 3: Plan Your Design
Before starting, take some time to brainstorm and sketch your design on paper. Consider the style you want to achieve—whether it’s a simple geometric pattern, intricate floral motifs, or a whimsical theme. Use references or inspiration from your surroundings, such as nature, art, or personal memories, to create a meaningful and unique design. Planning will help ensure that your final product matches your vision and prevents any mistakes that might occur during the painting process.
Once your design is finalized, lightly outline it on the pot using a pencil. This will serve as a guide for your painting and keep your design organized. If you’re including multiple colors, think about the order in which you will apply them, ensuring that each section has enough drying time to prevent smudging.
Step 4: Start Painting or Decorating
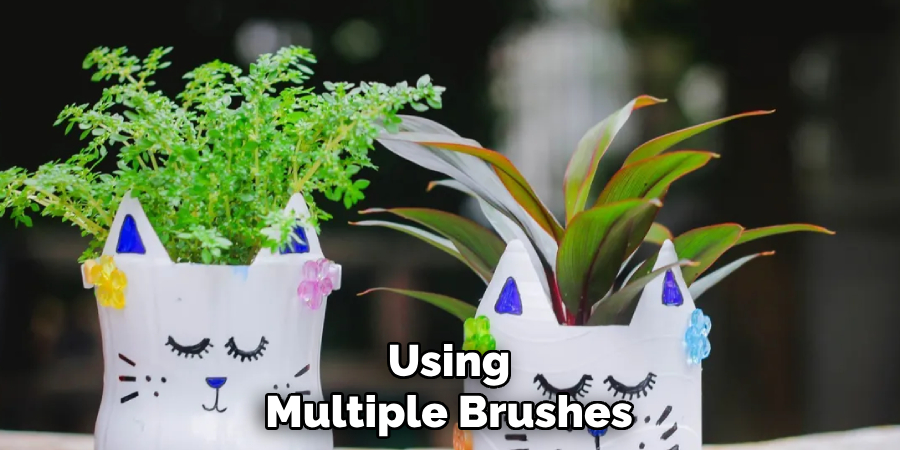
Now that your design is outlined and your materials are ready, it’s time to bring your creation to life. Begin applying the paint to your pot using smooth, even strokes. Start with the base colors and larger sections of your design, allowing them to dry completely before adding detail or additional layers. If you’re using multiple brushes, keep a cup of water or a cleaning solution nearby to rinse them between colors.
For intricate details, consider using fine-tipped brushes or tools for better precision. Take your time and enjoy the process, as each stroke contributes to the uniqueness of your work.
Step 5: Experiment with Texture
Adding texture to your artwork can create depth and visual interest, elevating your design to a whole new level. Experiment with different tools, such as sponges, palette knives, or even household items like bubble wrap or combs, to add unique patterns and textures. Layering paints or incorporating mixed media such as sand, fabric, or paper can also enhance the tactile quality of your piece. Don’t be afraid to combine techniques and explore how various textures interact with each other.
Step 6: Layer Your Colors
Layering colors is a critical step in creating depth and vibrancy in your artwork. Start by applying base colors and allow them to dry completely before adding subsequent layers. Use translucent paints or glazes to create soft transitions and to build richness gradually. You can experiment with blending techniques, such as wet-on-wet for smooth gradients or dry brushing for textured effects.
Step 7: Add Finishing Touches
The final step in your artistic process is adding the finishing touches that bring your piece to life. Examine your artwork carefully and identify areas that may need refinement or accentuation. This could include enhancing highlights, deepening shadows, or adding small details for emphasis.
Consider using fine brushes or tools for precision work, and don’t hesitate to incorporate contrasting colors or textures to create a focal point. Once satisfied, ensure the piece is thoroughly dried and, if appropriate, apply a protective sealant to preserve your artwork. These finishing touches are what transform a good piece into a truly polished masterpiece.
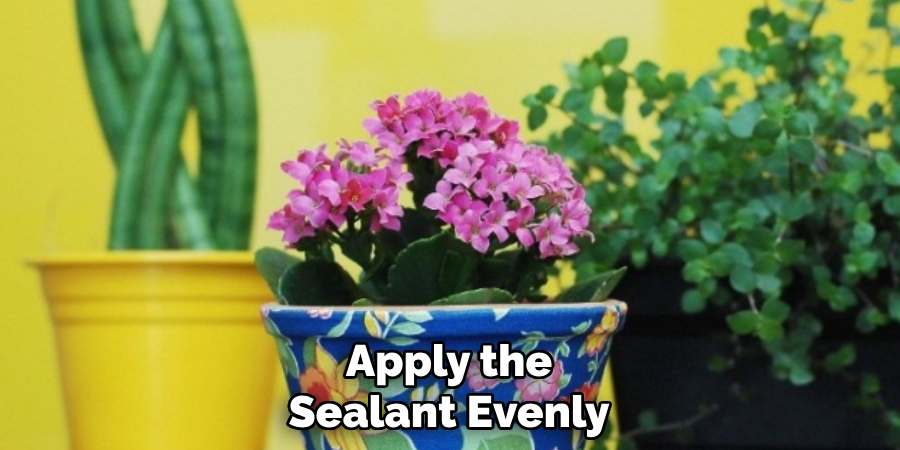
Step 8: Seal the Pot
Sealing the pot is a crucial step to ensure the durability and longevity of your artwork. Begin by selecting a suitable sealant based on the type of paint or material used. For example, if you’ve used acrylic paints, a clear acrylic sealant works best to protect the surface. Apply the sealant evenly using a soft brush or spray, ensuring that every part of the pot is coated for consistent protection.
Allow the sealant to dry according to the manufacturer’s instructions, typically in a well-ventilated area. This final step not only protects your design from wear and environmental factors but also enhances its appearance by adding a smooth, finished layer.
Step 9: Wait for Everything to Set
After sealing the pot, it’s essential to give everything ample time to set properly. Place the pot in a safe, dry, and undisturbed location where it won’t be accidentally touched or moved. Depending on the type of sealant and environment, this process may take several hours or even a full day. Be patient during this step, as ensuring the design is fully set and cured will help maintain its durability and appearance.
Step 10: Put Your Pot to Use
Now that your pot is fully set and ready, it’s time to put it to good use! Whether you’ve designed it as a decorative piece, a functional planter, or a versatile container, your handcrafted pot is ready to shine. Carefully place soil and your favorite plants if using it as a planter, or incorporate it into your home decor to showcase its beauty. Enjoy the satisfaction of seeing your creation come to life while adding a personal and creative touch to your space.
By following these simple steps, you can create your one-of-a-kind pot that reflects your unique style and vision.
5 Things You Should Avoid
- Using Non-Weatherproof Materials
Avoid using paints, adhesives, or decorations that aren’t weatherproof, especially if the pot will be placed outdoors. Exposure to rain, sunlight, and temperature changes can cause damage and deterioration over time.
- Overloading the Pot with Decorations
While creativity is key, too many embellishments can overwhelm the pot design and make it look cluttered or unbalanced. Aim for simplicity and coordination to highlight your artistic touch.
- Blocking Drainage Holes
Never cover or obstruct drainage holes while decorating, as proper drainage is essential for the health of your plants. Ensure the design preserves the functionality of the pot.
- Ignoring the Pot’s Surface Preparation
Skipping cleaning or priming the pot before decorating can result in poor adhesion of paints or decorative elements. Always prepare the surface properly to ensure durability.
- Using Toxic Materials Near Plants
Avoid using paints, glues, or other chemicals that could be harmful to plants. Ensure that all materials used are plant-safe, especially if the pot will house living plants.
Conclusion
How to decorate flower pots can be a fun and creative way to add a personal touch to your garden or indoor space.
By taking the time to plan your design, prepare the pot’s surface properly, and choose plant-safe materials, you can ensure both beauty and functionality. Always consider the environment the pot will be placed in and the needs of the plants it will hold.
With attention to detail and thoughtful choices, your decorated flower pots will not only stand out but also last for seasons to come.
Professional Focus:
Dedicated to exploring and advancing the intersection of traditional craftsmanship and contemporary design. Specializing in textile arts, woodworking, and mixed media, with a commitment to sustainable practices and the art of upcycling. Focused on creating meaningful connections through craft, empowering individuals to unlock their creativity, and preserving cultural heritage through innovative, hands-on projects.
Vission:
To inspire and empower crafters of all experience levels to unlock their creative potential. Encourages hands-on experimentation, self-expression, and exploration through diverse craft projects.
Education:
- Bachelor of Arts (BA) in Craft and Material Studies – Virginia Commonwealth University.
- Specialized training in various crafting disciplines and material handling.
Recognition:
- Featured in local art exhibits for groundbreaking craft projects
- Partnered with community organizations to host crafting workshops
- Recognized for contributions to sustainable and eco-conscious crafting
Expertise:
Crafting expert with a focus on blending traditional techniques with innovative designs. Specialization:
- Textile arts (weaving, embroidery, fabric dyeing)
- Woodworking and furniture design
- Mixed media and upcycling projects