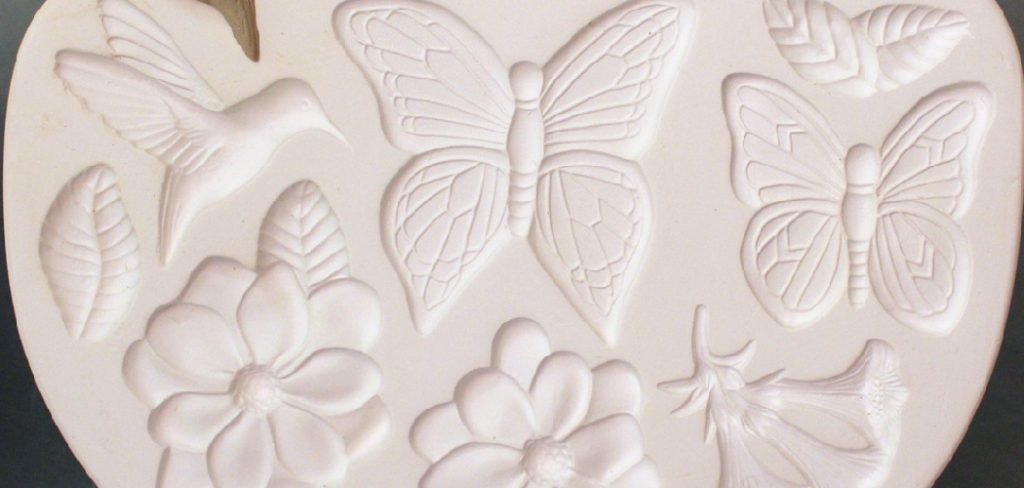
Embarking on the journey of ceramic craftsmanship often involves mastering various techniques, each adding its own layer of intricacy and artistry to the final piece. Among these techniques, the creation of sprig molds stands out as a fundamental skill, offering artists a means to embellish their pottery with intricate designs and textures. A sprig mold, essentially a small plaster or clay form, serves as a vehicle for transferring intricate patterns or decorative elements onto the surface of clay objects. From delicate floral motifs to intricate geometric patterns, the possibilities are limited only by the artist’s imagination.
In this article, we delve into the process of how to make a sprig mold, exploring the step-by-step procedure and offering insights into the tools, materials, and techniques required to master this essential aspect of ceramic artistry.
Whether you’re a novice potter or a seasoned artisan looking to enhance your repertoire, learning how to make a sprig mold opens up a world of creative possibilities in the realm of ceramic design.
Exploring the Art of Sprig Molding
Sprig molding is not just a technique; it’s an exploration into the heart of creativity and precision in the ceramic arts. This method allows artists to replicate detailed designs consistently, bringing a unique signature to their work. The application of sprigs to pottery or sculptures can transform a simple form into a rich tapestry of texture and visual interest, imbuing each piece with a narrative quality that resonates with both maker and observer.
The artistry involved in sprig molding transcends mere decoration, engaging with historical techniques while inviting modern innovation. As potters master the craft of creating and applying these ornamental pieces, they tread a path walked by artisans for centuries, continuing a tradition that is as much about storytelling as it is about form and function.
Importance of Sprig Molds in Ceramics
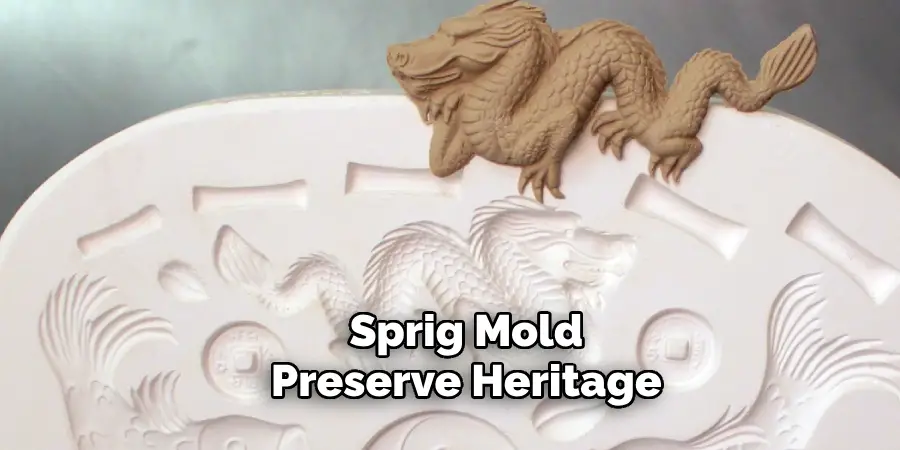
Sprig molds hold a place of significance in the ceramics world, not merely as tools, but as bridges between the past and present of ceramic artistry. Their importance can be appreciated on multiple levels, from the practical to the philosophical. Practically, they allow for the mass production of consistent, intricate designs that would be nearly impossible to replicate by hand with such precision. This uniformity is crucial in projects requiring symmetry or a series of pieces that need to match perfectly. On a deeper level, sprig molds are vessels for cultural and artistic expression. They enable artists to incorporate traditional motifs and personal insignias into their work, thus preserving heritage and allowing personal identity to be imprinted in clay.
Furthermore, the use of sprig molds challenges potters to think creatively about the integration of design and form, pushing the boundaries of what is possible within the medium of ceramics. Through the lens of sprig molding, we see not just the evolution of technique but the enduring human desire to beautify and imbue our environment with meaning.
Understanding Sprig Molds
At its core, a sprig mold is a simple yet ingenious tool designed for the ceramic arts. To truly appreciate and master the use of sprig molds, one must first understand their structure and function. A sprig mold is essentially a negative imprint of a desired design; when clay is pressed into this cavity, it takes on the mold’s intricate patterns and textures. These molds can be crafted from various materials, though plaster is most commonly used due to its absorbent properties, which help in the quick release of the clay.
The design possibilities with sprig molds are vast, enabling the transfer of precise, repeatable textures and forms onto wet clay surfaces. This repeatability is crucial for artists seeking to create series with uniform thematic elements or to mass-produce specific designs with high fidelity.
Additionally, the technique allows for the production of relief designs that can stand out from the surface of the ceramic piece, adding depth and dimensionality. By understanding the fundamentals of sprig mold design and application, ceramic artists can significantly expand their creative vocabulary, opening up new avenues for artistic expression within their work.
Definition and Functionality of Sprig Molds

Sprig molds are defined as specialized molds used in ceramics to create repeatable designs and textures on pottery and ceramic pieces. They function by allowing wet clay to be pressed into a carved or sculpted template, capturing intricate details that can then be applied to the surface of a work in progress. This method is particularly useful for adding decorative elements such as flowers, animals, geometric patterns, or any other design motif an artist might envisage. The functionality of sprig molds extends beyond mere ornamentation; they serve as a bridge between traditional craftsmanship and contemporary design, enabling artists to replicate historical designs with precision or create modern patterns with consistency.
Through the strategic use of sprig molds, ceramicists can enhance the aesthetic appeal of their creations, lending both depth and personalization to each piece. The utility of sprig molds in mass-producing detailed designs cannot be overstated, as they provide a means to achieve uniformity and symmetry in decorative elements across multiple pieces, which is particularly advantageous in commercial or large-scale artistic projects.
Varieties of Sprig Molds and Their Uses
Sprig molds come in an array of shapes, sizes, and materials, each suited to particular uses and artistic visions. The most traditional sprig molds are crafted from plaster due to its porosity, which helps in the quick drying and easy release of the clay. However, contemporary artists have also embraced silicone and bisque-fired clay molds for their flexibility and durability, respectively.
- Plaster Sprig Molds are valued for their fine detail capturing ability. They are ideal for creating precise and intricate designs, making them a top choice for artists focused on detailed work like historical reproductions or elaborate patterning.
- Silicone Sprig Molds, on the other hand, offer unmatched flexibility, allowing artists to bend and manipulate the mold to release the clay without damage. This type of mold is particularly useful for curved or complex surfaces where a rigid mold would not conform.
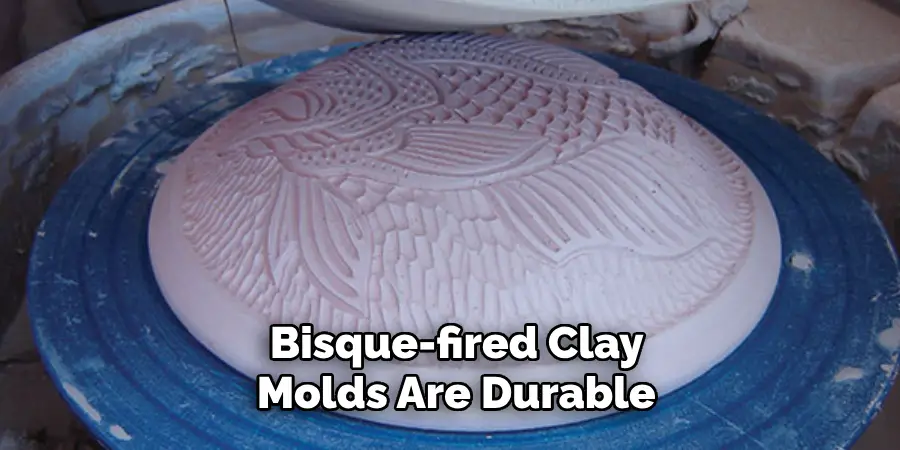
- Bisque-fired Clay Molds are made by firing a piece of clay that has been carved or pressed with a design. These molds are durable and can be used repeatedly, making them suitable for artists who produce large quantities of work. They are excellent for simpler designs or when a rustic, handcrafted quality is desired.
Each type of sprig mold serves distinct purposes in the ceramics studio. Plaster molds are preferred for their precision and fine detail work, while silicone molds are chosen for their flexibility and ease of use on unconventional shapes. Bisque molds offer a middle ground, being robust and versatile for various applications.
The choice of mold depends largely on the specific needs of the project and the artist’s personal preference. Through the use of these varied sprig molds, ceramic artists can significantly broaden their repertoire of decorative techniques, enabling them to add unique, textured, and dimensional designs to their work, thereby enhancing the visual and tactile qualities of their ceramic pieces.
Advantages of Creating Your Own Sprig Molds
Creating your own sprig molds offers several distinct advantages that can greatly enhance the artistic process and final outcomes of ceramic work.
Firstly, customization is perhaps the most significant benefit. By designing and producing their own molds, artists are not limited by the availability of commercial designs; they can create molds that perfectly fit their creative vision, ensuring their work remains unique and true to their artistic voice. This opens up endless possibilities for personalization and innovation in their projects.
Another advantage is the cost-effectiveness of making your own sprig molds. While commercial molds can be expensive, especially for unique or custom designs, creating your own molds can be a more economical option in the long run. Artists who are capable of producing their own molds can save on costs, allowing for more resources to be allocated towards other aspects of their work.
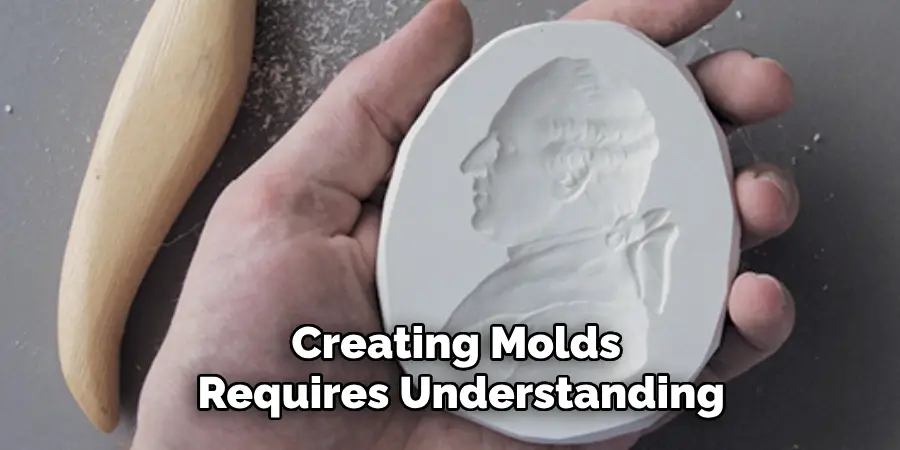
Skill development is also a key advantage. The process of designing and creating sprig molds requires a deep understanding of the materials and techniques involved. This challenge encourages artists to expand their skill set, including sculpture, design, and even aspects of engineering. Over time, this can lead to a higher level of craftsmanship and a more profound understanding of the ceramic process as a whole.
Flexibility and adaptability in the artistic process are further enhanced by creating your own sprig molds. Artists can quickly produce molds to respond to new ideas or changes in their project’s direction. This ability to adapt and experiment on the fly is invaluable in the creative process, potentially leading to innovative results that might not have been possible with commercial molds.
Lastly, replication and consistency in series work or commercial projects become more manageable with self-made molds. Artists can produce a series of works with cohesive elements without the need for painstakingly handcrafting each detail, saving time while maintaining a high standard of quality across their work.
Types of Clay Suitable for Sprig Molds
When selecting clay for use with sprig molds, it’s essential to choose a type that complements the intricacy and design requirements of the mold, as well as the final ceramic piece’s intended function. Different clays offer varied characteristics, from workability to firing temperature, making some more suited for detailed sprig applications than others.
- Porcelain: Known for its fine texture and purity, porcelain is an excellent choice for detailed sprig mold work. Its smooth consistency allows it to capture the intricate details of a mold, making it ideal for high-detail decorative elements. However, it requires a high firing temperature and can be somewhat challenging to work with due to its tendency to shrink and warp.
- Stoneware: This type of clay is highly durable and versatile, making it suitable for a wide range of ceramic projects, including those using sprig molds. Stoneware’s workability and strength make it a good choice for creating decorative elements that require a balance between detail and durability. It’s also available in a variety of colors, allowing for creative expression in the final piece.
- Earthenware: With its lower firing temperature and excellent plasticity, earthenware is a popular choice for sprig mold applications. It’s especially well-suited for vibrant glazed pieces and can achieve a rustic, handcrafted look. However, it’s less durable than stoneware or porcelain, making it more suitable for decorative pieces rather than functional ware.
- Air-dry Clays: For artists who lack access to kiln firing, air-dry clays can be used with sprig molds for decorative purposes. While not as durable as fired ceramics, air-dry clays can still produce satisfactory results for ornamental use, and can be painted or sealed after drying to enhance their appearance and longevity.

Choosing the right type of clay for sprig molds depends on the desired qualities of the final piece, such as texture, color, and durability, as well as the specific details of the sprig design. Experimenting with different clays can help artists discover the ideal combination for their creative vision and technical requirements.
10 Methods How to Make a Sprig Mold
1. Selecting Materials:
Begin by choosing the appropriate materials for your sprig mold. Traditional options include plaster of Paris or ceramic clay, but you can also explore alternatives like silicone or latex molds for more intricate designs. Each material has its own unique qualities, so it’s important to consider what you want to achieve with your final product.
Plaster of Paris is a popular choice for sprig molds because it is easy to work with and affordable. This material sets quickly, allowing for faster production of multiple molds. However, it may not hold up well to repeated use and can be brittle if not properly reinforced.
2. Preparing the Workspace:
Set up a clean and well-ventilated workspace to work in. Lay down protective coverings to prevent any spills or messes, and ensure that you have easy access to water for cleaning up.
It is important to have a dedicated workspace for any task, especially if it involves potential mess or spills. This not only helps in keeping your work organized, but also ensures that you are able to work efficiently without any distractions.
3. Creating the Master Design:
Start by crafting or selecting the master design that you want to replicate using the sprig mold technique. This could be a small sculpture, a relief carving, or any other intricate pattern that you wish to imprint onto your pottery.
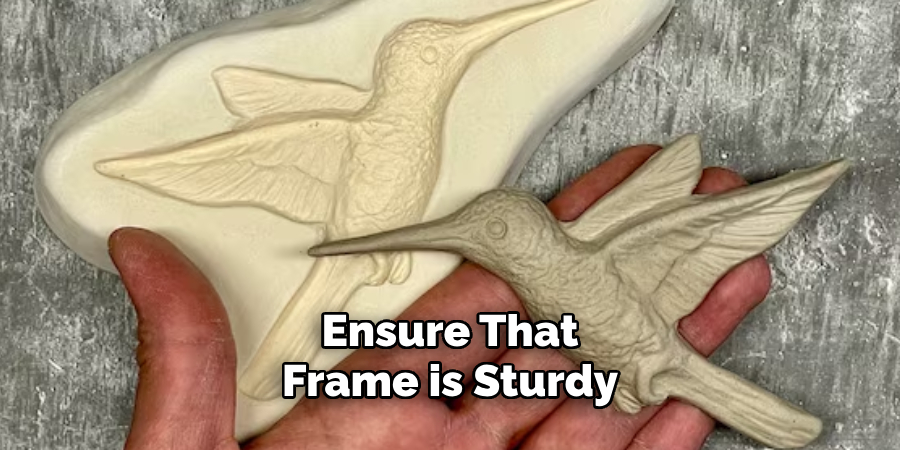
4. Building the Mold Frame:
Construct a frame around the master design using materials like wood, cardboard, or plastic. Ensure that the frame is sturdy and tightly fits around the design, leaving a small gap between the frame and the design for pouring in the mold material.
5. Mixing the Mold Material:
Follow the manufacturer’s instructions to mix the mold material thoroughly. Whether using plaster of Paris, ceramic clay, silicone, or latex, ensure that the consistency is smooth and free of lumps to achieve a high-quality mold.
6. Pouring the Mold:
Carefully pour the mixed mold material into the frame, ensuring that it covers the entire master design and fills the frame to the desired thickness. Use a spatula or a flat tool to spread the material evenly and remove any air bubbles.
7. Allowing for Setting Time:
Depending on the type of mold material used, allow sufficient time for it to set and cure. Plaster of Paris typically sets within 20-30 minutes, while ceramic clay may require drying overnight. Silicone and latex molds may need several hours to cure completely.
8. Removing the Frame and Master Design:
Once the mold material has fully set, carefully remove the frame from around the mold. Gently extract the master design from the mold, taking care not to damage the intricate details of the mold.
9. Finishing and Refining the Mold:
Use fine-grit sandpaper or a modeling tool to smooth out any rough edges or imperfections on the mold surface. Pay close attention to preserving the details of the design while refining the mold for optimal performance.
10. Testing and Using the Sprig Mold:
Before using the sprig mold on your pottery pieces, conduct a test run to ensure that it produces the desired results. Press clay into the mold firmly but gently, then carefully remove the sprig from the mold to inspect the details. Adjust the pressure or moisture content of the clay as needed to achieve the best results. Once satisfied, incorporate the sprig mold into your ceramic work to add unique textures and designs to your creations.

Conclusion
In conclusion, mastering the art of creating sprig molds not only adds a valuable technique to a ceramic artist’s repertoire but also opens up a realm of creative possibilities. Through careful attention to detail and a willingness to experiment with different materials and designs, artists can enhance their pottery with unique textures and motifs, elevating their work to new levels of sophistication.
The process of making a sprig mold requires patience and precision, but the rewards are well worth the effort. Be sure to follow all instructions on how to make a sprig mold carefully, and always consult an expert when in doubt.
About the Author
Adrien Rowe, an expert in knitting, fiber arts, and bookbinding, promotes sustainability and creativity through workshops and tutorials. Passionate about education and community, he inspires crafters of all levels to learn, share, and grow in a supportive, idea-driven environment.
Professional Focus
Specializes in advanced knitting techniques, fiber manipulation, and textile innovation.
Expert in book arts, including cotton papermaking, handmade paper techniques, and bookbinding.
Dedicated to educating and inspiring crafters of all skill levels through tutorials, workshops, and hands-on learning experiences.
Passionate about creating a supportive community where makers can share ideas, learn, and grow.
Education History
Rhode Island School of Design (RISD) – Bachelor of Fine Arts (BFA) in Textiles.
University of Iowa Center for the Book – Master of Fine Arts (MFA) in Book Arts.
Expertise:
Advanced knitting, fiber manipulation, papermaking, bookbinding, sustainability-focused crafting, educational workshops, creative tutorials, and fostering a supportive maker community.