Are you bored at home and want to do something creative? Why not learn how to make paper crow!
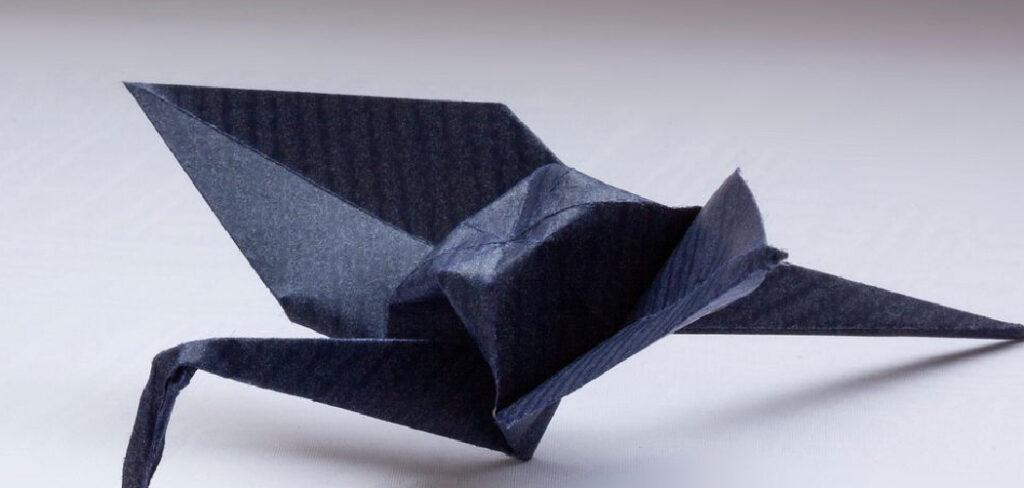
Creating a paper crow is a fun and creative craft project that combines artistry and folding techniques. Whether you’re decorating for a festive occasion, working on a school project, or just looking for an engaging activity, crafting a paper crow allows you to bring a touch of elegance and whimsy to your creation. With just a few materials like black paper, scissors, and glue, you can design a crow that mimics this fascinating bird’s sleek and mysterious appearance.
This guide will walk you through the steps to make your own paper crow, ensuring an enjoyable and rewarding crafting experience. Let’s get started with the materials you will need!
What Will You Need?
To make a crow paper craft, you will need:
- Black construction paper or cardstock
- Scissors
- Pencil
- Glue stick
- White pencil or chalk (optional)
Once you have gathered all your materials, it’s time to start crafting!
9 Easy Steps on How to Make Paper Crow
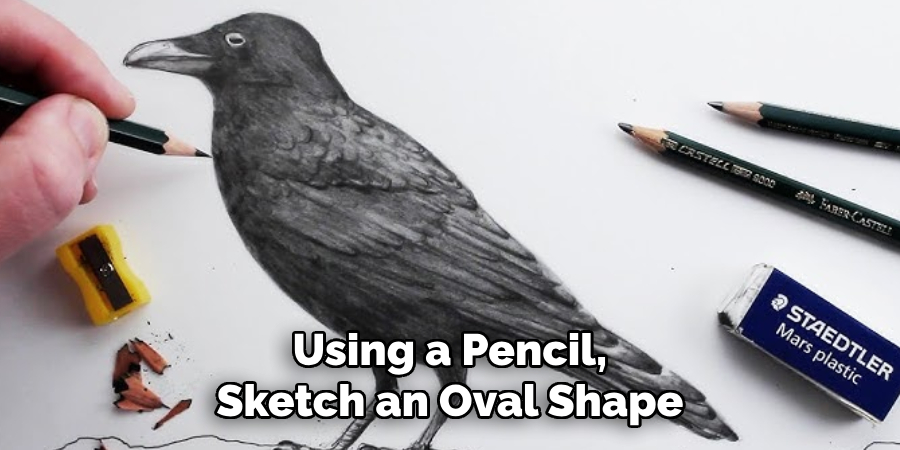
Step 1: Create the Body
Start by taking your black construction paper or cardstock and laying it flat on your workspace. Using a pencil, sketch an oval shape that will serve as the crow’s body. If you’re not confident in freehand drawing, you can use a template, a stencil, or even trace an oval object like a lid or a cup for precision. Make sure the size of the oval fits your vision for your paper crow—neither too small nor too large for the final creation. Once you’re satisfied with the shape, carefully cut out the oval using scissors. Smooth out any uneven edges for a tidy finish. This oval will form the base for bringing your paper crow to life.
Step 2: Create the Head
Next, take another piece of black construction paper or cardstock and sketch a smaller circle or oval shape, which will serve as the head of the crow. The head size should be proportional to the body you’ve already created. Use a similar method with a template or object to make the process easier if needed. Once drawn, cut out the shape with scissors, ensuring clean edges. When finished, use the glue stick to attach the head to the top of the body, aligning the shapes so they fit together seamlessly. This step starts to give your paper crow its recognizable form.
Step 3: Add the Wings
To create the wings, take another piece of black construction paper or cardstock. Draw two wing shapes roughly the same size and shape, resembling gently curved triangles or feathered arcs. You can freehand these shapes or use a template if you prefer more precision. Cut out the wings carefully, making sure the edges are smooth. Position the wings on either side of the body, adjusting their angle to give the appearance of either rest or flight. Once satisfied with their placement, use the glue stick to attach the wings securely to the body. These wings will help bring your paper crow to life, giving it dimension and character.
Step 4: Create the Beak
For the beak, use a piece of orange or yellow construction paper. Draw a small triangle, making sure it’s proportionate to the size of your crow’s head. Cut out the triangle carefully with scissors, ensuring clean edges. Next, position the beak near the bottom center of the head, with the pointed tip extending outward as a real bird’s beak would. Once you’re happy with the placement, apply a small amount of glue to the back of the triangle and attach it securely to the head. The bright beak adds a splash of color and gives your paper crow a touch of personality.
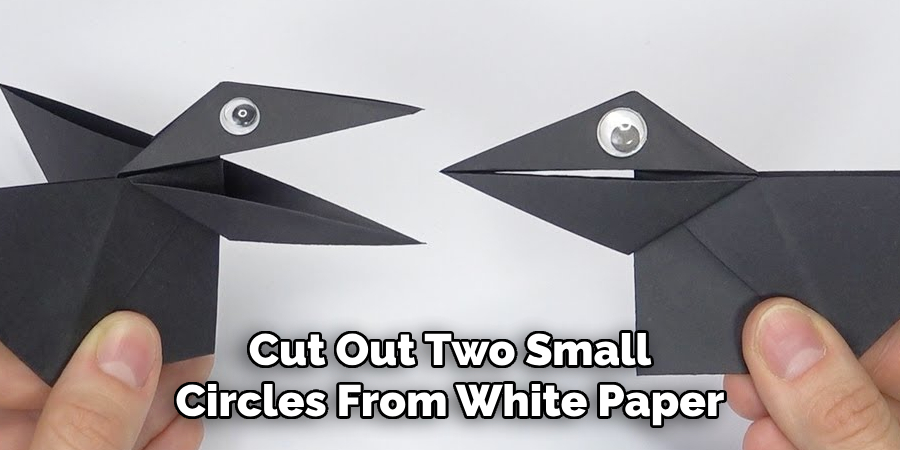
Step 5: Add the Eyes
You’ll need to create its eyes to give your paper crow a lively expression. Use white and black construction paper for this step. Start by cutting out two small white circles for the sclera, ensuring they are proportionate to the size of the crow’s head. Then, cut out two even smaller black circles for the pupils. Glue the black circles onto the center of the white circles to form the eyes. Position the eyes on the crow’s head above the beak, spacing them evenly. Once satisfied with their placement, use a glue stick to secure them. The eyes bring your crow to life, adding a charming and expressive touch.
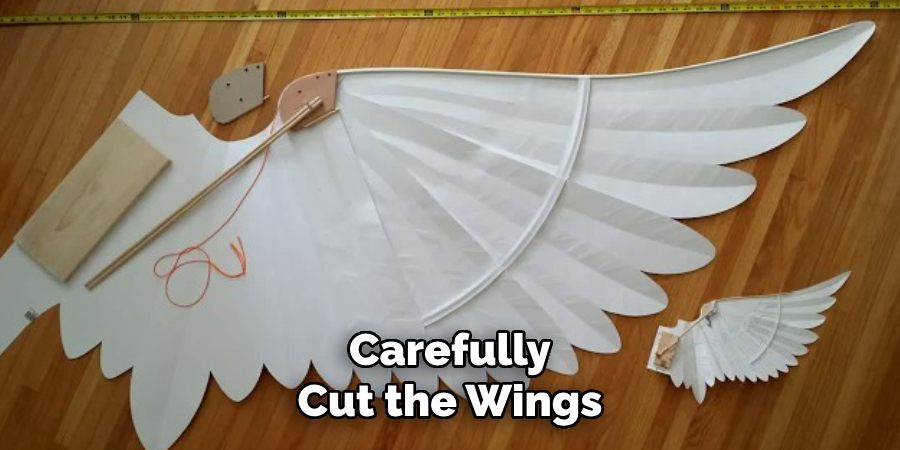
Step 6: Create the Wings
Take a piece of black construction paper to craft the wings for your paper crow. Fold the paper in half and outline one wing along the folded edge to ensure both wings are symmetrical. Once the outline is complete, carefully cut the wings along the drawn lines. Unfold the paper to reveal a matching pair of wings. Position the wings on either side of the crow’s body, ensuring they align correctly to give it a balanced look. Use glue to attach the wings firmly to the sides. The addition of wings completes the crow’s appearance, making it look ready to take flight.
Step 7: Add the Tail
Take another piece of black construction paper to make the tail for your paper crow. Draw a fan-like shape to represent the feathers of the tail. Cut out the shape carefully, ensuring it is proportionate to the size of the crow’s body. Once cut, position the tail at the back of the crow’s body, aligning it with the base of the wings. Securely attach the tail using glue, pressing firmly to ensure it stays in place. The tail adds the final touch to your paper crow, giving it a finished and polished look.
Step 8: Add Details to the Crow
Now that the main body, wings, and tail are complete, it’s time to add some details to bring your paper crow to life. Take a white crayon or paint and draw small highlights on the wings and tail feathers to give them a more realistic texture. For the eyes, cut out two small circles from white paper and draw black dots in the center to create pupils. Glue the eyes onto the crow’s head, ensuring they’re evenly spaced. Additionally, you can use orange or yellow construction paper to cut out a small triangular beak and attach it just below the eyes. These details will enhance the overall appearance of your paper crow, making it more lively and expressive.
Step 9: Display Your Paper Crow
With all the details in place, your paper crow is complete and ready for display! Choose a spot where it can stand out, such as a bookshelf, a desk, or even as part of a nature-themed craft display. Alternatively, attach a string to the top and hang your paper crow to give it a floating effect, as if it’s soaring through the air. This creative craft makes an excellent decoration, and you can even make a flock of crows to enhance the scene. Enjoy your handmade paper crow project!
By following these steps, you can create a paper crow that looks incredibly realistic and lifelike. Use your creativity to add unique twists and variations to make each one different from the previous.
5 Additional Tips and Tricks
- Use Quality Paper: Opt for sturdy and smooth paper to ensure sharp creases and a cleaner final design. Thicker paper can help the crow hold its shape better.
- Fold Precisely: Take your time to make each fold as accurate as possible. Misaligned folds can distort the overall appearance of the paper crow.
- Crease Firmly: Use a ruler or a bone folder to reinforce the creases. This will help the crow hold its form and make the folds look more professional.
- Follow a Step-by-Step Guide: Keep a clear instructional guide or video on hand to follow along. Visual aids can make the process much easier.
- Practice with Scrap Paper: Before using your chosen paper, try practicing with scrap paper. This helps you perfect the technique without worrying about mistakes.
5 Things You Should Avoid
- Rushing the Process: Avoid hurrying through the steps, as this can lead to sloppy folds and an unbalanced final design. Precision requires patience.
- Using Thin or Weak Paper: Fragile paper may tear easily or fail to hold the folds, leading to a flimsy and unsatisfactory outcome.
- Skipping Instructions: Don’t skip or guess steps in the folding process. Missing one fold can disrupt the entire structure of the paper crow.
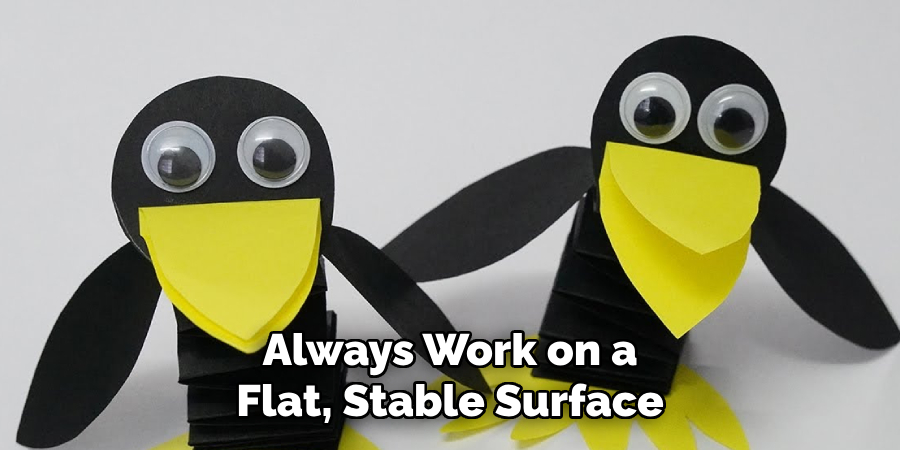
- Folding Without a Flat Surface: Always work on a flat, stable surface. An uneven workspace can result in imprecise folds and misaligned creases.
- Applying Too Much Pressure: While firm creasing is helpful, excessive pressure can damage the paper or leave unsightly marks. Be gentle but deliberate.
Conclusion
How to make paper crow is a rewarding and enjoyable craft that combines patience, precision, and creativity.
By following the step-by-step instructions, selecting the right materials, and avoiding common mistakes, you can easily bring your paper crow to life. Always remember that practice makes perfect, so take the time to refine your skills and enjoy the process. With dedication and care, you’ll craft a paper crow that is both impressive and satisfying to create.
Hopefully, this guide has inspired you to explore the world of paper folding and discover your own unique designs. Happy crafting!
Professional Focus:
Dedicated to exploring and advancing the intersection of traditional craftsmanship and contemporary design. Specializing in textile arts, woodworking, and mixed media, with a commitment to sustainable practices and the art of upcycling. Focused on creating meaningful connections through craft, empowering individuals to unlock their creativity, and preserving cultural heritage through innovative, hands-on projects.
Vission:
To inspire and empower crafters of all experience levels to unlock their creative potential. Encourages hands-on experimentation, self-expression, and exploration through diverse craft projects.
Education:
- Bachelor of Arts (BA) in Craft and Material Studies – Virginia Commonwealth University.
- Specialized training in various crafting disciplines and material handling.
Recognition:
- Featured in local art exhibits for groundbreaking craft projects
- Partnered with community organizations to host crafting workshops
- Recognized for contributions to sustainable and eco-conscious crafting
Expertise:
Crafting expert with a focus on blending traditional techniques with innovative designs. Specialization:
- Textile arts (weaving, embroidery, fabric dyeing)
- Woodworking and furniture design
- Mixed media and upcycling projects