Revamping your home decor can be both exciting and rewarding, especially when it involves personal projects like learning how to paint metal candle holders. This article aims to guide you through the process of transforming these common decorative items from overlooked to eye-catching.

Painting your own metal candle holders offers significant cost savings compared to purchasing new ones and allows for a high degree of personalization, letting you match them perfectly with your home’s aesthetic. The sense of accomplishment that comes from completing a DIY project cannot be understated. To begin, you will need some basic tools and materials, most of which are readily available.
These include metal primer, paint suitable for metal surfaces, fine-grit sandpaper, soft cloth for cleaning, a brush or roller for painting, and, optionally, a sealer to protect the painted finish. This guide promises a comprehensive step-by-step walkthrough on painting metal candle holders, ensuring a smooth and successful transformation.
Understanding Metal Candle Holders
A. Types of Metal Candle Holders
Metal candle holders come in a diverse array of materials, each offering its own unique charm and challenges when it comes to painting. Wrought iron varieties are known for their robustness and intricate designs, making them popular for outdoor settings. Brass candle holders exude a classic elegance but require careful preparation to ensure the paint adheres properly.
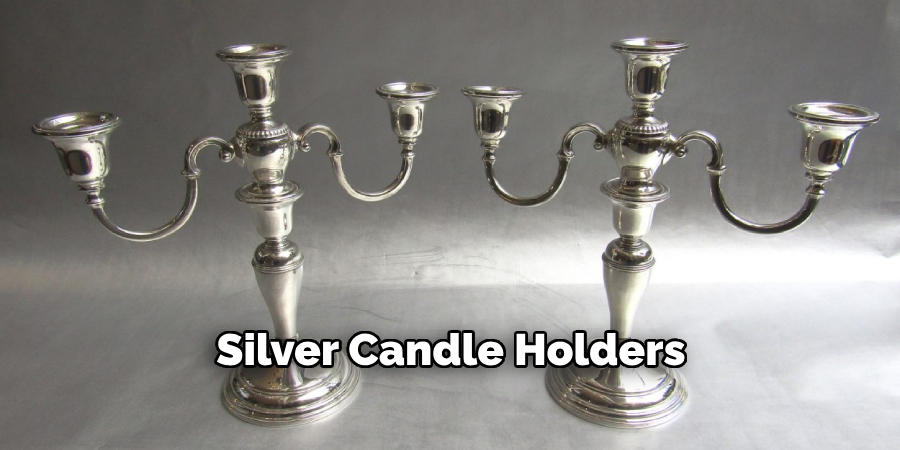
Silver candle holders, though less common for painting due to their value as a precious metal, can still be repainted for those looking to repurpose or update an outdated piece. The specific type of metal can slightly alter the painting process, particularly in the preparation stage, as some metals may require an additional primer or specific paint type to achieve the best finish.
B. Assessing the Condition
Before painting metal candle holders, it’s crucial to assess their condition thoroughly. Check for signs of rust, which must be removed through sanding or a rust-removal product to prevent further corrosion under the new paint layer.
Dents and other physical damages should also be evaluated; while minor imperfections can add character, significant flaws might need to be addressed before painting. Ensuring the candle holder is in good repair before beginning your project will lead to a smoother painting process and a more satisfying final result.
Gathering Tools and Materials
A. Essential Tools
Starting your project with the right tools in hand is essential for achieving a professional-looking finish when learning how to paint metal candle holders. Begin with cleaning cloths and a mild detergent to ensure that your candle holders are free from dust, dirt, and grease, which can impede paint adhesion. Sandpaper in various grits, particularly fine and medium, is crucial for smoothing out any rough spots and ensuring the paint has a good surface to adhere to.
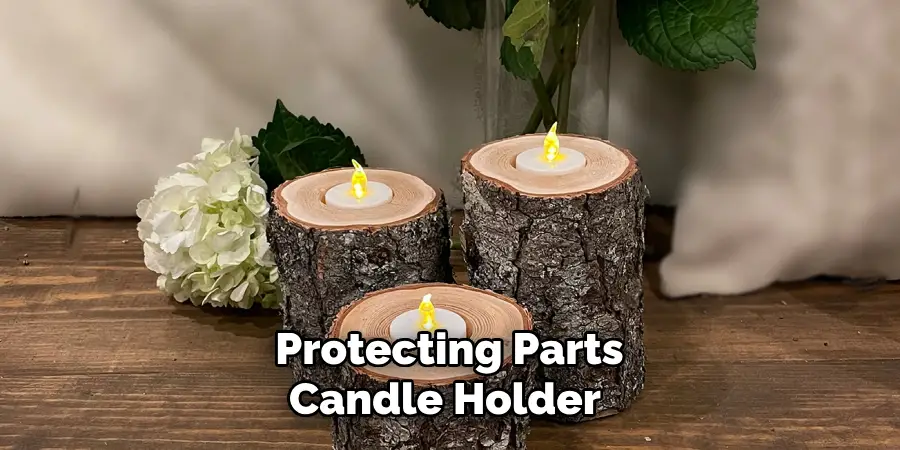
Painter’s tape is invaluable for protecting parts of the candle holder you wish to remain unpainted or to create sharp lines and designs. A drop cloth or plastic sheet will protect your workspace from spills and drips. When it comes to applying paint, a high-quality paintbrush that fits the size of your candle holder is indispensable for detailed work, while a paint roller might be preferred for covering larger, smoother areas more efficiently.
B. Choosing the Right Paint
The selection of paint is paramount in the process of revitalizing metal candle holders. Opt for a metal primer and metal paint, both specially formulated to adhere to metal surfaces and withstand typical wear. These specialized paints ensure the longevity and durability of your project.
Furthermore, choose a color that not only complements your home décor but also enhances the style and character of the candle holder itself. Whether you’re aiming for a sleek, modern look or a more rustic appeal, the vast array of colors available in metal-specific paints offers limitless possibilities for customization.
C. Optional Materials
While the above-mentioned tools and materials cover the basics, several optional items can significantly streamline the painting process or enhance the final outcome. A spray primer can be a time-saver for covering large areas or intricate designs, providing an even coat more easily than brushed-on primers. For candle holders with stubborn grime or oily residues, a degreaser may be necessary for a thoroughly clean surface.
Lastly, considering wax paper as a protective layer for your workspace or in between coated items can prevent unwanted sticking or damage. These optional materials, while not strictly necessary, can elevate your painting project, making the process smoother and the result more satisfying.

Preparing the Metal Candle Holders
A. Cleaning the Candle Holders
Thorough cleaning is a critical first step in the painting process. Begin by mixing warm water with a mild detergent to create a gentle but effective cleaning solution. Using a soft cloth, carefully wipe down the entire surface of your metal candle holders, paying special attention to removing any dust, dirt, wax residue, or other contaminants.
These can interfere with paint adhesion, resulting in a less durable finish. Consider using a degreaser for a deeper clean for candle holders with more stubborn grime or oily residues. Ensuring the metal is completely clean and dry before moving on to the next step is crucial for painting success.
B. Addressing Rust or Dents
Minor rust spots and small dents can often be remedied at home. For rust, use a piece of sandpaper or a wire brush to gently scrape away the corrosion. Work carefully to remove only the rusted areas without damaging the surrounding metal for best results.
After addressing the rust, wipe the area clean to remove any debris. Small dents can sometimes be gently hammered out from the underside, but consulting a professional is advisable for extensive rust damage or significant dents. Returning the metal surface to a more pristine condition will ensure a smoother painting process and a more pleasing final result.
C. Sanding the Surface
Sanding the metal surface prepares it for painting by creating a slightly rough texture that enhances paint adhesion. Start with medium-grit sandpaper for heavily oxidized or uneven surfaces, applying light pressure to avoid gouging the metal.
Once the larger imperfections have been smoothed out, switch to fine-grit sandpaper for the entire surface to achieve a uniformly smooth finish. It’s important to sand evenly and avoid over-sanding, which could harm the metal’s integrity. By ending with a fine grit, you ensure that your prime and paint will adhere well and look seamless.
D. Applying Painter’s Tape
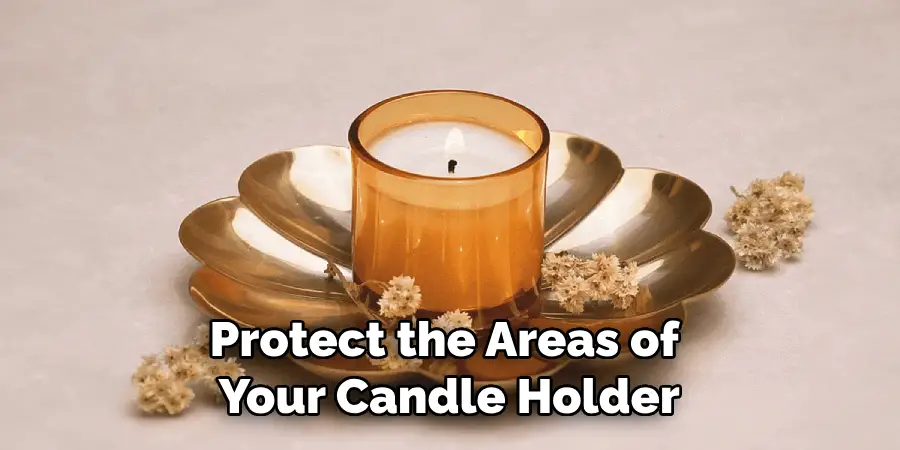
To protect the areas of your candle holder that you don’t want to be painted, such as the base of the cup that holds the candle, applying painter’s tape is crucial. Measure and cut the tape to fit, then apply it firmly to the metal, ensuring it adheres well to prevent paint from seeping underneath.
When pressing down the edges, do so gently to avoid damaging the metal surface beneath. Painter’s tape allows for crisp, clean lines in your paint job and ensures that your finished product looks professional and intentional.
How to Paint Metal Candle Holders: A Beginner’s Guide
A. Priming the Metal
Priming the metal is an essential step that can significantly affect the longevity and quality of your painting project. Applying a metal primer enhances paint adhesion and provides a smooth base that contributes to a sleek, professional finish. For application, use a high-quality paintbrush or a paint roller, depending on the size and intricacy of your candle holder.
Follow the manufacturer’s instructions for drying time carefully before applying paint. A spray primer can be an excellent alternative for those looking for a quicker, more uniform application. Just remember to work in a well-ventilated area and adhere to all safety instructions to ensure a clean and safe application process.
B. Choosing Paint Application Method
The decision between using a brush or roller when applying paint to your metal candle holders depends largely on the project’s specific needs. A brush is typically best suited for reaching small corners and intricate details, ensuring each nook and cranny is covered uniformly.
On the other hand, a paint roller can make quick work of larger, smooth areas, achieving an even coat with ease. The key is to select the tool that matches the complexity of your candle holder’s design for the best results.
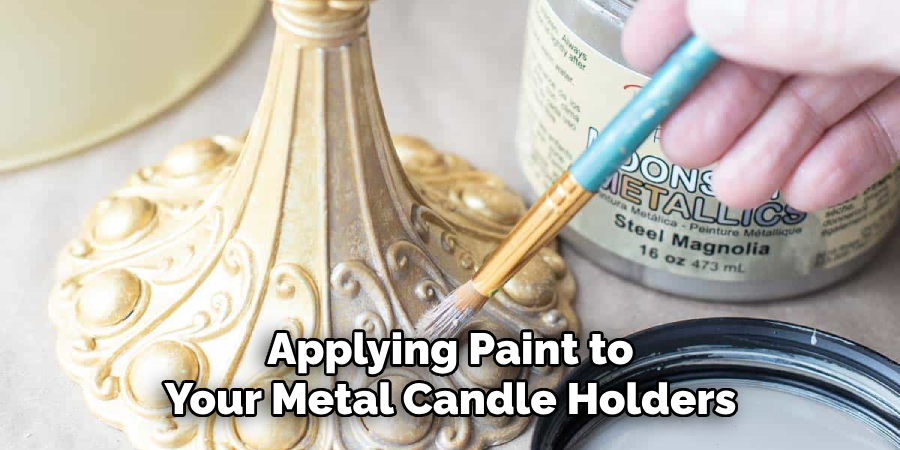
C. Applying the Paint
When applying paint to the metal candle holders, using thin, even coats is crucial. Begin with a light layer, letting it dry completely before adding another. This method prevents the common pitfalls of drips, runs, or uneven coverage that can occur with thicker coats.
Typically, several thin coats will result in a more durable finish, with each layer building up to the desired color intensity. Patience during this step is vital; rushing the process can compromise the quality and appearance of your project. Remember, a little extra time here results in a smoother, more professional finish in the end.
D. Applying Additional Coats
Depending on the opacity and color intensity you’re aiming for, you may find the need to apply additional coats. Typically, waiting for each coat to dry completely before adding another allows you to assess whether more coverage is necessary. This step is about refining the final appearance to meet your vision, emphasizing the importance of patience and attention to detail in achieving the desired result.
Finishing Touches and Sealing
A. Removing Painter’s Tape
After painting your metal candle holders, removing the painter’s tape while the paint is still slightly wet is crucial for achieving clean, sharp lines without peeling off any freshly applied paint.
Gently peel the tape away slowly, pulling it back on itself at a 45-degree angle. This technique helps ensure that the border where the tape meets the paint remains intact, preventing any accidental removal of your hard work. A steady, gentle touch is key to this process.
B. Allowing the Paint to Dry Completely
It’s imperative to allow the painted metal candle holders ample time to dry, adhering to the manufacturer’s recommended drying times. Rushing this process can lead to smudges or fingerprints, compromising the quality of the finish.
Ensure that the drying area is well-ventilated, as proper air circulation is essential for effective drying. This step requires patience, as the excitement to see the final product can be tempting, but waiting ensures the paint sets properly, resulting in a more durable and attractive finish.
C. Applying a Sealer
Applying a clear coat sealer over your painted metal candle holders is an excellent way to protect the painted surface while enhancing its durability and sheen. A sealer acts as a barrier against scratches, chips, and the elements, preserving the paint’s vibrancy. When choosing a sealer, opt for one that is specifically designed for use on metal surfaces.
Follow the manufacturer’s instructions closely for the best application method and drying time. For those desiring an extra gloss, a coat of clear enamel paint can be a great alternative, providing a shiny, protective finish. Regardless of your choice, this step is crucial for ensuring the longevity of your painting project.
D. Polishing
For those working with specific metal types, such as brass or silver, an optional step of polishing can provide a desired shiny finish. Ensure you select a polish or cleaner that is appropriate for the type of metal your candle holders are made from.
Careful polishing can enhance the luster of the metal, complementing the newly painted areas and elevating the overall appearance. Always follow the product’s instructions and test a small, inconspicuous area first to ensure compatibility with your paint and sealer.
That’s it! You’ve now learned how to paint metal candle holders like a pro. With the right tools, technique, and patience, you can achieve a professional finish that will elevate any room’s ambiance. Remember to always use high-quality materials and follow safety precautions for a successful and enjoyable painting experience. So go ahead, grab your paintbrushes, and let your creativity shine!
Post-Painting Care and Tips
A. Cleaning and Maintenance
Regular, gentle cleaning is essential to maintain the beauty and durability of your painted metal candle holder. Utilize a soft, damp cloth to wipe away any dust or smudges from the surface.

It’s crucial to avoid using harsh chemicals, abrasive cleaners, or scouring pads, as these can damage the paint finish. For best results, lightly dampen the cloth with water or a mild detergent solution, ensure not to soak the metal, and dry immediately afterward with a soft, clean cloth to prevent water spots or damage.
B. Avoiding Heat Exposure
Protecting your painted candle holders from direct heat sources is pivotal to preserving the integrity of the paint finish. Exposure to high temperatures can cause the paint to blister, peel, or discolor.
Therefore, it’s advisable to position them in cooler areas of your home, away from sunlit windows, heaters, or open flames beyond that of the candle they are designed to hold. This consideration not only extends the life of the paint but also ensures the candle holders remain a safe and charming addition to your décor.
C. Touch-Ups and Repairs
Even with careful handling, minor scratches or nicks can appear on painted candle holders. Addressing these imperfections is straightforward with a small touch-up brush and matching paint.
First, clean the affected area to remove any dust or debris. Then, lightly apply the paint, focusing solely on the scratch or nick, and allow it to dry completely. Sometimes, multiple thin layers may be necessary to achieve a seamless finish. This simple maintenance can significantly extend your candle holders’ visual appeal and lifespan.
D. Upcycling Ideas
Transforming your painted candle holders through upcycling gives them a new lease on life and adds a unique touch to your home decor. Consider using them as decorative vases for fresh or dried flowers, adding a pop of color to your living space. Alternatively, they can serve as stylish storage containers for pens, makeup brushes, or kitchen utensils, keeping your essentials organized and within reach.
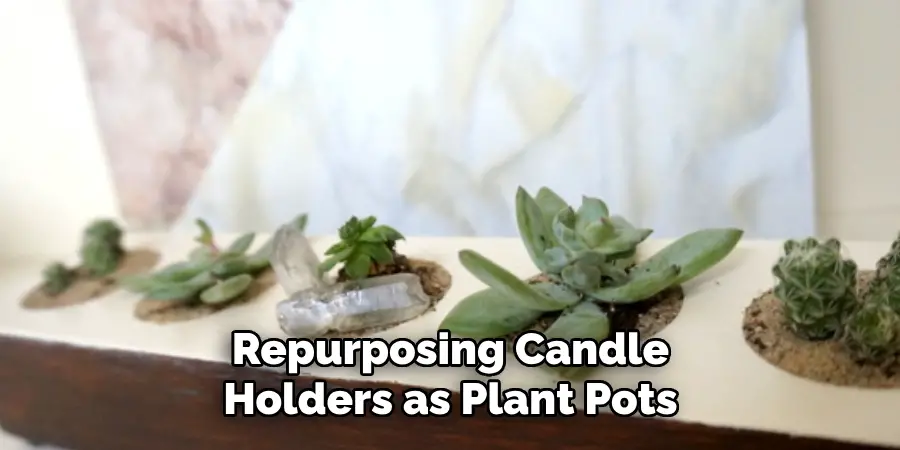
For those with a green thumb, repurposing candle holders as plant pots for small succulents or herbs can introduce a natural element to your home. Incorporate additional decorative elements like ribbons, lace, or beading to further personalize your upcycled candle holders, making them unique. This creative approach not only enhances the aesthetic appeal of your space but also contributes to a more sustainable lifestyle by giving old items new purposes.
Conclusion
In this guide on how to paint metal candle holders, we have navigated through the essentials, from preparing the surface and choosing the right type of paint to the meticulous application process.
We’ve also covered the importance of removing painter’s tape with care, allowing the paint to dry completely, and the application of a protective sealer to ensure durability and shine. Furthermore, we have explored post-painting care and innovative upcycling ideas to inspire creativity.
The process of painting metal candle holders can be incredibly rewarding. It allows for a tangible sense of achievement as you transform a simple or worn piece into something vibrant and reflective of your personal taste. This transformation contributes to the aesthetic appeal of your home decor and imbues your space with a piece of your own creativity.
About the Author
Adrien Rowe, an expert in knitting, fiber arts, and bookbinding, promotes sustainability and creativity through workshops and tutorials. Passionate about education and community, he inspires crafters of all levels to learn, share, and grow in a supportive, idea-driven environment.
Professional Focus
Specializes in advanced knitting techniques, fiber manipulation, and textile innovation.
Expert in book arts, including cotton papermaking, handmade paper techniques, and bookbinding.
Dedicated to educating and inspiring crafters of all skill levels through tutorials, workshops, and hands-on learning experiences.
Passionate about creating a supportive community where makers can share ideas, learn, and grow.
Education History
Rhode Island School of Design (RISD) – Bachelor of Fine Arts (BFA) in Textiles.
University of Iowa Center for the Book – Master of Fine Arts (MFA) in Book Arts.
Expertise:
Advanced knitting, fiber manipulation, papermaking, bookbinding, sustainability-focused crafting, educational workshops, creative tutorials, and fostering a supportive maker community.