Skull caps, also known as beanies or knit caps, have a wide range of uses from practical warmth to fashion statements. Whether you’re looking to craft a personalized touch to your wardrobe, gift a handmade item to a friend, or maybe even delve into the world of small-scale artisanal headwear production, learning how to sew your own skull cap can be both fulfilling and enjoyable.
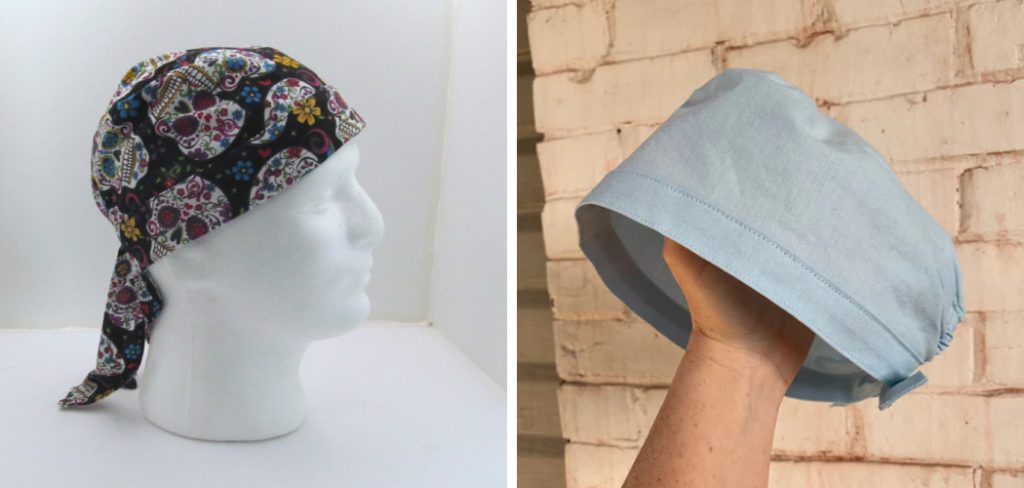
This guide on how to sew a skull cap will take you through the necessary steps, tools, and techniques to create a snug, stylish skull cap that you can customize with various fabrics and embellishments to suit your personal tastes or those of your intended recipient.
The Versatility and Practicality of Skull Caps in Fashion and Function
Skull caps have been around for centuries and have evolved in both style and function. They are often worn as a fashion statement, but they also serve practical purposes such as keeping the head warm during colder weather or protecting the scalp from the sun’s harmful UV rays.
In recent years, skull caps have become a popular accessory among athletes, especially those in extreme sports like skiing and snowboarding. They are also commonly worn by motorcycle riders to keep their heads warm and protect their hair from wind damage.
Moreover, skull caps have become a trendy fashion item in streetwear, with various styles and designs popping up on runways and in everyday outfits. From simple solid-colored knits to bold patterns and embroidered logos, there is a skull cap for every fashion taste.
Benefits of Sewing Your Own Skull Cap
Sewing your own skull cap has many advantages, both practical and personal. Here are a few reasons to make your own skull cap:
Customization:
By sewing your own skull cap, you have the freedom to choose from various fabrics, colors, and embellishments to create a unique piece that reflects your personal style.
Cost-Effective:
Sewing your own skull cap can save you money in the long run. Rather than constantly buying new caps, you can easily replace worn or damaged ones by making your own at a fraction of the cost.
Sustainability:
In today’s fast-paced world, where fashion trends come and go quickly, sewing your own skull cap is a sustainable way to reduce the environmental impact of constantly buying new items. You can also repurpose old fabrics and clothing to create a one-of-a-kind skull cap.
Therapeutic Hobby:
Sewing has been proven to have therapeutic benefits, from reducing stress and anxiety to increasing mindfulness and creativity. Learning how to sew a skull cap can be a relaxing and enjoyable hobby.
Tools and Materials Needed
To sew a skull cap, you will need the following tools and materials:
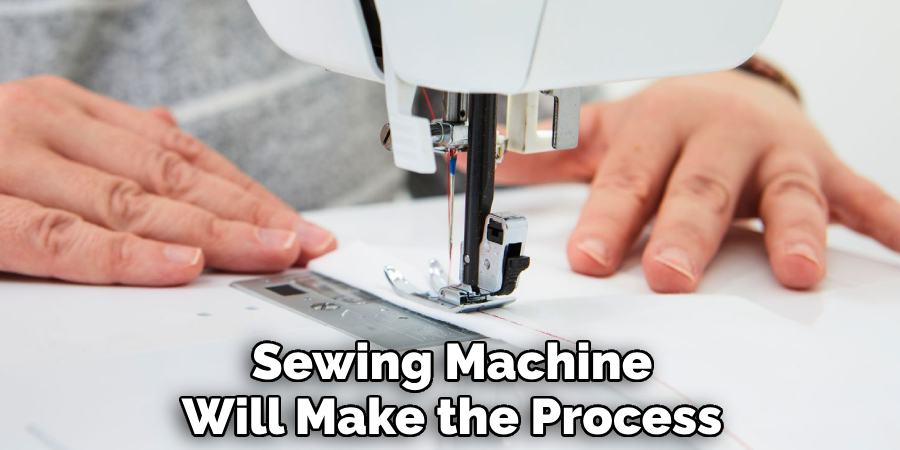
Sewing Machine:
A sewing machine will make the process of creating a skull cap much easier and quicker. However, it is possible to sew one by hand if you do not have access to a sewing machine.
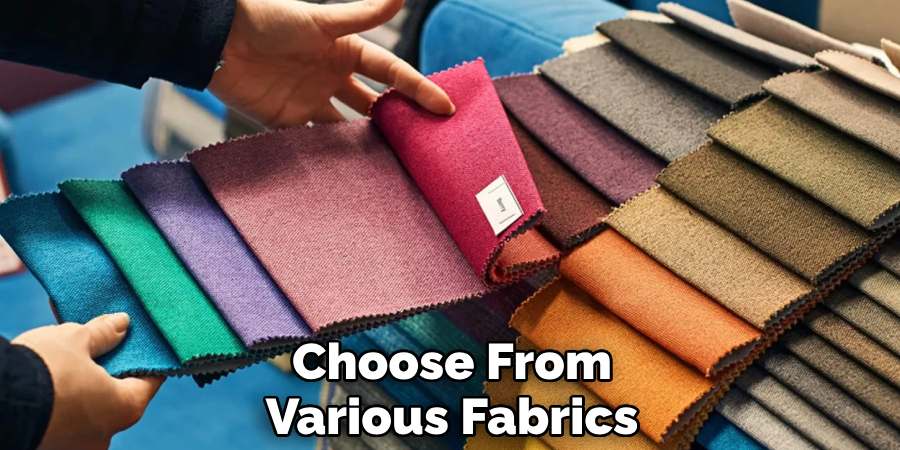
Fabric:
Choose a fabric that is suitable for the intended use of your skull cap. For colder weather, opt for thicker fabrics such as wool or fleece. For warmer weather, choose lighter fabrics like cotton or linen.
Thread:
Select a thread color that matches your fabric or one that will complement it.
Pins:
Pins are essential for keeping the fabric in place while sewing and ensuring accurate stitching.
Scissors:
Sharp scissors are necessary for cutting the fabric and trimming excess threads.
Measuring Tape:
A measuring tape will help you determine the correct size for your skull cap, ensuring a snug fit.
10 Simple Step-by-step Guidelines on How to Sew a Skull Cap
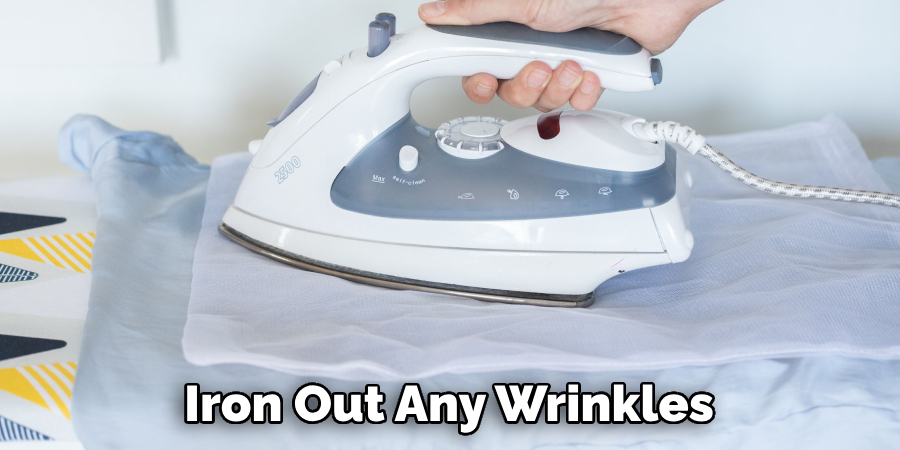
Step 1: Prepare the Fabric
Wash and dry your fabric before starting the sewing process to prevent shrinkage after completion. Iron out any wrinkles or creases. You can also choose to add interfacing to make the fabric sturdier. The interfacing should be cut to the same size as your fabric pieces and ironed onto the wrong side. It is optional but recommended for a more structured cap. You can also use spray adhesive to attach the interfacing. But, if you are using stretchy fabric like jersey or knit, skip this step. It can hinder the stretchability of the fabric.
Step 2: Cut the Fabric Pieces
You will need to cut two main pieces of fabric, one for the top and one for the lining. The size of these pieces depends on the size of your head and how snug you want the cap to fit. A general guideline is to measure from the front hairline, around the back of your head, and back to the front hairline. Add an extra inch to this measurement for seam allowance. The lining piece should be cut slightly smaller than the top piece, about 1/2 inch all around. It will prevent the lining from showing on the edges of the cap.
Step 3: Pin the Pieces Together
Place the top and lining pieces together with their right sides facing each other. Pin them in place, leaving a small opening at the back for turning later. You can use as many pins as needed to ensure the fabric stays in place while sewing. It is recommended to start pinning at the back of the cap, where the seams will be less noticeable. The front and sides of the cap should be pinned with minimal overlap to avoid bulky seams.
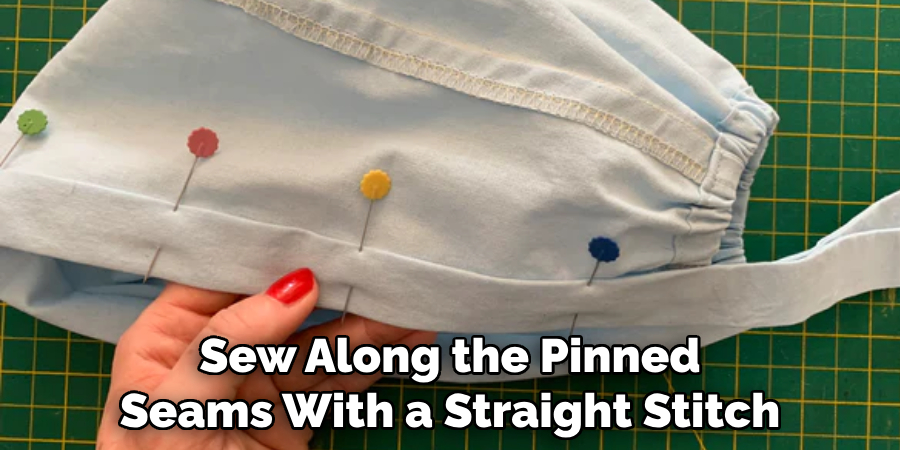
Step 4: Sew the Seams
Using a sewing machine or hand-sewing needle, sew along the pinned seams with a straight stitch. Be sure to backstitch at the beginning and end of each seam for added durability. Leave the small opening at the back unstitched. You can also reinforce the seams by sewing a zig-zag stitch over the straight stitch. The zig-zag stitch will prevent the fabric from fraying and make the seams stronger. You can also trim any excess fabric or threads as needed.
Step 5: Trim Excess Fabric
Using sharp scissors, trim any excess fabric from the back opening and around the edges of the cap. Be careful not to cut into your seams. It will make it easier to turn the cap inside out and create a clean finish. You can also trim any uneven edges to make the seams more even. It will give your cap a more professional look. Although not necessary, you can also use pinking shears to prevent the fabric from fraying on the edges. The zig-zag pattern of the pinking shears creates a more polished and finished look.
Step 6: Turn Right Side Out
Gently pull the fabric through the small opening you left at the back to turn your cap right side out. Use a pencil or chopstick to push out any corners and create clean lines. Be careful not to stretch or damage the fabric while turning it. You can also use a hand-sewing needle to tuck in any small edges or corners. It will create a neat and tidy finish. But be sure to remove the needle before wearing your cap.
Step 7: Close the Opening
Using a needle and thread or your sewing machine, close the small opening at the back of your cap with an invisible stitch. This will create a clean and seamless finish. You can also use fabric glue if you do not want to sew it closed. However, using a needle and thread will create a more durable closure. It is recommended to use thread that blends in with the fabric for an invisible finish. However, you can use a contrasting thread for a decorative touch. You can also sew on a label or tag at this point to personalize your skull cap.
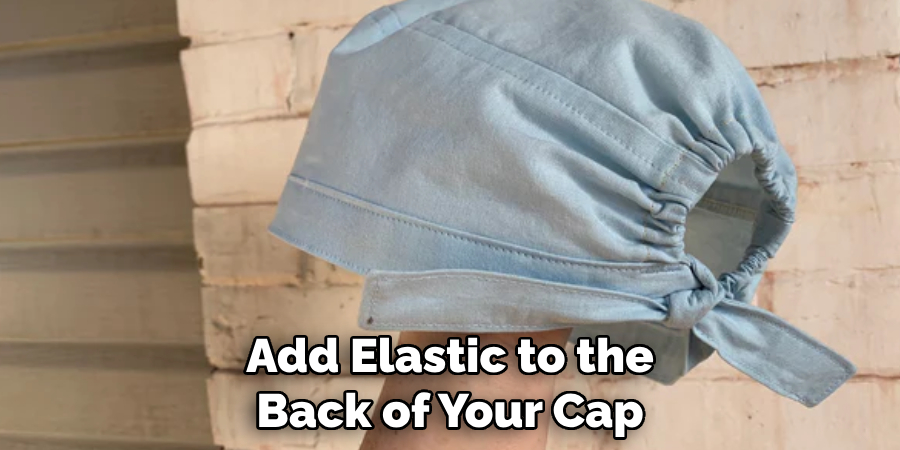
Step 8: Add Elastic (Optional)
To ensure a snug and comfortable fit, you can add elastic to the back of your cap. Cut a piece of elastic that is slightly smaller than the measurement of your head. You can also use a piece of measuring tape or string to determine the correct length for your elastic. Sew one end of the elastic onto one side of the back opening and stretch it across to sew the other end onto the opposite side. This will allow for a bit of stretch and make your cap fit more securely. The elastic can also be hidden by folding it into the seam before sewing.
Step 9: Finish the Skull Cap
Iron out any wrinkles or creases in your cap to give it a polished look. You can also add topstitching around the edges of the cap for added durability and a more finished look. It is recommended to use a thread color that matches your fabric for an invisible finish. You can also personalize your skull cap by adding decorative stitching, buttons, or patches. Get creative and make it your own! You can also make multiple caps in different fabrics and styles to match your wardrobe or give them as gifts. It is a great way to use up fabric scraps and create unique pieces.
Step 10: Wear and Enjoy Your Skull Cap
Your skull cap is now ready to wear! Put it on and adjust the elastic for a comfortable fit. You can also style your hair over or under the cap for different looks. Remember to wash your cap according to the fabric’s care instructions so it stays in good condition. With a little bit of time and effort, you can create your own skull cap that is both functional and stylish.
Following these steps on how to sew a skull cap will result in a well-made and personalized skull cap. You can also experiment with different types of fabric, add embellishments or create your own design to make it even more unique. Have fun and enjoy your new accessory! So go ahead and make yourself a stylish and functional skull cap today! Happy sewing!
Care and Maintenance of Sewn Skull Caps
To ensure the longevity of your handmade skull cap, it is important to properly care for and maintain it. Here are some tips to keep your skull cap looking its best:
Follow the Fabric’s Care Instructions:
Different fabrics require different methods of cleaning. Make sure to check the care label before washing or handling your skull cap. Some fabrics may require hand-washing or dry cleaning, while others can be machine-washed. Ignoring the care instructions may result in damage to your cap.
Wash Regularly:
Skull caps are often worn close to the head, which means they can collect sweat and oils from your hair over time. It is recommended to wash your skull cap after a few uses to keep it clean and fresh. This will also prevent the buildup of bacteria and odors.
Use Mild Detergent:
When washing your skull cap, use a mild detergent instead of harsh chemicals. This will protect the fabric and prevent any color fading or damage.

Air Dry:
It is best to air-dry your skull cap instead of using a dryer. The heat from the dryer can shrink and damage the fabric. Hang your cap in a well-ventilated area or lay it flat to dry.
Iron with Caution:
If your skull cap requires ironing, be sure to use a low heat setting and avoid pressing directly on any embellishments or decorations. This will prevent any damage to your cap.
Customization and Personalization
One of the best things about sewing your own skull cap is the ability to customize and personalize it. Here are some ideas on how you can make your skull cap unique:
Add Embellishments:
You can add buttons, patches, or embroidery to your skull cap for added style and personalization. Get creative and choose embellishments that reflect your personality or interests.
Use Different Fabrics:
Experiment with different types of fabric such as cotton, knit, or fleece to create different looks and textures. You can also mix and match fabrics for a unique design.
Try Different Styles:
You can play around with the shape and size of your skull cap to create different styles. For a slouchy look, add more length to the top of your cap. For a more fitted look, decrease the size and add elastic to the back.
Make Matching Sets:
Sewing matching skull caps for you and your family or friends can be a fun project. You can use coordinating fabrics or choose different styles for each person. This is also a great way to use up fabric scraps and create personalized gifts.
Now that you know how to sew a skull cap and how to care for it, the possibilities are endless. Get creative and make your own unique and functional accessory today! So go ahead and make yourself a stylish and functional skull cap today! Happy sewing! So go ahead and make yourself a stylish and functional skull cap today! Happy sewing!
Frequently Asked Questions
Q1: Is Sewing a Skull Cap Difficult?
A: No, sewing a skull cap is a relatively easy project that can be completed in just a few hours. It is suitable for beginners and only requires basic sewing skills. You can also customize the difficulty level by choosing different fabrics and styles.
Q2: What Fabric Should I Use to Make a Skull Cap?
A: A medium-weight fabric such as cotton, knit or fleece is recommended for making a skull cap. Choose a fabric that is comfortable and breathable. Avoid heavy fabrics that may be too warm to wear on the head.
Q3: Can I Wear a Skull Cap in Warm Weather?
A: Yes, skull caps are versatile accessories that can be worn in any season. You can choose a lightweight fabric for warmer months or opt for a knit or fleece fabric for colder weather.
Q4: Can I Make Multiple Skull Caps from One Pattern?
A: Yes, once you have created your own pattern, you can use it to make multiple skull caps in different fabrics and styles. This is a great way to create a variety of skull caps for yourself or as gifts. So go ahead and make yourself a stylish and functional skull cap today!
Q5: Can I Machine Wash my Skull Cap?
A: It depends on the fabric and its care instructions. Some fabrics can be machine-washed, while others may require hand-washing or dry cleaning. Be sure to check the care label before washing your skull cap. So go ahead and make yourself a stylish and functional skull cap today! Happy sewing!
Conclusion
In summary of how to sew a skull cap, the art of sewing your own skull cap is a rewarding endeavor that imbues your wardrobe with a personal touch, deepens connections with gifts that carry the maker’s essence, and even has the potential to kickstart a journey into entrepreneurial craftsmanship. Armed with the right tools, a bit of patience, and your creativity, you can produce a unique piece that stands out.
So, gather your materials, let your imagination dictate your design, and enjoy the process of creating something truly yours. Your handmade skull cap is more than just a piece of clothing; it’s a reflection of your personality and handiwork.
Professional Focus:
Dedicated to exploring and advancing the intersection of traditional craftsmanship and contemporary design. Specializing in textile arts, woodworking, and mixed media, with a commitment to sustainable practices and the art of upcycling. Focused on creating meaningful connections through craft, empowering individuals to unlock their creativity, and preserving cultural heritage through innovative, hands-on projects.
Vission:
To inspire and empower crafters of all experience levels to unlock their creative potential. Encourages hands-on experimentation, self-expression, and exploration through diverse craft projects.
Education:
- Bachelor of Arts (BA) in Craft and Material Studies – Virginia Commonwealth University.
- Specialized training in various crafting disciplines and material handling.
Recognition:
- Featured in local art exhibits for groundbreaking craft projects
- Partnered with community organizations to host crafting workshops
- Recognized for contributions to sustainable and eco-conscious crafting
Expertise:
Crafting expert with a focus on blending traditional techniques with innovative designs. Specialization:
- Textile arts (weaving, embroidery, fabric dyeing)
- Woodworking and furniture design
- Mixed media and upcycling projects