In the intricate world of knitting, discerning the right side from the wrong side of your work is essential for achieving a polished and professional finish.
While some knitting patterns explicitly indicate which side is the right side, others may not, leaving knitters to rely on their understanding of stitches and fabric characteristics.

Understanding how to tell right side from wrong side in knitting is crucial for achieving consistent stitch patterns, avoiding mistakes, and ensuring that your finished project looks its best.
In this guide, we’ll explore various methods and techniques for identifying the right side and wrong side in knitting, from visual cues and texture differences to yarn tails and stitch patterns.
Whether you’re a beginner knitter or an experienced crafter, mastering this fundamental aspect of knitting will enhance your skills and confidence in tackling a wide range of projects.
Identifying Right Side and Wrong Side in Knitting
Identifying the right and wrong side in knitting can initially seem daunting, but there are several straightforward indicators that can assist you. A key method involves examining the texture and appearance of your stitches.
Typically, the right side (often denoted as RS in patterns) displays the main pattern or stitch design, such as the smooth V-shapes of stockinette stitch, while the wrong side (WS) might show the purl bumps or a less defined pattern.
Another practical tip is to look at the yarn tail from your cast-on row. If you started with, for example, a long-tail cast-on and the yarn tail is on the right side when you hold the needles in your hand ready to knit, you are likely looking at the wrong side. Conversely, if the yarn tail is on the left, you’re probably viewing the right side.
It’s also useful to remember that specific projects denote the right side by design. For example, in cables and lace patterns, the elaborate textures and designs that appear on the right side are unmistakable.
By familiarising yourself with these visual cues and texture differences, you will become more adept at distinguishing between the right side and wrong side in your knitting projects, enhancing the quality and appearance of your finished works.
Basics of Knitting
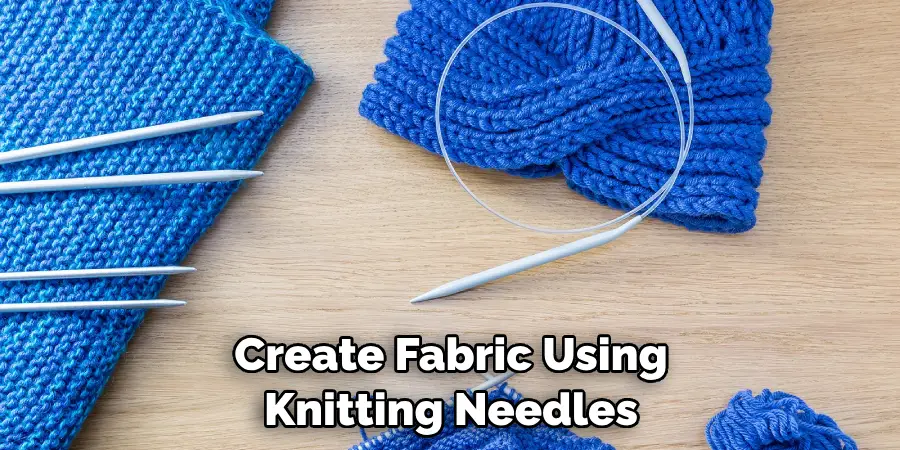
Before you can fully master the art of distinguishing between the right and wrong sides in knitting, getting a grip on the basics of knitting is essential. Knitting at its core involves manipulating yarn to create fabric using knitting needles. There are two primary stitches in knitting: the knit stitch and the purl stitch.
The knit stitch is achieved by inserting the needle into the front of a loop from left to right and wrapping the yarn over and pulling a new loop back through to the front. The purl stitch, on the other hand, is the opposite; the needle is inserted from the right to the left into the front of the loop, and the yarn is wrapped over, pulling a new loop back through to the back.
A fundamental understanding of these stitches, along with casting on (adding stitches to the needle) and casting off (securing stitches to complete the project), forms the foundation of knitting. Additionally, getting familiar with various types of yarns, needles, and their respective uses is crucial.
Each element, from yarn weight to needle material, can significantly affect the texture, look, and feel of the finished project. With these basics in hand, you’ll be better equipped to execute patterns accurately and identify the right and wrong sides of your knitting with greater ease.
Maintaining Consistency in Knitting Direction
Maintaining consistency in the direction of your knitting is essential for ensuring that your project progresses smoothly and that the finished product has a uniform look. This becomes particularly important when working on larger projects or pieces with intricate patterns or designs.

One effective strategy for maintaining consistent direction is to always note which side of the fabric you are working on at the start of a new session. Many knitters find it helpful to use a small piece of colored yarn or a stitch marker to indicate the right side of their work, removing any guesswork when they pick the project back up.
Another tip is to develop a routine or ritual for starting and ending your knitting sessions. For instance, always ending on the same type of row (e.g., a knit row or a purl row) can make it easier to remember the direction and side you were working on.
Additionally, keeping detailed notes or using a knitting app to track rows, patterns, and side changes can be invaluable, especially for complex projects requiring attention to the right and wrong sides.
Lastly, taking the time to regularly step back and visually inspect your work from a distance can help catch any inconsistencies early on. If the texture or pattern appears uneven, you may need to check if there were any directional errors.
By being proactive and employing these strategies, knitters can significantly improve the consistency and overall quality of their projects, leading to more polished and professional-looking results.
Techniques for Identifying Right Side
When it comes to knitting, being able to identify the right side of your work is crucial for following patterns correctly and achieving a professional finish.
The right side is typically where the design elements are most prominently displayed and is intended to be the outer side of the garment or piece. Here are some techniques that can help you determine the right side of your knitting:

- Knit vs. Purl Texture: One of the most straightforward ways to identify the right side is by analyzing the texture of the stitches. For basic stitches like stockinette, the knit stitches appear as small, smooth ‘V’s on the right side, while the purl stitches create a bumpy texture on the wrong side.
- Beginning Tail Location: The location of the beginning yarn tail can also serve as a clue. For many casting on methods, the yarn tail is positioned on the right side at the start or end of a row. This can vary based on how you start your project, so noting this detail can serve as a quick reference.
- Marker Placement: Placing a removable stitch marker or a small piece of contrasting yarn on the right side as soon as you determine it can save confusion later, especially when putting down and picking up your work repetitively.
- Pattern Instructions: Pay close attention to your pattern’s instructions. Many patterns specify the right side (RS) and wrong side (WS) at key points. Initial rows often include design elements that clearly indicate the correct orientation, such as cable twists or lacework that are only on the right side.
- Increase and Decrease Orientation: Increases and decreases often look neater and are meant to be on the right side of the work. If your pattern includes these techniques, examine the slant or appearance of these stitches to help determine the right side.
- Seaming and Finishing Details: For projects that require assembly, the sections where seams are meant to be joined or ends are woven in can also indicate the right side. These are typically designed to be less visible on the right side of the finished piece.
By applying these techniques, knitters can more easily identify the right side of their work, ensuring that their projects are both beautiful and correctly assembled. Remember, like many aspects of knitting, identifying the right side becomes more intuitive with practice and experience.
10 Methods How to Tell Right Side from Wrong Side in Knitting
1. Visual Inspection:
One of the simplest methods for identifying the right side in knitting is through visual inspection. Look closely at your knitting and observe the texture, appearance, and overall look of the fabric.
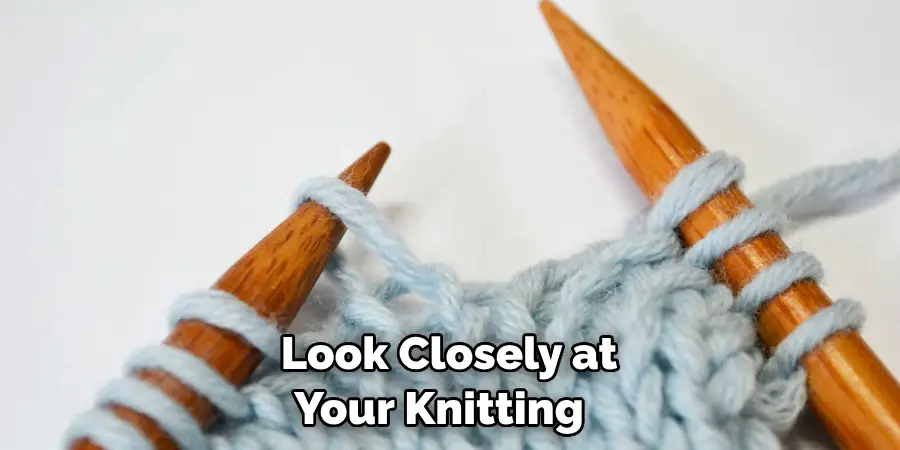
The right side often appears smoother, more uniform, and more defined than the wrong side, which may appear slightly bumpier or less polished. Additionally, if your knitting pattern includes specific stitch patterns or motifs, the right side is typically the side where these patterns are most clearly visible and well-defined.
2. Identify Increases and Decreases:
In many knitting patterns, increases and decreases are worked differently on the right side compared to the wrong side.
For example, knit stitches may be worked on the right side while purl stitches are worked on the wrong side, or vice versa. By identifying the location and direction of increases and decreases in your knitting, you can determine which side is the right side.
Increases typically create a more pronounced, raised appearance on the right side, while decreases may be more subtle or recessed.
3. Look for Tail Ends of Yarn:
Another clue to identifying the right side in knitting is to look for the tail ends of yarn. When you begin a new ball of yarn or join a new color, you typically leave a tail of yarn hanging from your work.
On the right side, these tail ends are usually located on the same side as the working yarn, while on the wrong side, they may be tucked away or hidden behind the stitches. By locating the tail ends of yarn and tracing them back to the working yarn, you can determine which side is the right side of your knitting.
4. Check for Pattern Reversal:
Some knitting patterns feature a reversible design, meaning that the same pattern is worked on both the right side and wrong side of the fabric. However, many patterns have a distinct front and back, with different stitch patterns or motifs worked on each side.
If your pattern includes a pattern repeat or motif, check for any differences in appearance between the right side and wrong side. The side where the pattern appears as intended is likely the right side of your knitting.
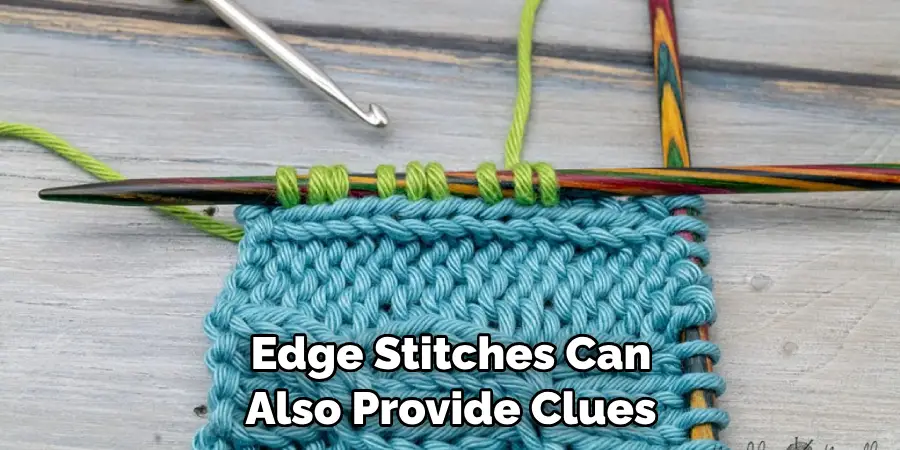
5. Observe Edge Stitches:
Edge stitches can also provide clues to help you identify the right side in knitting. On the right side, edge stitches may appear neater, more uniform, and more consistent in size and tension compared to the wrong side.
Additionally, if your pattern includes selvedge stitches or edge treatments, such as garter stitch borders or seed stitch edges, these may be worked differently on the right side compared to the wrong side, providing further evidence of which side is which.
6. Check for Floats or Carried Yarn:
If you are knitting with multiple colors or working stranded colorwork, check for floats or carried yarn on the wrong side of your work. Floats are lengths of yarn that are carried across the back of the work when not in use, typically to create color patterns or motifs.
On the right side, floats may be hidden behind the stitches or incorporated into the design, while on the wrong side, they may be more visible or protrude between the stitches. By checking for floats or carried yarn, you can determine which side is the right side of your colorwork.
7. Use a Stitch Marker or Safety Pin:
To avoid confusion and keep track of the right side in complex knitting projects, consider using a stitch marker or safety pin to mark the right side of your work.
Attach the marker or pin to the right side of your knitting, such as in the corner or along the edge, to provide a visual reference point and help you keep track of which side is which.
This can be particularly useful in projects with intricate stitch patterns or long periods between working rows on the right side.
8. Test the Fabric Tension:
The tension of the fabric can also help you determine the right side in knitting. On the right side, the fabric is typically more taut and firm, with the stitches lying flatter and more evenly across the surface.
On the wrong side, the fabric may feel looser or more relaxed, with the stitches appearing slightly more elongated or stretched out. By gently pulling on the fabric and observing how it responds, you can get a sense of which side is the right side based on the tension and elasticity of the fabric.
9. Consider Yarn Overs and Eyelets:
If your knitting pattern includes yarn overs or eyelets, these may be worked differently on the right side compared to the wrong side. Yarn overs are often used to create decorative holes or lace patterns in knitting and are typically worked on the right side to achieve the desired effect.
By identifying the location and direction of yarn overs in your knitting, you can determine which side is the right side based on the placement of these decorative elements.
10. Refer to the Pattern Instructions:
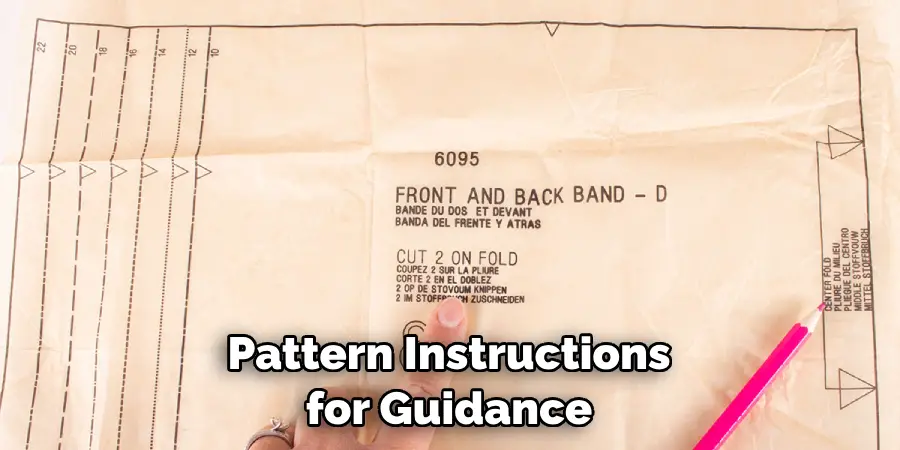
Finally, if you’re still unsure which side is the right side in your knitting, refer to the pattern instructions for guidance. Many knitting patterns specify which side is the right side and may include additional tips or hints to help you identify it.
Look for any notes or diagrams provided in the pattern, as well as any specific instructions for working certain stitches or motifs on the right side. If the pattern doesn’t explicitly indicate which side is the right side, trust your instincts and use the methods described above to make an informed decision.
Practical Applications in Knitting Projects
Understanding how to identify the right side in knitting not only ensures the accuracy of intricate designs but also elevates the overall quality of finished projects.

This knowledge becomes particularly crucial in projects such as clothing items, where the aesthetic distinction between the right and wrong sides can significantly impact the final appearance. For instance, when knitting a sweater, recognizing the right side is essential for accurately aligning pattern motifs, ensuring that increases and decreases are positioned correctly, and joining pieces together with precision.
Additionally, in accessories like scarves or shawls, particularly those involving lace or colorwork, identifying the right side helps in maintaining consistent pattern presentation and finishing edges neatly. Beyond aesthetics, in functional items like blankets or dishcloths, understanding the right side can affect texture, with certain stitches offering varying degrees of absorbency or plushness depending on their orientation.
Ultimately, mastering the ability to determine the right side empowers knitters to approach a wide range of projects with confidence, knowing that their creations will reflect their intended design and craftsmanship.
So the knowledge of identifying the right side in knitting is an invaluable skill for all knitters to develop and refine. With practice and familiarity with different stitch patterns, motifs, and techniques, you can confidently identify the right side in any knitting project and create beautiful, professional-looking finished pieces every time.
Conclusion
In conclusion, mastering the ability to distinguish the right side from the wrong side in knitting is a foundational skill that enhances the quality and consistency of knitting projects.
By understanding the visual and tactile cues inherent in knitted fabric, crafters can confidently identify the correct orientation of their work, ensuring that stitch patterns and textures are showcased as intended.
Through practice and attention to detail, knitters can develop a keen eye for recognizing subtle differences between the right side and wrong side, even in complex stitch patterns or reversible designs.
Armed with this knowledge, knitters can approach their projects with greater precision and confidence, resulting in finished pieces that reflect their skill and craftsmanship. Thanks for reading, and we hope this has given you some inspiration on how to tell right side from wrong side in knitting!
About the Author
Adrien Rowe, an expert in knitting, fiber arts, and bookbinding, promotes sustainability and creativity through workshops and tutorials. Passionate about education and community, he inspires crafters of all levels to learn, share, and grow in a supportive, idea-driven environment.
Professional Focus
Specializes in advanced knitting techniques, fiber manipulation, and textile innovation.
Expert in book arts, including cotton papermaking, handmade paper techniques, and bookbinding.
Dedicated to educating and inspiring crafters of all skill levels through tutorials, workshops, and hands-on learning experiences.
Passionate about creating a supportive community where makers can share ideas, learn, and grow.
Education History
Rhode Island School of Design (RISD) – Bachelor of Fine Arts (BFA) in Textiles.
University of Iowa Center for the Book – Master of Fine Arts (MFA) in Book Arts.
Expertise:
Advanced knitting, fiber manipulation, papermaking, bookbinding, sustainability-focused crafting, educational workshops, creative tutorials, and fostering a supportive maker community.