Pottery teapot throwing is an ancient craft, a synthesis of art and practicality through the transformation of clay into beautiful, functional objects. At the heart of pottery, learning how to throw a teapot stands as a rite of passage for many potters, embodying the intricate blend of skill, patience, and creativity required in this art form. The significance of teapot making extends beyond mere utility; it represents a connection to cultural traditions, a medium for artistic expression, and a challenge that draws on the potter’s technical abilities and aesthetic sensibilities.
This guide aims to illuminate the process and techniques involved in throwing pottery teapots, from preparing the clay to the final glazing and firing, providing a comprehensive overview for beginners and seasoned potters alike.
Preparation and Setup
A. Setting Up the Pottery Wheel: Ensuring Proper Alignment, Stability, and Speed Control of the Pottery Wheel
Setting up the pottery wheel is the foundational step in learning how to throw a teapot. It requires attention to detail to ensure proper alignment, stability, and speed control. Begin by securing the wheel firmly on a level surface to prevent any movement during throwing.
Adjust the wheel’s height so you can sit comfortably with your legs on either side, providing balance and leverage. Check the wheel head’s alignment for true horizontal rotation to ensure uniformity in your pottery. Finally, familiarize yourself with the speed controls, practicing to achieve a consistent speed suitable for centering and shaping the clay.
B. Preparing Clay: Wedging Clay to Remove Air Pockets and Ensure Consistency in Texture and Moisture Content
Preparation of the clay is crucial for successful teapot throwing. Begin by wedging the clay on a canvas or plaster bat to remove any air pockets that could cause imperfections or explosions during firing. This process also ensures the clay has a consistent texture and optimal moisture content for throwing. Knead the clay with a rhythmic, rocking motion, applying even pressure to make the clay pliable and ready for the wheel.
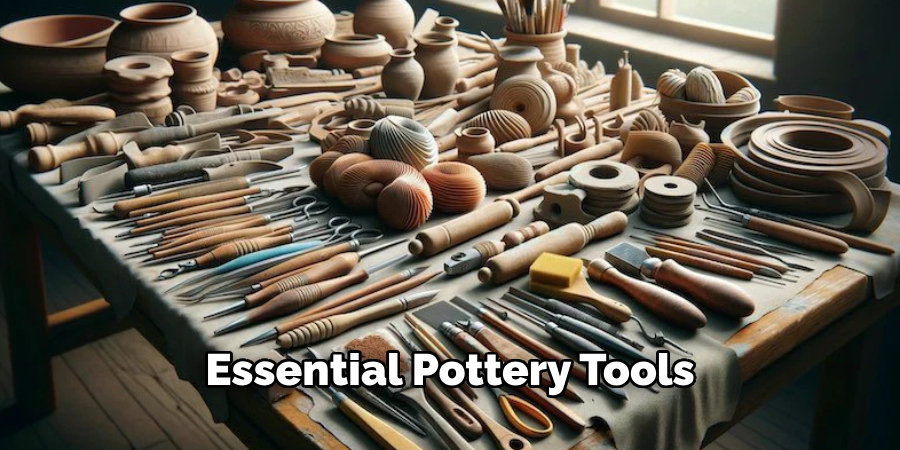
C. Gathering Tools and Equipment: Acquiring Essential Pottery Tools, Such as Ribs, Sponges, Wire Cutter, and Throwing Bat
Gathering the right tools is essential for shaping and detailing the teapot. Essential pottery tools include ribs of various shapes for smoothing and shaping the clay body; a sponge for adding or removing moisture and smoothing surfaces; a wire cutter for slicing the clay and removing finished pieces from the wheel; and a throwing bat for easily moving the teapot without distortion. Additionally, have a selection of trimming tools, needles, and loop tools on hand for detailing work. Together, these tools facilitate control and precision in the teapot-making process.
How to Throw a Teapot: Centering and Opening
The initial and perhaps most critical steps in the process of how to throw a teapot involve centering and opening the clay on the pottery wheel. These actions lay the foundation for the form and structural integrity of the teapot.
A. Centering Clay
Centering the clay is paramount to ensure that the teapot will be symmetrical and balanced. To center, place the prepared clay ball squarely in the middle of the wheel head. Begin with the wheel spinning at a moderate speed. Apply firm and steady pressure to the clay with wet hands, using your body weight to assist.
Your left hand should be stable and firm, acting as an anchor, while your right hand provides the primary force, moving the clay upwards and then downwards in a conical shape. This up-and-down motion helps to align the clay particles and ensures that the clay is completely centered. When properly centered, the clay should spin smoothly without any wobble or deviation.
B. Opening the Clay
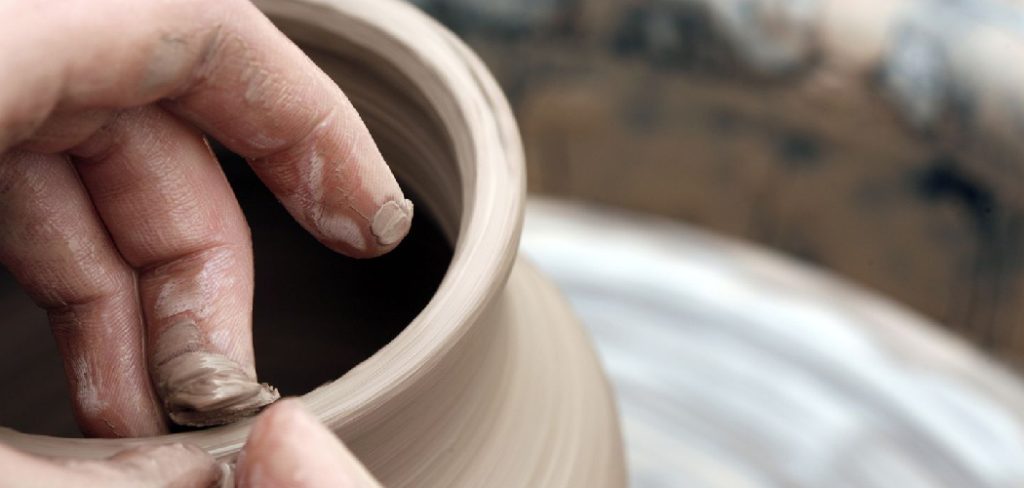
Once the clay is satisfactorily centered, the next step is to open the clay to form the initial cavity from which the teapot will be shaped. With the wheel turning, press your thumbs into the center of the clay mass, applying downward pressure to create the opening. Your fingers should be positioned outside the clay to provide support and control. Gradually widen the opening by moving your thumbs apart, being careful to keep the motion smooth to avoid unevenness in the walls of the teapot.
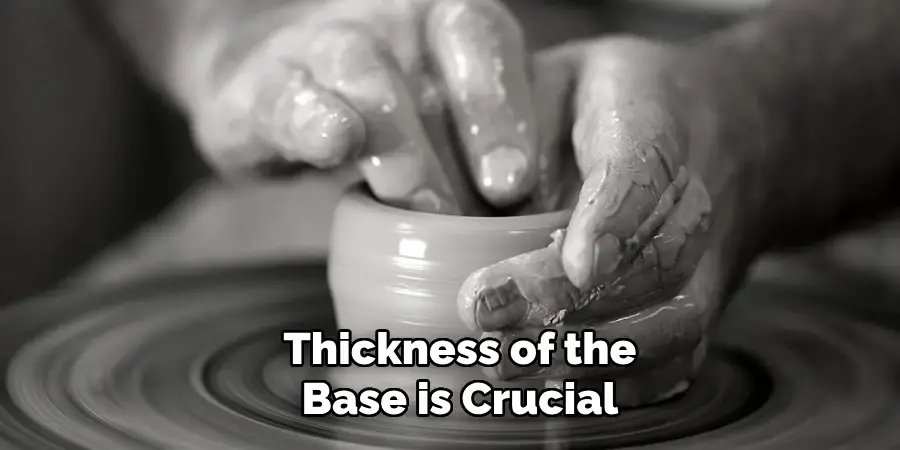
C. Establishing Base Thickness
The thickness of the base is crucial for the stability and functionality of the teapot. After opening the clay, use your fingers to define the bottom interior of the teapot, ensuring that it is uniformly thick. A general guideline is to maintain a base thickness of about a quarter inch (6 mm), which provides adequate support for the rest of the structure. Use a needle tool to check the thickness if unsure. This step requires a delicate balance between maintaining enough thickness for strength and removing excess clay to prevent an overly heavy base. Uniform base thickness is vital for the teapot’s stability during the firing process and in its final use.
How to Throw a Teapot: Pulling and Shaping
The art of pulling and shaping the walls of the teapot is where the potter’s skill truly comes to the forefront, transforming a simple clay cylinder into a work of functional art.
A. Pulling Walls
After establishing the base thickness, the next step is to pull the walls of the teapot upward and outward. This is accomplished by gently squeezing the clay between your inside and outside hands while slowly moving them upward. Water or slip keeps the clay surface moist, reducing friction and allowing for smoother movements. The key here is to maintain an even pressure to ensure the walls have a consistent thickness throughout. This process may be repeated several times, with each cycle slightly thinning and elevating the walls until the desired height and shape are achieved.
B. Shaping the Form
With the basic cylindrical form in place, the potter begins to shape the teapot’s body, spout, handle, and lid. This involves combining techniques and tools, including fingers, ribs, and shaping tools. The teapot’s body might be formed by gently pressing from the inside to create a bulge for aesthetic and functional purposes, allowing for more tea to be brewed.
The spout can be formed by pinching the clay, ensuring it is positioned and shaped for a smooth pour. A separately thrown piece of clay can be attached to the handle, scored, and slipped on securely to hold when the teapot is full. The lid is also thrown separately, often with a flange that fits inside the teapot rim to prevent it from slipping off during pouring.
C. Smoothing and Compressing
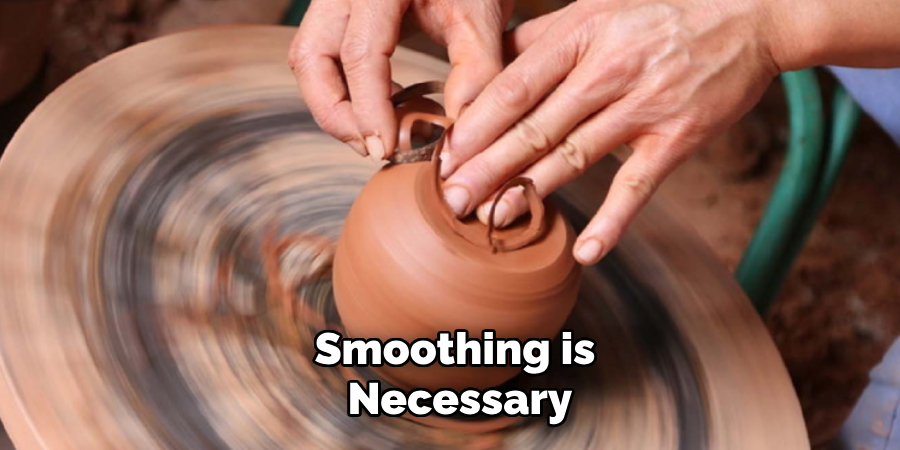
The final stages of forming involve smoothing, compressing, and refining the surface and edges of the teapot to achieve the desired aesthetics and functionality. A sponge, ribs, and metal scrapers can be used to smooth the surface, while a wooden or rubber rib compresses the clay to eliminate surface imperfections and strengthen the walls. Careful attention is paid to the spout, handle, and lid, ensuring they are beautifully integrated into the design and functional. The edges of the teapot and lid are rounded or beveled to create a pleasing touch and prevent chipping.
This painstaking process of pulling and shaping, characterized by patience and refinement, embodies the potter’s connection to their craft. These steps transform a lump of clay into a teapot, each with its unique form and personality, ready for the final stages of drying, bisque firing, glazing, and glaze firing.
Assembling and Detailing
Once the individual components of the teapot, such as the body, spout, handle, and lid, have been shaped and refined, the next crucial step is assembling and detailing. This phase is vital for both the teapot’s functionality and aesthetic appeal.
A. Assembling Components
Attaching the spout, handle, and lid requires meticulous attention to detail to ensure that each piece harmonizes with the others in terms of proportions and balance. The spout must be positioned to pour effectively, not too high to avoid dribbling or too low to obstruct the lid’s placement. Similarly, the handle must be attached at an appropriate height and angle for comfortable use, considering the balance when the teapot is full. Scoring and slipping the surfaces where the components meet are essential for a strong bond. During this stage, it’s crucial to constantly reassess the teapot’s overall form and balance, making adjustments as necessary.
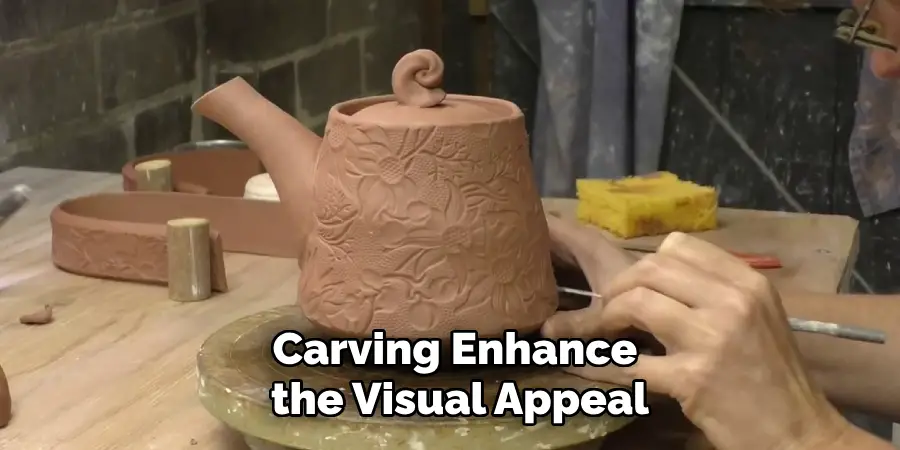
B. Adding Surface Details
Incorporating texture, carving, or decorative techniques is an opportunity to enhance the visual appeal and functionality of the teapot. Techniques such as graffito, slip trailing, or stamping can add depth and interest to the surface, making each teapot unique. These details should not be overly elaborate to overshadow the teapot’s form and function but should complement the overall design. Functionality can also be improved with added texture, such as a ribbed handle for better grip or a dimpled surface on the body for a more secure hold.
C. Refining Details
The final stage involves thoroughly cleaning, smoothing, and refining the teapot’s surface and edges for a polished and professional finish. Every seam, score mark, and join must be meticulously smoothed to ensure a pleasing aesthetic and prevent weak points that could lead to cracks or breakage during firing.
Implementing tools like fine sponges, soft ribs, and metal scrapers can achieve a surface that feels seamless and inviting to the touch. Special care must be taken around the spout, handle, and lid edges to ensure they are rounded or beveled, reducing the risk of chipping. This phase culminates the potter’s efforts, preparing the teapot for its final stages of drying, bisque firing, glazing, and glaze firing, where the creation will reach its fruition.
Drying and Bisque Firing
A. Allowing for Drying Time
After the teapot has been meticulously shaped and detailed, the next essential step is allowing it to dry. This process must be conducted slowly and evenly to prevent the teapot from cracking or warping, which can occur if parts dry at different rates. The teapot is often left to air dry in a controlled environment with constant humidity and temperature.
This ensures a uniform drying process. Lightly covering the teapot with a soft cloth or plastic sheet can help slow down the drying, preventing the outer layers from drying too quickly compared to the inside. The drying time can vary, often taking several days, depending on the size of the teapot and the ambient conditions.
B. Preparing for Bisque Firing
Once the teapot is bone dry, indicating that all moisture has evaporated, it’s ready for the bisque firing. This preliminary firing process requires careful preparation to ensure the teapot survives the kiln’s harsh environment. Dried teapots are placed on bats or kiln shelves, ensuring they are not touching to allow adequate airflow and prevent them from sticking together. The arrangement inside the kiln is crucial for even heat distribution, and pieces are often positioned to maximize space without compromising the airflow essential for a uniform firing. This stage also allows any remaining moisture to escape before the high temperatures of the glaze firing.
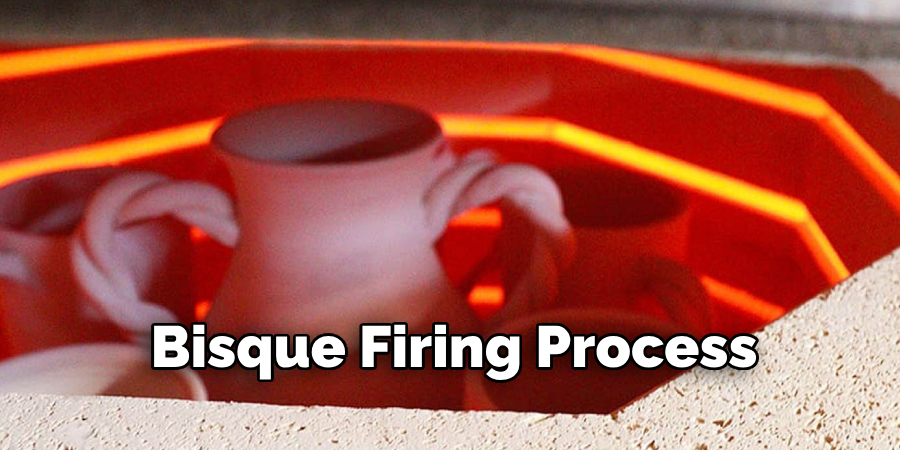
C. Bisque Firing Process
Bisque firing is a critical phase in ceramic making, hardening the clay and making it more durable for the subsequent glazing process. The teapot is fired at a lower temperature, typically between 1730°F (945°C) and 1940°F (1060°C), depending on the clay body used. This firing does not vitrify the clay, so it remains porous and can absorb the glaze. The process can take several hours to a full day, allowing for both heating and cooling.
Proper ventilation is crucial during this stage to allow gases to escape, ensuring the teapot undergoes a chemical transformation that sets the stage for glazing and the final firing. Successful bisque firing stabilizes the clay body, preparing it for the glazing that will define its final aesthetic and functional qualities.
Glazing and Final Firing
A. Glaze Preparation
The glaze preparation stage involves selecting and preparing glaze formulations to achieve the desired surface effects on the teapots. Potters often experiment with different recipes to find the perfect color, texture, and finish combination. Once a suitable glaze is selected, it must be sieved and mixed to the correct consistency.
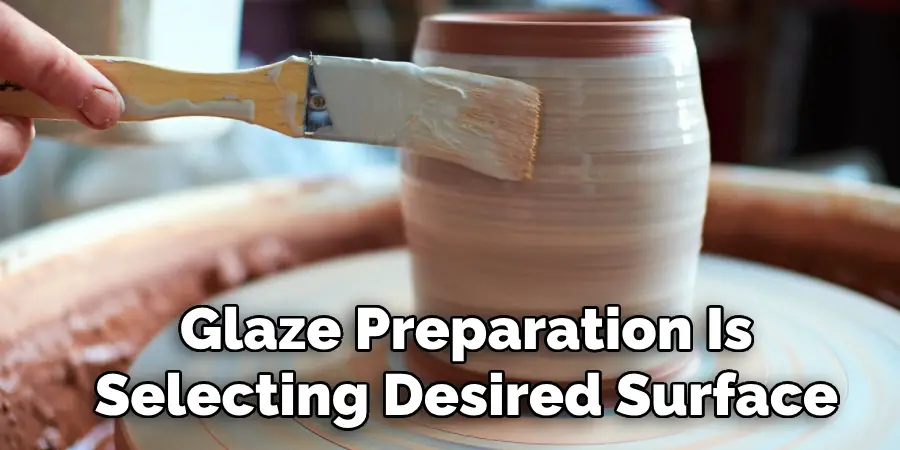
The application method, whether brushing, dipping, or spraying, significantly influences the formulation’s thickness and fluidity. A well-prepared glaze is crucial for achieving uniform coverage and optimal interaction with the clay body during firing, setting the foundation for the teapot’s final appearance.
B. Glazing Process
Applying glaze to bisque-fired teapots requires a steady hand and an eye for detail. Techniques such as brushing, dipping, or spraying are used based on the desired effect and the potter’s preference. Brushing allows for detailed decorative patterns, whereas dipping can cover a piece evenly and quickly.
Spraying is useful for achieving gradient effects or layering colors. Regardless of the method, ensuring even coverage is vital to prevent runs or bare spots that could mar the teapot’s final appearance. Special care is taken to wipe the glaze from the bottom of the teapot to prevent it from sticking to the kiln shelf during firing.
C. Final Firing
The final firing involves heating the glazed teapots in a kiln to high temperatures, typically between 2167°F (1186°C) and 2381°F (1305°C), depending on the glaze and clay body. This stage is critical as the heat causes the glaze to fuse to the surface, transforming both in texture and color to achieve the desired finish.
It’s a mesmerizing alchemy where the exact temperature and duration of the firing influence the final outcome’s hue, transparency, and crackle. Cooling must be carefully controlled to prevent thermal shock. Upon completion, the teapot emerges with a durable and decorative surface, marking the culmination of a meticulous process that bridges art and utility.
Conclusion
The intricate process of crafting a pottery teapot from clay to a finished piece is both an art and a science, encapsulating a series of meticulous steps from wedging the clay, throwing on the wheel, shaping, attaching components like spouts and handles, to detailed finishing, drying, bisque firing, glazing, and the final firing. Each phase is pivotal, requiring precision and attention to detail to transform a lump of clay into a functional and aesthetically pleasing teapot.
Mastering the art of how to throw a teapot on the wheel demands practice, patience, and a continual dedication to skill development. The complexities of forming the teapot body, integrating components seamlessly, and navigating the intricacies of glazing and firing are skills honed over time. Each teapot thrown is a learning opportunity, an experiment that slowly builds the foundation of expertise and intuition in pottery.
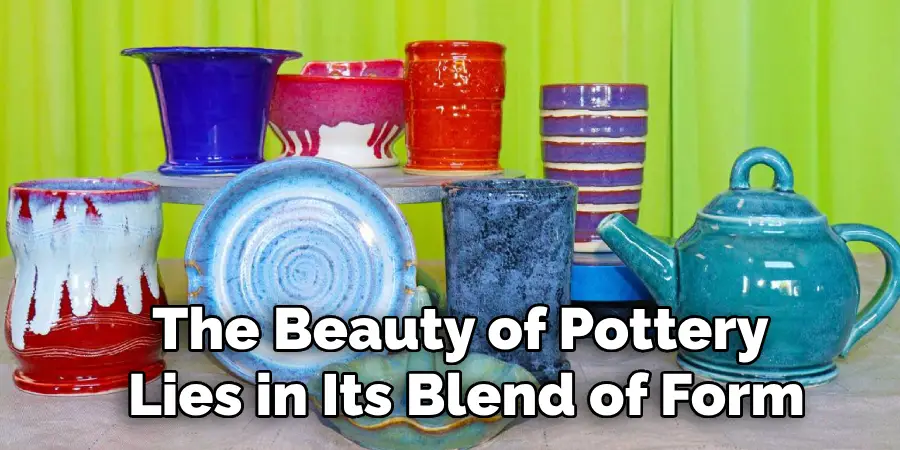
We encourage potters to immerse themselves in the creative process, exploring various techniques and experimenting with glazes, shapes, and decorations to craft unique pottery teapots. The beauty of pottery lies in its blend of form and function, infused with the maker’s personal style and inventiveness. Through perseverance and creativity, the quest in how to throw a teapot becomes not just about the end product, but about expressing oneself and bringing a personal vision to life.
About the Author
Adrien Rowe, an expert in knitting, fiber arts, and bookbinding, promotes sustainability and creativity through workshops and tutorials. Passionate about education and community, he inspires crafters of all levels to learn, share, and grow in a supportive, idea-driven environment.
Professional Focus
Specializes in advanced knitting techniques, fiber manipulation, and textile innovation.
Expert in book arts, including cotton papermaking, handmade paper techniques, and bookbinding.
Dedicated to educating and inspiring crafters of all skill levels through tutorials, workshops, and hands-on learning experiences.
Passionate about creating a supportive community where makers can share ideas, learn, and grow.
Education History
Rhode Island School of Design (RISD) – Bachelor of Fine Arts (BFA) in Textiles.
University of Iowa Center for the Book – Master of Fine Arts (MFA) in Book Arts.
Expertise:
Advanced knitting, fiber manipulation, papermaking, bookbinding, sustainability-focused crafting, educational workshops, creative tutorials, and fostering a supportive maker community.