Air dry clay projects offer a fun and creative avenue for both beginners and experienced craft enthusiasts alike. Unlike traditional clay that requires a kiln for firing, air dry clay can be hardened simply by exposure to air, making it a convenient option for home projects.
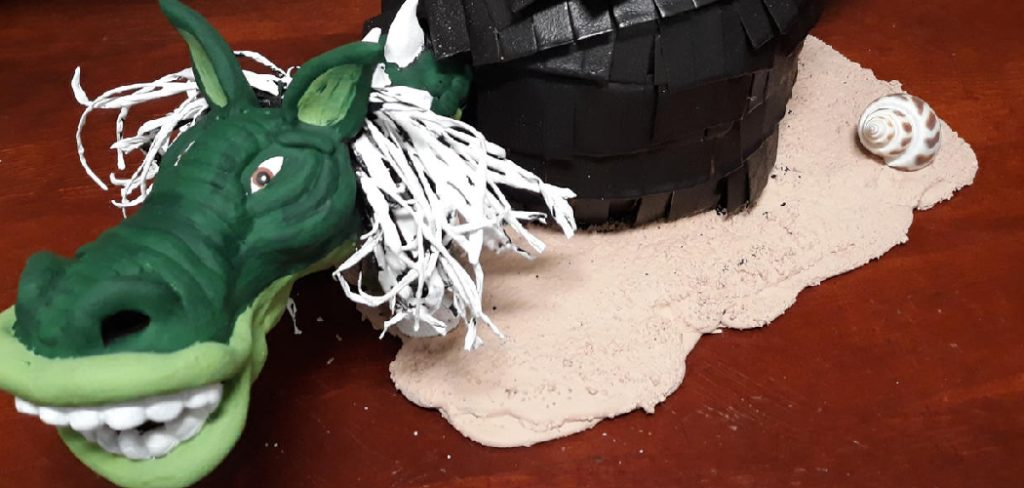
Whether you’re planning to sculpt decorative items, jewelry, or even functional pieces like coasters, understanding the basics, this guide on how to bake air dry clay will walk you through the preparation, shaping, and drying processes, ensuring your creations turn out as envisioned. With a little patience and creativity, you’ll discover the joy of bringing your ideas to life with air-dry clay.
Understanding Air-Dry Clay
Air-dry clay is a water-based clay that hardens through the process of drying. It’s made from natural materials such as cellulose fibers, pumice, and binders like white glue or wheat paste. Unlike oil-based clays that stay soft and pliable, air-dry clay dries to a hard and durable finish. This makes it ideal for creating long-lasting crafts and sculptures without the need for a kiln.
You can find air clay in a variety of colors, but if you want to customize your project, you can also paint it once it’s fully dried and hardened. It’s also lightweight, making it perfect for creating delicate pieces like jewelry.
11 Step-by-step Guidelines on How to Bake Air Dry Clay
Step 1: Preparing Your Workspace
Before you begin working with air-dry clay, it’s essential to prepare your workspace. Lay down some parchment paper or a plastic sheet to protect your surface from any spills or stains. You can also use a silicone mat, which is easier to clean and reusable. But avoid using newspaper as it can stick to the clay and create a mess. It’s also a good idea to keep a bowl of water nearby to smooth out any cracks or rough edges in the clay.
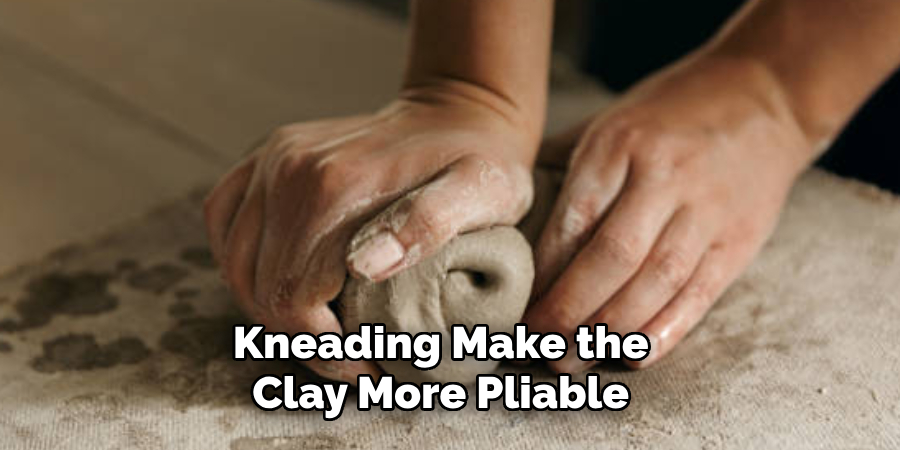
Step 2: Kneading and Conditioning the Clay
Air-dry clay can become stiff if left unused, so it’s essential to knead and condition the clay before starting your project. Kneading will help make the clay more pliable and easier to work with. To do this, simply roll the clay between your hands or on a flat surface until it softens. You can also add a few drops of water if it feels too dry. But be careful not to add too much as it can make the clay too sticky. However, if the clay is too sticky, you can dust your hands with cornstarch or use a little bit of baby powder to make it more manageable.
Step 3: Shaping Your Clay
Now that your clay is soft and pliable, you can start shaping it into your desired form. Use your hands or sculpting tools to create different shapes and textures on the surface of the clay. You can also use cookie cutters, molds, or other household items to create unique designs and patterns. Remember to keep a bowl of water nearby if you need to smooth out any rough edges. You can also use a damp paintbrush to add details or textures to your project.
Step 4: Drying the Clay
Once you’ve completed shaping your clay, it’s time to let it dry. Depending on the thickness of your project, drying can take anywhere from a few hours to a few days. It’s crucial to allow the clay to dry evenly, or it may crack or warp. To avoid this, you can rotate your project every few hours and place it in a well-ventilated area away from direct sunlight. You can also use fans to speed up the drying process, but be careful not to aim them directly at the clay as it may cause the surface to dry too quickly and crack.
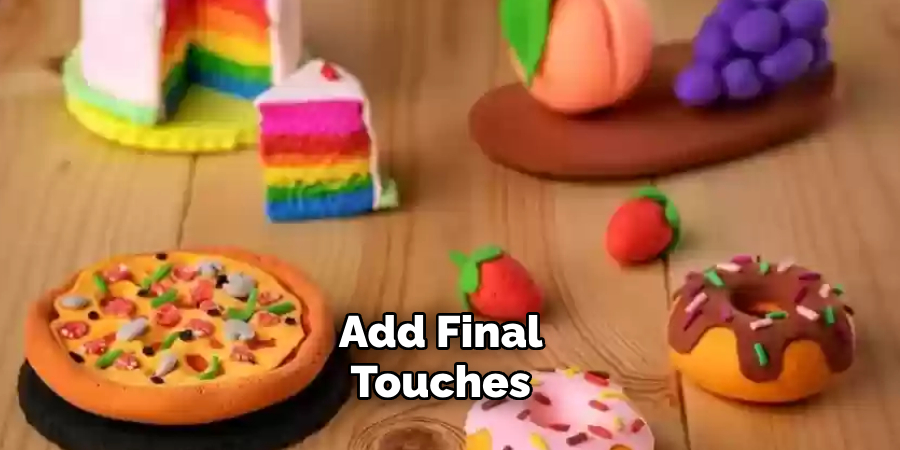
Step 5: Finishing Touches
After your project is fully dried, you can add any final touches or details. You can use sandpaper to smooth out any rough edges or imperfections, or you can paint your project with acrylic paints to add color and design. If you want a glossy finish, you can also apply a coat of varnish or sealant. It’s important to let your project dry completely before handling it or adding any final touches. The drying time may vary depending on the type of varnish or sealant you use, so be sure to read the instructions carefully.
Step 6: Baking Your Clay
Now that your project is completely dried and finished, it’s time to bake it. Baking air clay helps to harden and strengthen the clay, making it more durable and long-lasting. The baking process also helps to set any paints or varnish you may have used. Preheat your oven to 325°F (163°C), and place your project on a baking sheet lined with parchment paper or a silicone mat. Avoid using metal pans as they can cause the clay to burn or discolor. Bake for about 30 minutes for every ¼ inch of thickness, but keep an eye on it to avoid over-baking.

Step 7: Cooling Your Clay
Once your project is baked, let it cool completely before handling it. The clay will be very hot when it comes out of the oven, so use caution while handling it. Letting the clay cool slowly can also help prevent any cracking or warping. You can place your project on a cooling rack to allow air to circulate around it and aid in the cooling process. The clay will also continue to harden as it cools. It’s important to note that some air-dry clays may shrink slightly during the baking process, so keep this in mind when creating your project.
Step 8: Sanding and Smoothing
After your project has cooled, you can use sandpaper to smooth out any rough edges or imperfections that may have occurred during the baking process. Sanding will also help create a smoother surface for painting or sealing if desired. Be sure to clean off any dust from the sanding before moving on to the next step.
Step 9: Painting and Sealing
If you want to add color or design to your project, now is the time to paint it. Acrylic paints work well on air-dry clay and come in a variety of colors and finishes. You can also mix paints together to create custom shades or use other techniques like sponging or dry brushing to add texture and depth. Once your project is painted, you can apply a coat of varnish or sealant to protect the paint and create a glossy finish. Let it dry completely before handling.
Step 10: Curing Your Clay
After baking and finishing your project, it’s essential to allow the clay to cure for an additional 24-48 hours. Curing is different from drying as it allows the molecules in the clay to bond and strengthen, making it even more durable. During this time, you should avoid handling your project or exposing it to water. The curing process will vary depending on the type of clay you use, so be sure to read the instructions carefully. Once cured, your project is now ready for display or use!
Step 11: Finishing Touches
Congratulations! You’ve successfully completed baking air-dry clay! Now, you can add any final touches or accents to your project, such as adding a ribbon or attaching a magnet for display. The possibilities are endless with air-dry clay, making it the perfect medium for all ages and skill levels. Remember to have fun and let your creativity shine!
Following these steps on how to bake air dry clay will ensure that your air dry clay projects turn out beautifully and last for years to come. Experiment with different techniques and methods to discover what works best for you. And always remember to have fun and enjoy the process of creating with air-dry clay!
Tips and Tricks
- If you don’t have access to an oven or prefer not to bake your clay, some types of air-dry clay can also be left to dry naturally. However, this may take longer and may not produce as durable results.
- To avoid your project from sticking to surfaces, use parchment paper or a silicone mat when working with air dry clay.
- If your project cracks or breaks during the drying process, you can still salvage it by using a strong adhesive glue once it’s fully dried. However, be aware that this may not produce as strong results as baking the clay.
- If your project is too thick or has intricate details, you can use an armature made of aluminum foil or wire to help support and strengthen it while drying and baking. Just be sure to remove the armature once the project is fully dried.
- For a smoother finish, you can use a wet sponge or your fingers to smooth out any imperfections on the clay before it dries.
- If your project shrinks during the baking process, you can fill in any gaps with more air-dried clay and bake again for a few minutes to bond the layers together.
- To add texture to your project, you can press different materials like lace or leaves onto the surface of the clay before it dries. This will create a unique pattern and texture once the project is finished.
- If you’re using acrylic paints, be sure to clean your brushes and other tools immediately after use as they can harden on the bristles and become difficult to remove later on.
- Always read the instructions on your chosen air-dry clay, as different brands may have different instructions and drying times.
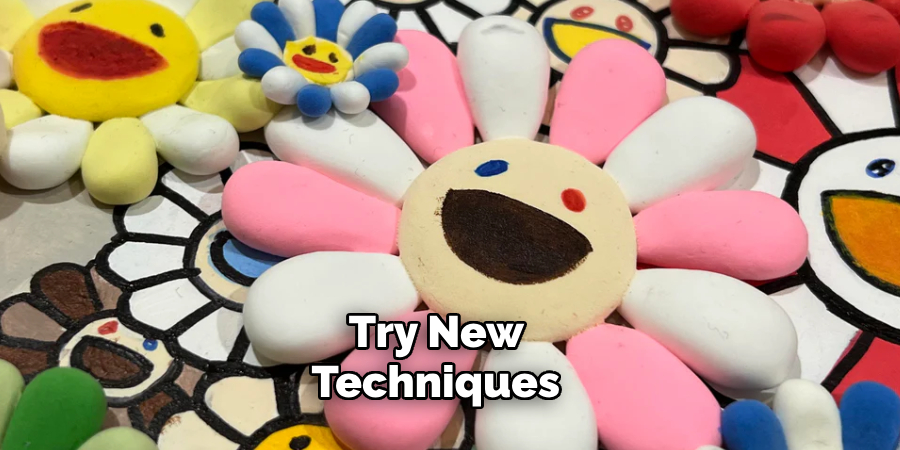
- Don’t be afraid to experiment and try new techniques with your air dry clay projects. The beauty of this medium is its versatility and the endless possibilities for creativity!
That’s it! Now you’re ready to create your own unique and beautiful projects using air dry clay. Get creative, have fun, and enjoy the process of bringing your imagination to life with this versatile and accessible medium.
Troubleshooting Common Issues
- If your clay is too dry and crumbly, you can add a small amount of water to help soften it. However, be careful not to add too much as it can make the clay too sticky and difficult to work with.
- If your project cracks or breaks during the drying process, it may be due to air bubbles trapped inside the clay. You can avoid this by kneading and conditioning the clay before working with it.
- If your project doesn’t dry fully, it may be due to thick or uneven layers of clay. To prevent this, roll out the clay evenly and make sure there are no air pockets trapped inside.
- If your project burns or discolors during baking, it may be due to an oven that runs too hot. Be sure to check the temperature and adjust as needed or use a lower temperature for a longer time.
- If your project is too soft after baking, it may be due to not enough baking time or an oven that doesn’t heat evenly. You can try baking the project for a few more minutes or using an oven thermometer to ensure the temperature is consistent.
With these tips and troubleshooting techniques, you can now confidently create and bake beautiful air-dried clay projects at home. Remember to always have fun and let your imagination guide you as you explore this versatile and exciting medium!
Showcasing Your Creations
Now that you know how to bake air dry clay, it’s time to showcase your creations! You can display them in your home or give them as unique and personalized gifts to friends and family. You can also take photos of your projects to share on social media or start an online shop selling your creations. The possibilities are endless, and the joy of creating with air dry clay is truly rewarding. Share your projects with others and inspire them to try out this fun and versatile medium as well!
It is always exciting to see what others can create with a little bit of clay and some creativity. Happy crafting! The fun has just begun. So, go ahead and continue to create more beautiful and unique projects with air dry clay. Remember to always have fun and let your imagination guide you as you explore this versatile and exciting medium!
Frequently Asked Questions
Q: How Long Does It Take for Air Dry Clay to Fully Dry?
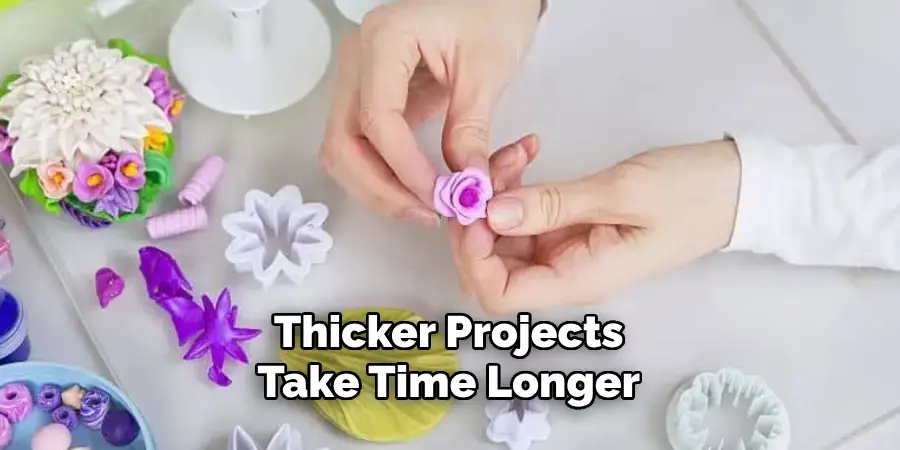
A: It can vary depending on the type and brand of clay, but generally, it takes 24-48 hours for air-dried clay to fully dry. Thicker and larger projects may take longer. It’s always best to check the instructions on your chosen clay for more specific drying times. Though, don’t be afraid to experiment and see what works best for your projects.
Q: Can I Add Paint or Other Materials to Air Dry Clay?
A: Yes, you can add paint and other materials like glitter, beads, or sequins to your air dry clay projects. Just be sure to do so before the clay dries so the materials can adhere properly. You can also paint and decorate your project after it has fully dried. It’s all about personal preference and the look you want to achieve.
Q: Can I Eat or Drink from Air Dry Clay Projects?
A: No, it is not recommended to eat or drink from air dry clay projects as they are not food safe. It’s best to use them for decorative purposes only. It’s also important to keep air dry clay away from young children and pets, as they may mistake it for food. It’s always better to be safe than sorry!
Q: Can I Reuse Air Dry Clay?
A: Yes, you can reuse air clay by storing it in an airtight container or bag. If the clay has dried out, you can add a small amount of water and knead it to soften it. However, keep in mind that reusing clay may affect its quality and texture, so it’s best to use fresh clay for projects that require a smooth finish. However, for projects that will be painted or textured, reusing clay can be a cost-effective solution.
Conclusion
Throughout this guide on how to bake air dry clay, we’ve explored the ins and outs of working with air dry clay, from shaping and crafting your pieces to troubleshooting common issues and showcasing your finished creations. While the process can sometimes be challenging, the satisfaction of bringing your ideas to life and the endless possibilities for creativity make it all worthwhile.
Remember, the key to success with air dry clay is patience, experimentation, and allowing your creativity to flourish. Whether you’re a seasoned artist or a beginner looking to try something new, air dry clay offers a versatile and accessible medium for all. Happy crafting, and may your creations bring joy and inspiration to yourself and those around you.
About the Author
Adrien Rowe, an expert in knitting, fiber arts, and bookbinding, promotes sustainability and creativity through workshops and tutorials. Passionate about education and community, he inspires crafters of all levels to learn, share, and grow in a supportive, idea-driven environment.
Professional Focus
Specializes in advanced knitting techniques, fiber manipulation, and textile innovation.
Expert in book arts, including cotton papermaking, handmade paper techniques, and bookbinding.
Dedicated to educating and inspiring crafters of all skill levels through tutorials, workshops, and hands-on learning experiences.
Passionate about creating a supportive community where makers can share ideas, learn, and grow.
Education History
Rhode Island School of Design (RISD) – Bachelor of Fine Arts (BFA) in Textiles.
University of Iowa Center for the Book – Master of Fine Arts (MFA) in Book Arts.
Expertise:
Advanced knitting, fiber manipulation, papermaking, bookbinding, sustainability-focused crafting, educational workshops, creative tutorials, and fostering a supportive maker community.