A crocheted skull cap is a versatile accessory that combines practicality and fashion. Its snug fit makes it ideal for cooler weather while offering a minimalistic and stylish look that suits a variety of outfits. One of the greatest benefits of making your own skull cap is the ability to customize it fully. You can choose your favorite colors, experiment with unique textures, and create a perfect fit for any head size—all while saving money compared to store-bought alternatives.

This guide has been designed to teach you how to crochet skull cap step-by-step, making it perfect for both beginners and seasoned crafters. From selecting the right yarn and hook to mastering the stitches and adding finishing touches, you’ll have everything you need to create a beautiful, handmade skull cap. Whether you’re making it for yourself, giving it as a gift, or donating to someone in need, this project is as rewarding as it is fun!
Materials and Tools Needed
Before starting your project, gathering all the materials and tools you’ll need is essential. Having the right supplies ensures your crocheted skull cap turns out beautifully and makes the process smooth and enjoyable.
Yarn Selection
The type of yarn you choose is crucial for achieving your skull cap’s desired look and feel. For warmth and comfort, some of the best yarn types to use are acrylic, wool, or cotton. Acrylic offers durability and affordability, while wool provides excellent insulation for colder weather. Cotton is a breathable option that is perfect for milder climates. For yarn weight, worsted (#4) or bulky (#5) are ideal choices, as they provide a good balance of warmth and stitch definition.
Crochet Hook Size
The recommended hook size for this project is typically a 5mm (H) or 6mm (J) crochet hook. These sizes work well with the suggested yarn weights, creating sturdy yet flexible stitches.
Additional Supplies
To complete your skull cap, you’ll also need scissors for cutting yarn, stitch markers to keep track of your progress, a measuring tape to ensure accurate sizing, and a yarn needle for weaving in the ends neatly. These tools will make the crafting process far more enjoyable and efficient.
Understanding Basic Crochet Stitches
Step 1: Essential Stitches
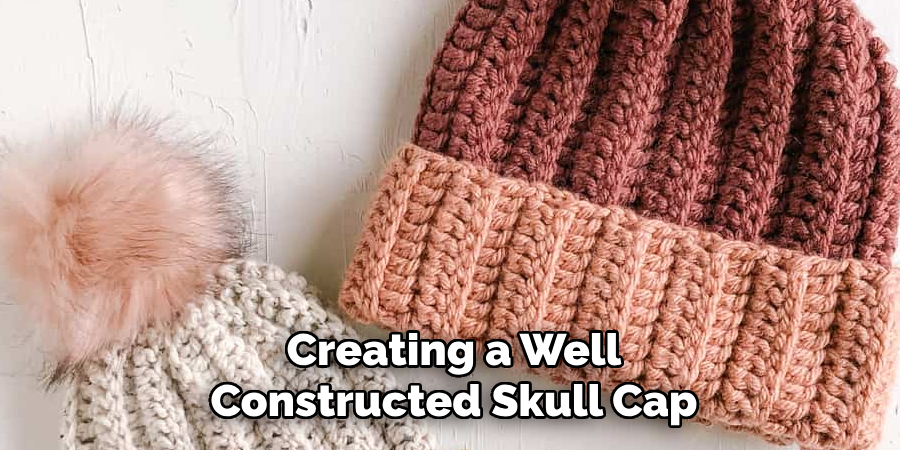
Mastering a few basic crochet stitches is key to creating a well-constructed skull cap. These stitches form the foundation for your project and influence the final piece’s texture, density, and overall look.
- Chain Stitch (ch): The chain stitch is the starting point for most crochet projects, including a skull cap. It forms the foundation upon which other stitches are built.
- Slip Stitch (sl st): This stitch is primarily used for seamlessly joining rounds. It doesn’t add height but is essential for maintaining a clean, polished look.
- Single Crochet (sc): This is one of the simplest and most frequently used crochet stitches. It creates a tight, sturdy fabric, ideal for warmth and structural integrity.
- Half Double Crochet (hdc): Slightly taller than a single crochet, it offers more flexibility and stretch, making it a comfortable option for wearables like caps.
- Double Crochet (dc): This stitch is taller, resulting in a looser and more breathable fabric, giving your cap a light, airy feel.
Step 2: Working in the Round
You’ll need to crochet in the round to achieve the iconic rounded shape of a skull cap. This can be done using one of two methods:
- Spirals: When working in spirals, you continue crafting around without joining the end of each round. This creates a smooth, continuous look but requires careful tracking to avoid losing your place.
- Joined Rounds: This method involves joining the last stitch of each round to the first stitch using a slip stitch. It’s ideal for maintaining a consistent, even appearance.
Using a stitch marker is highly recommended for either method, as it helps you easily identify the beginning of each round and keeps your work neat and accurate. This technique ensures that your skull cap maintains its proper shape and size throughout crafting.
How to Crochet Skull Cap: Starting the Skull Cap
Step 1: Creating the Magic Ring or Chain Start
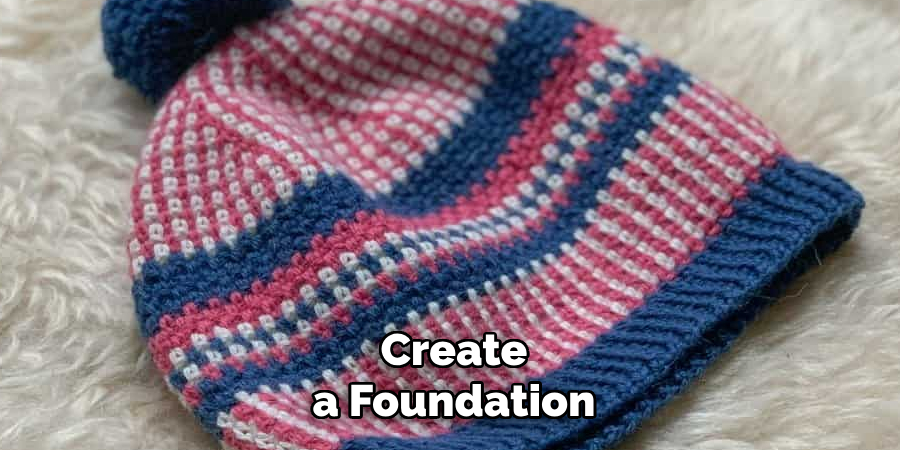
To begin your skull cap, you’ll need to create a foundation that forms the very center of the crown. There are two common methods for starting:
- Magic Ring Method: This is ideal for creating a seamless and tight center for your project. To create a magic ring, form a loop with your yarn, insert your hook into the loop, and pull up a loop. Chain one to secure the ring, then crochet your starting stitches directly into the ring. Once finished, pull the tail of the yarn tightly to close the loop.
- Alternative Chain Start: For a simpler alternative, chain 4-6 stitches, then join the last chain to the first with a slip stitch to form a small ring. Work your starting stitches into the center of this ring. While not as seamless as the magic ring, this is a beginner-friendly method.
Step 2: Increasing Rounds for the Crown
To form the crown of the skull cap, you’ll build it out by working a series of increase rounds. Typically, these involve using double crochet (dc) or half-double crochet (hdc) stitches:
- Formula: Begin with 6-8 foundation stitches in your first round. For each subsequent round, double the number of stitches evenly until you achieve the desired diameter for your cap’s crown. For example, in the second round, you’ll work two stitches into each stitch of the previous round. By the third round, alternate one stitch and two stitches per stitch to continue increasing smoothly.
This systematic increase ensures that your cap remains flat and symmetrical as you work toward the correct size for the top of the cap.
Shaping the Body of the Cap
Once the crown of the cap is complete, it’s time to shape the body of the cap. This part involves working even rounds in your chosen stitch pattern, such as single crochet (sc), half-double crochet (hdc), or double crochet (dc), depending on the look and feel you want for your cap.

Working Even Rounds
To maintain a consistent shape, stop increasing and work one stitch into each stitch from the previous round. Continue crocheting even rounds until the cap reaches the desired height. Remember to place a stitch marker at the beginning of each round to keep track of your progress.
Measuring for Fit
A typical adult-sized skull cap measures approximately 7 to 8 inches in height from the crown to the brim. Regularly measure your work to ensure accuracy and adjust as necessary. For children or smaller sizes, consider reducing the height accordingly.
Adjusting for Size
You can add or subtract the number of rounds as needed to achieve a snug or looser fit. Test the cap periodically to ensure it fits comfortably. Customizing the size helps create a cap tailored perfectly to the intended wearer.
Adding the Final Edge and Finishing
Creating a Ribbed or Decorative Edge
Consider adding a decorative edge to give your skull cap a professional and polished look. A popular choice is the Front Post/Back Post Double Crochet (FPdc/BPdc) technique, which creates a stretchy, ribbed band. To achieve this, alternate working FPdc and BPdc stitches around the edge of the cap. This adds a stylish finish and enhances the cap’s elasticity, ensuring a secure and comfortable fit.
If you prefer a simpler design, work a single crochet (sc) edge. This creates a clean and minimal finish while adding stability to the brim. Single crochet is also a great option for beginners, as it’s easy to execute and provides a timeless look.
Binding Off and Weaving in Ends
Once you’ve completed your desired edging, it’s time to bind off and finish your work. Cut the yarn, leaving a tail of about 4 to 6 inches. Pull the yarn through the last loop on your hook, securing the edge. Use a yarn needle to weave in the loose ends carefully, tucking them into the stitches to avoid unraveling. Trim any excess yarn to finish your cap neatly. This step ensures durability and a professional appearance.
Customization Ideas
Adding a Brim or Earflaps
Consider extending the front edge to create a beanie-style brim to add a practical yet stylish touch to your cap. This adds a unique design element and provides extra shade and warmth during chilly days. Alternatively, you can add earflaps to your cap, which are both fashionable and functional, especially for colder climates. Simply crochet triangular extensions on either side of the cap, ensuring they align with the wearer’s ears. For added flair, finish the earflaps with braided ties or tassels.
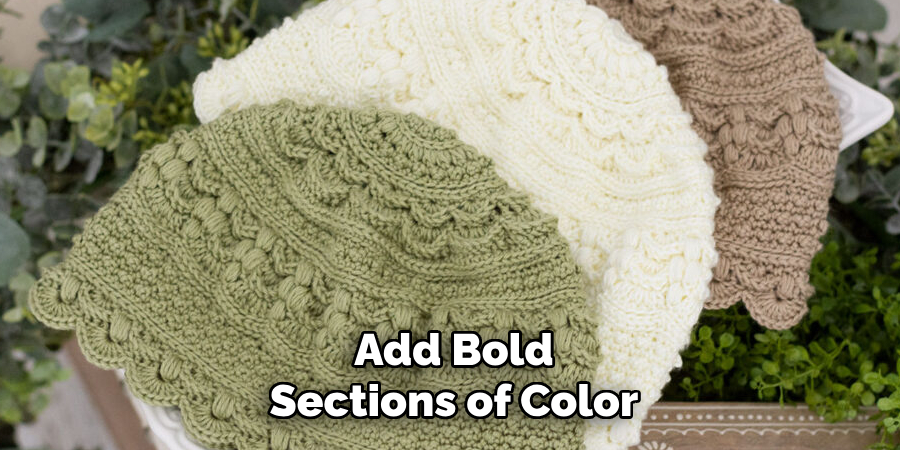
Stripes, Color Changes, or Textures
Experimenting with colors and textures can completely transform the look of your cap. Incorporate stripes by switching yarn colors every few rows, or add bold sections of color for an eye-catching design. To create visual interest, try using textured stitch variations like puff stitches, popcorn stitches, or bobbles. These details can add depth and personality to your cap, letting you tailor it to your individual style.
Attaching Embellishments
For a playful and decorative touch, sew on embellishments such as patches, appliques, or buttons. Adding a pom-pom to the top of the cap is another classic option that works well for children and adults alike. These finishing details allow you to showcase your creativity and make your cap unique.
Conclusion
Learning how to crochet skull cap designs is a rewarding and enjoyable process. By starting with the right yarn and hook, crocheting in rounds to create a sturdy base, shaping the cap to fit comfortably, and adding personal touches for a polished finish, you’ll craft a unique piece every time. Experimenting with various stitches and styles can help you refine your skills and expand your creativity. Handmade crochet caps are fashionable and make thoughtful gifts or meaningful donations to those in need. With practice and passion, this timeless craft can bring joy to both the maker and the recipient.
About the Author
Adrien Rowe, an expert in knitting, fiber arts, and bookbinding, promotes sustainability and creativity through workshops and tutorials. Passionate about education and community, he inspires crafters of all levels to learn, share, and grow in a supportive, idea-driven environment.
Professional Focus
Specializes in advanced knitting techniques, fiber manipulation, and textile innovation.
Expert in book arts, including cotton papermaking, handmade paper techniques, and bookbinding.
Dedicated to educating and inspiring crafters of all skill levels through tutorials, workshops, and hands-on learning experiences.
Passionate about creating a supportive community where makers can share ideas, learn, and grow.
Education History
Rhode Island School of Design (RISD) – Bachelor of Fine Arts (BFA) in Textiles.
University of Iowa Center for the Book – Master of Fine Arts (MFA) in Book Arts.
Expertise:
Advanced knitting, fiber manipulation, papermaking, bookbinding, sustainability-focused crafting, educational workshops, creative tutorials, and fostering a supportive maker community.