Crafting a clay heart combines the joy of artistic creation with the symbolic expression of love and emotion. This guide will walk you through how to make a clay heart, an endeavor that beckons both novice and experienced crafters alike. Heart shapes have long stood as universal symbols of affection, devotion, and connection, deeply rooted across various cultures and art forms. In crafting a clay heart, one partakes in a tradition that transcends mere artistry to touch upon the essence of human expression. While seemingly simple, this process entails a blend of technique and creativity, requiring skills ranging from rolling and shaping to detailed decorating.
By following this step-by-step guide, you’ll not only learn the technical aspects of how to make a clay heart but also imbibe the craft’s emotional resonance, making each creation uniquely yours.
Preparation and Setup
The initial step in learning how to make a clay heart involves carefully selecting and gathering essential materials. You’ll need clay suitable for sculpting, a rolling pin to flatten the clay, a heart-shaped cookie cutter or template, a smooth work surface conducive to rolling and shaping the clay, water to keep the clay moist, and an assortment of tools for detailing and texturing. These tools might include knives, stamps, and smoothing tools, all pivotal in shaping and embellishing your clay heart.
Next, the preparation of the clay is critical. Start by kneading your clay on your work surface, pressing and folding it to create a uniform texture and eliminate any air pockets trapped within. Achieving the right consistency is fundamental; the clay should be firm enough to hold its shape but pliable enough to be molded and detailed without cracking. This step ensures that your clay heart will be smooth and robust.
The final preparatory step is setting up your workspace. Begin by clearing any unnecessary items off your work surface, then clean the surface to prevent dirt or debris from embedding in your clay. Organization of your tools and materials is key to a streamlined and enjoyable crafting process. Ensure everything you need is within reach but not cluttering your workspace. This setup facilitates an efficient workflow and enhances the overall experience of creating your clay heart, making it as seamless as possible.
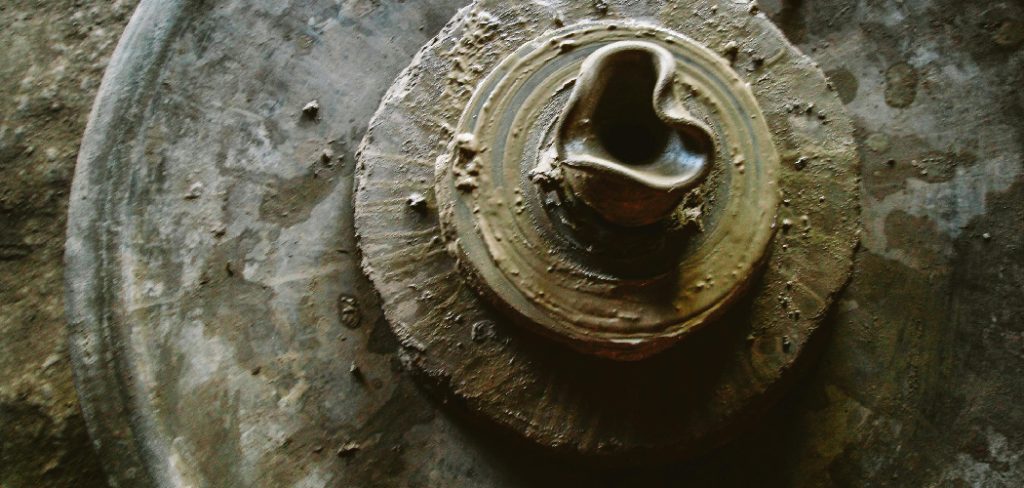
How to Make a Clay Heart: Rolling Out Clay
Once your workspace is primed and your clay is prepped to the optimal consistency, the next phase begins – rolling out your clay slab. Position your clay in the center of your work surface and start to flatten it gently with the palms of your hands to create an initial shape that your rolling pin can work with. Using a rolling pin, apply consistent pressure to roll the clay outwards from the center towards the edges.

The goal is to spread the clay into an evenly thick slab. Your desired thickness will depend on the final use of your clay heart, but a general rule of thumb for freestanding pieces is about 1/4 to 1/2 inch thick. This thickness ensures that your clay heart is sturdy enough to handle without being overly bulky.
Ensuring the slab’s evenness is crucial; unequal thickness can lead to uneven drying, which may cause warping or cracking. A common technique to maintain uniform thickness is to place two sticks of equal thickness, such as dowels, on either side of the clay slab. These guide your rolling pin, preventing it from flattening the clay too thin. Rotate your slab occasionally to ensure it’s being rolled out evenly from all angles.
It’s time to cut out the heart shape with your slab rolled out to an even thickness. If you’re using a heart-shaped cookie cutter, press it firmly into the clay to ensure a clean cut. Wiggle the cutter slightly to separate the heart shape from the surrounding clay. If you’re using a heart template, place it on top of the clay slab and trace around it with a clay knife or needle tool. Carefully remove the excess clay from around your heart shape, then smooth any rough edges with a damp finger or sponge. This precision will leave you with a beautifully shaped clay heart, ready for the next stage of detailing and personalization.
How to Make a Clay Heart: Shaping and Detailing
This crucial phase transforms your clay heart from a simple form to a piece imbued with character and emotion. Detailing not only enhances the aesthetic appeal of your clay heart but also affords a level of personalization that renders each piece unique.
A. Refining Edges
Once the heart shape is cut out, the first step in detailing is to refine its edges. Smoothing and softening the edges of your clay heart helps eliminate any rough spots or irregularities, giving it a polished and finished look. This can be achieved by gently running your fingers around the edges or using a rubber-tipped shaping tool. The key is to apply gentle pressure, gradually refining the shape and contour of the heart. A damp sponge can also be lightly brushed along the edges for a smoother finish. This improves the heart’s tactile quality and prepares the surface for further decorative detailing.
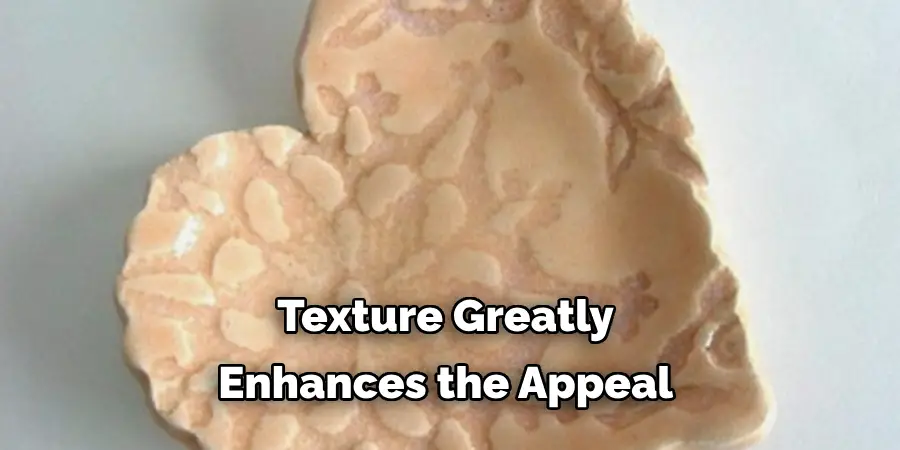
B. Adding Texture
The texture greatly enhances the appeal of a clay heart. Imprinting, carving, or stamping the surface infuses your piece with personality and style. This can be as simple as pressing a lace cloth against the clay for a delicate pattern or using rubber stamps to imprint messages or designs. For those who revel in intricacy, carving out designs with a needle tool can add depth and intrigue to your heart.
This process adds visual interest and engages the sense of touch, making each heart a tactile treasure. It’s essential to balance creativity with the characteristics of the clay; too deep an imprint or carve can weaken the structure, while too light may not achieve the desired effect.
C. Personalizing
Personalizing your clay heart transforms it from a mere object to a meaningful keepsake. This step is where you can make your mark by adding initials, names, or personal messages. This could be done by inscribing with a tool before the clay dries or by attaching clay letters or symbols to the surface. Adding personal elements adds value and turns your clay heart into a potential gift, memoir, or token of affection. Whether etched with a loved one’s initials or stamped with a date of significance, the personal touch ensures your clay heart holds a story only you can tell.
In shaping and detailing your clay heart, patience and precision meld with artistic flair. Each step, from refining the edges to personalizing with heartfelt messages, contributes to the heart’s transformation into a seen and felt piece. This stage of creation invites you to invest not just time and effort but a piece of yourself, making each clay heart a reflection of your creativity and emotions.
How to Make a Clay Heart: Creating Surface Design
Creating a surface design on your clay heart is where your artistic skills can truly shine, allowing for a deeper level of customization and creativity. This phase involves various techniques that enhance the surface texture and visual appeal, giving depth and personality to your piece.
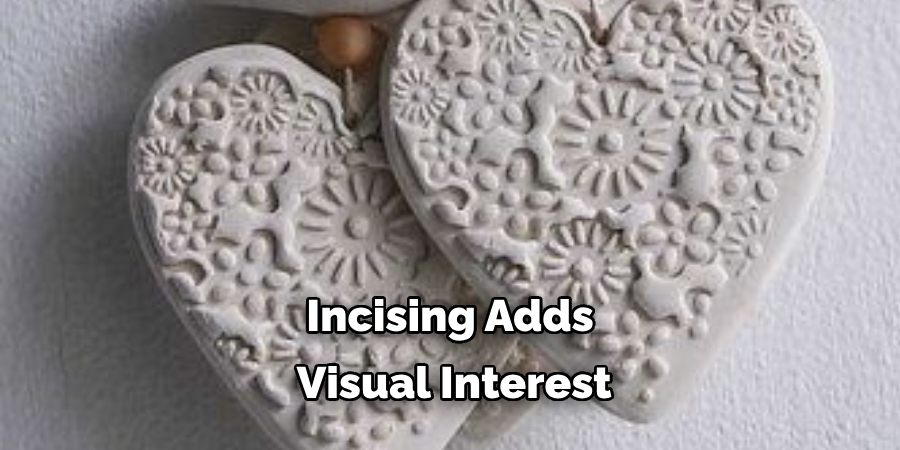
A. Incising
Incising involves using tools to carve patterns, lines, or designs directly into the surface of your clay heart. This method can be performed with various tools, such as needles, carving implements, or even everyday objects with interesting textures. The key is to apply enough pressure to create a visible imprint without compromising the integrity of the clay. Incised designs could range from simple geometric patterns to more elaborate floral motifs. This technique adds visual interest and creates a unique tactile experience.
B. Adding Relief
The technique of adding relief can be employed to introduce a three-dimensional aspect to your clay heart. This involves building up clay layers or attaching pre-made clay elements onto the heart’s surface. The process allows for the creation of raised designs that stand out from the base layer, offering an enhanced visual appeal and an intriguing textural contrast. Applications might include adding raised letters, creating a layered floral design, or attaching small sculpted figures. The possibilities are limited only by your imagination and the characteristics of the clay.
C. Experimenting with Techniques
Exploring various decorating techniques can add extraordinary detail and uniqueness to your clay heart. Techniques such as sgraffito, slip trailing, or Mishima offer diverse options for surface decoration. Sgraffito involves scratching through a surface layer of slip (liquid clay) to reveal a body of clay of a different color beneath the clay, creating a contrasting design. Slip trailing, on the other hand, uses a more fluid form of clay to ‘draw’ on the surface, creating raised designs. Mishima is a technique where incised lines are filled with contrasting slips and then wiped away to reveal a detailed pattern. Each method offers a unique way to personalize and stylize your clay heart, encouraging experimentation and invention.
By incorporating these techniques into your creation process, the surface design of your clay heart becomes an exciting adventure in artistry and craftsmanship. Each method, from incising to experimenting with various decorating techniques, invites you to express your vision and imbue your clay heart with a piece of your creative spirit.
Drying and Finishing
A. Allowing for Drying Time
Transitioning from sculpting to finishing your clay heart necessitates a crucial drying phase. Allowing your clay heart to air dry slowly and evenly is paramount to prevent cracking, warping, or other forms of deformation. The drying process can take anywhere from a couple of days to a week, depending on the thickness of the clay and the ambient humidity levels. Positioning your clay heart in a location devoid of direct sunlight and extreme temperature changes can further ensure a uniform drying process. Patience during this stage is essential, as rushing could compromise the integrity and appearance of your heart.
B. Smoothing Surface
Once thoroughly dried, the surface of your clay heart may require some attention to achieve a smooth finish. Sanding is a meticulous but rewarding process that can eliminate any surface imperfections, such as bumps or small cracks that appear during drying. Using fine-grit sandpaper, gently sand the surface and edges of the heart. It’s important to wear a dust mask during this process to avoid inhaling clay particles. Subsequent to sanding, you can use a slightly damp sponge to wipe down the heart, removing any residual dust, which prepares it for any further finishing touches, like painting or glazing.
C. Adding Holes or Hooks

Should your design intend for the clay heart to be displayed by hanging or mounted, this is the moment to add holes or attach hardware. If you plan to pierce holes, it is best done prior to the drying process, but if overlooked, carefully drilling small holes into the fully dried piece works as well. Adding hooks or attaching hardware suitable for wall mounting can provide stable support for heavier clay hearts. This step requires delicate handling to ensure the integrity of the clay heart isn’t compromised, guiding its transformation into a displayable piece of art.
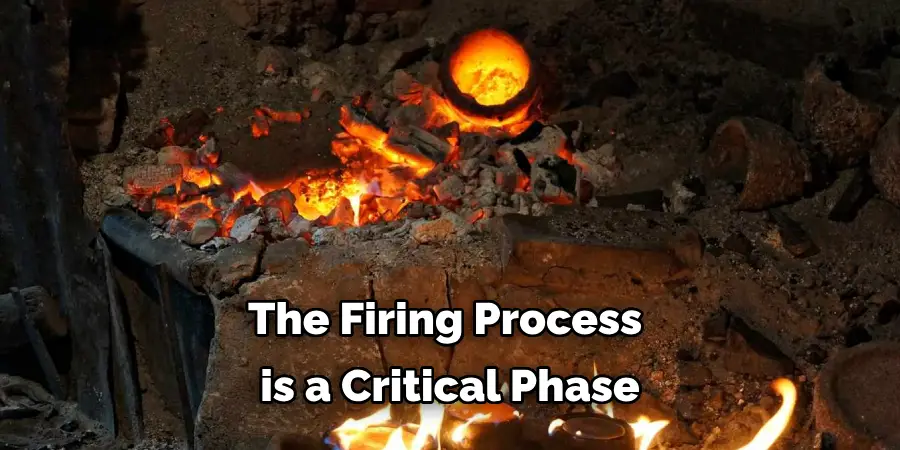
Firing Process
The transition from drying and finishing your clay heart to making it durable involves the firing process, which is essential to permanently harden the clay. This process comprises crucial steps that transform the clay into ceramic.
A. Bisque Firing
Bisque firing is the initial phase where the dry clay heart is placed in a kiln and fired at low temperatures, usually between 1815°F to 1945°F (990°C to 1063°C). This stage hardens the clay, making it less fragile and more suitable for glazing. It’s important to ensure that the heart is completely dry, as any remaining moisture can cause the piece to crack or explode in the kiln. The bisque firing also makes the clay porous and optimal for the glaze to adhere in the next step.
B. Glazing (Optional)
After bisque firing, applying glaze to your clay heart is an optional yet common practice for adding color and shine. Glazing involves applying one or more layers of glaze onto the bisque-fired piece. You can brush, dip, or spray the glaze, depending on the desired effect and the glaze’s consistency. Once applied, the glaze must dry before moving to the final firing. This layer also acts as a sealant, making the surface smoother and sometimes food-safe, depending on the glaze type used.
C. Final Firing
The final firing, or glaze firing, involves heating the glazed clay heart in the kiln at higher temperatures, typically ranging from 2167°F to 2372°F (1186°C to 1300°C), depending on the type of clay and glaze used. This process melts the glaze, forming a glassy layer that bonds to the clay heart, enhancing its color and strength. The high temperature also vitrifies the clay body, completing its transformation into a durable ceramic piece. Once cooled, the clay heart emerges with its finished surface, embodying artistic creativity and craftsmanship, ready for display or as a heartfelt gift.
Frequently Asked Questions (FAQ)
Q: How Long Does It Take for A Clay Heart to Completely Air Dry?
A: The drying time for a clay heart can vary based on its thickness and the ambient humidity levels. Typically, it ranges from a few days up to a week. To ensure even drying and prevent cracking or warping, placing the clay heart in a stable environment away from direct sunlight and drastic temperature changes is essential.
Q: Can I Speed up The Drying Process of My Clay Heart?
A: While it’s tempting to speed up the drying process, doing so can lead to cracks or deformations. Slow and even drying is crucial. However, if necessary, you can promote a slightly quicker drying by increasing air circulation around the piece, ensuring that the process remains as even as possible.
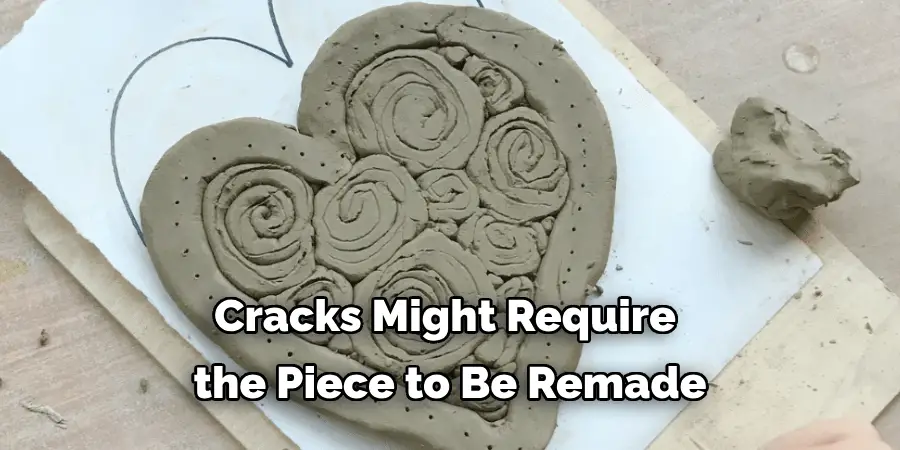
Q: What Should I Do if My Clay Heart Cracks During Drying?
A: Minor cracks can sometimes be repaired by re-wetting the area slightly and applying fresh clay to fill in the cracks. After the repair, allow it to dry slowly and evenly again. However, significant cracks might require the piece to be remade, as repairs could affect the structural integrity once fired.
Q: Is Glazing Required for My Clay Heart?
A: Glazing is optional but recommended if you wish to add color, shine, or a food-safe coating to your clay heart. Glazing also seals the surface, making it smoother and more moisture-resistant.
Q: What Temperature Is Needed for The Final Firing of A Glazed Clay Heart?
A: The temperature for the final firing, also known as glaze firing, typically ranges from 2167°F to 2372°F (1186°C to 1300°C). This can vary depending on the specific type of clay and glaze used, so it’s important to refer to the manufacturer’s recommendations for the best results.
Q: How Can I Ensure My Clay Heart Remains Intact During the Firing Process?
A: To prevent damage during firing, ensure that your clay heart is completely dry before bisque firing and that you’ve followed the appropriate temperature ramp rates for both bisque and glaze firings. Properly spacing pieces inside the kiln to allow for airflow and even heating can also help reduce the risk of damage.

Conclusion
Creating a clay heart involves detailed steps, from thoughtfully selecting the clay, sculpting to form the heart, and experimenting with decorating techniques like sgraffito, slip trailing, and Mishima to the careful drying and finishing processes. Finally, it necessitates bisque firing, optional glazing, and the final high-temperature firing to solidify and beautify the piece.
The process of how to make a clay heart is not just about following steps; it’s a venture into expressing creativity and adding a personal touch. Each clay heart carved, shaped, and decorated by hands holds the unique spirit of its creator, rendering it an incomparable gift or a piece of decoration.
We encourage artists, hobbyists, and beginners alike to explore and experiment with making clay hearts. Whether as gifts, decorations, or keepsakes, the joy of creating something by hand adds unparalleled value and meaning. Learning how to make a clay heart opens up endless possibilities for personalization, making every piece a reflection of the creator’s imagination and heart.
About the Author
Adrien Rowe, an expert in knitting, fiber arts, and bookbinding, promotes sustainability and creativity through workshops and tutorials. Passionate about education and community, he inspires crafters of all levels to learn, share, and grow in a supportive, idea-driven environment.
Professional Focus
Specializes in advanced knitting techniques, fiber manipulation, and textile innovation.
Expert in book arts, including cotton papermaking, handmade paper techniques, and bookbinding.
Dedicated to educating and inspiring crafters of all skill levels through tutorials, workshops, and hands-on learning experiences.
Passionate about creating a supportive community where makers can share ideas, learn, and grow.
Education History
Rhode Island School of Design (RISD) – Bachelor of Fine Arts (BFA) in Textiles.
University of Iowa Center for the Book – Master of Fine Arts (MFA) in Book Arts.
Expertise:
Advanced knitting, fiber manipulation, papermaking, bookbinding, sustainability-focused crafting, educational workshops, creative tutorials, and fostering a supportive maker community.