Making a paper ball is a simple yet enjoyable craft that can be done with a few basic supplies and some creativity. Whether you are looking for a fun activity to do with children or a unique way to add decoration to a space, making a paper ball is a versatile endeavor. Paper balls can be used for various purposes, such as lightweight toys, party decorations, or even as part of intricate origami projects. This craft is also an excellent way to repurpose old paper, making it an eco-friendly option for hobbyists.
This guide is designed to teach you how to make a paper ball using different techniques. There is a method for every skill level, from the easy crumpled method to the more intricate origami and modular approaches. By the end, you’ll have the tools and inspiration to create your own personalized paper balls for any occasion.
Materials and Tools Needed
Creating a paper ball is an accessible craft that requires only a few basic materials, many of which can be easily found at home. Below is a list of essential and optional supplies you will need to get started.
Basic Materials
- Paper: Regular printer paper, construction paper, or origami paper will work perfectly, depending on your chosen method. Each type of paper offers a different look and feel, so consider experimenting to find your preference.
- Scissors (optional): Scissors are necessary if you use advanced techniques requiring precise cuts.
- Glue or Tape (optional): For methods involving multiple pieces of paper or layers, glue or tape might be needed to secure everything in place.
Optional Materials for Decoration
- Markers or Colored Pencils: Use these to add designs, patterns, or color to your paper balls, making them more vibrant and unique.
- Stickers: Stickers can bring extra fun to your finished craft.
- Decorative Paper (optional): Specialty paper with patterns or glitter can elevate the appearance of your paper ball.
With these materials in hand, you’ll be ready to start crafting your paper ball craft for any occasion!
How to Make a Paper Ball: Simple Crumpled Paper Ball
Creating a paper ball doesn’t have to be complicated. This method is simple, quick, and enjoyable, making it perfect for beginners or those seeking a fun activity with minimal supplies. Follow these steps to craft a basic crumpled paper ball.
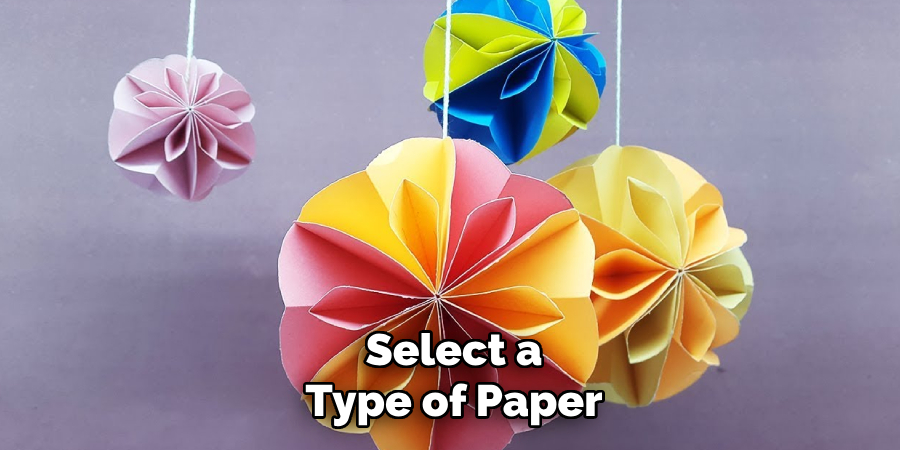
Step 1: Choosing the Right Paper
Select a type of paper that suits your needs. Thicker paper, such as cardstock, is sturdier and holds its shape better, offering a more durable ball. On the other hand, thinner paper, like printer or notebook paper, is easier to compress and manipulate into a ball. Experimenting with different paper types can help you find what works best for your project.
Step 2: Crumpling the Paper
Take a single sheet of your chosen paper and crunch it into a tight ball using your hands. Apply even pressure while folding and compressing the paper to ensure the ball is round. Don’t worry about achieving perfection; the charm of this method lies in its handmade quality.
Step 3: Securing the Shape
To improve the appearance and durability of your paper ball, you can wrap it with an additional layer of paper. This helps smooth out any irregularities and strengthens the ball. Use tape or a small amount of glue to secure the outer layer, ensuring it stays firmly in place. Adjust as needed to refine the shape, and your crumpled paper ball is complete!
How to Make a Paper Ball: Origami Paper Ball
Step 1: Preparing a Square Paper
If you have rectangular paper, you must trim it into a perfect square. To do this, fold one corner of the paper diagonally to align with the opposite edge, forming a triangle. Cut off the excess strip of paper along the edge of the triangle. Unfold it, and you’ll have a square, essential for creating an accurate origami paper ball.
Step 2: Make the Basic Origami Balloon Shape

Start by folding the square paper in half diagonally both ways to create two intersecting creases. Once unfolded, these creases will form an “X” across the paper. Next, fold the paper in half horizontally and vertically to create additional creases that intersect at the center. Bring two opposite horizontal edges together, allowing the paper to collapse into a triangular base with two flaps on each side. Carefully tuck the edges inward as needed to form the base required for the origami balloon shape.
Step 3: Inflating the Paper Ball
Take one available small opening on the triangular base and gently blow air into it while holding the other edges securely. The shape will begin to inflate, creating a 3D balloon-like structure. Adjust the creases as needed for a smooth and rounded appearance. With careful handling, you’ll have a lightweight, hollow paper ball—a delicate and creative alternative to a crumpled paper ball.
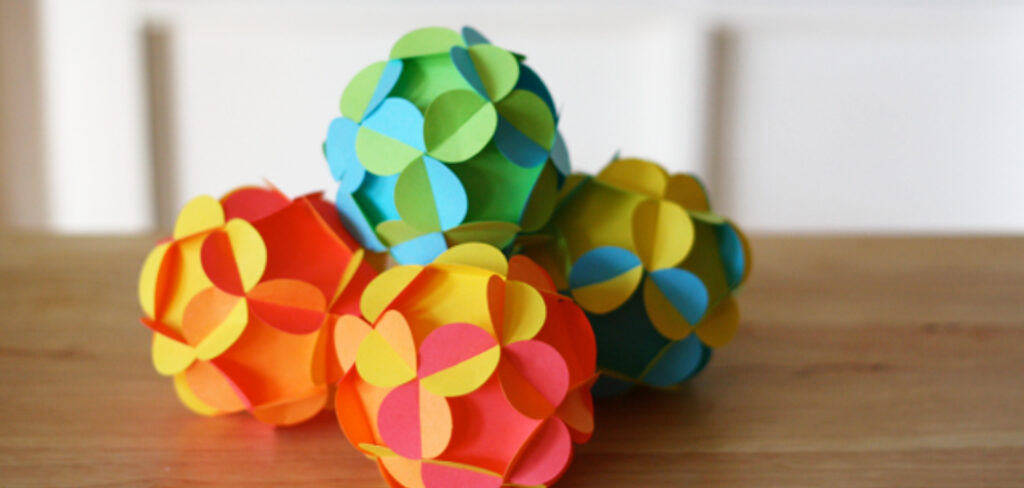
Modular Paper Ball
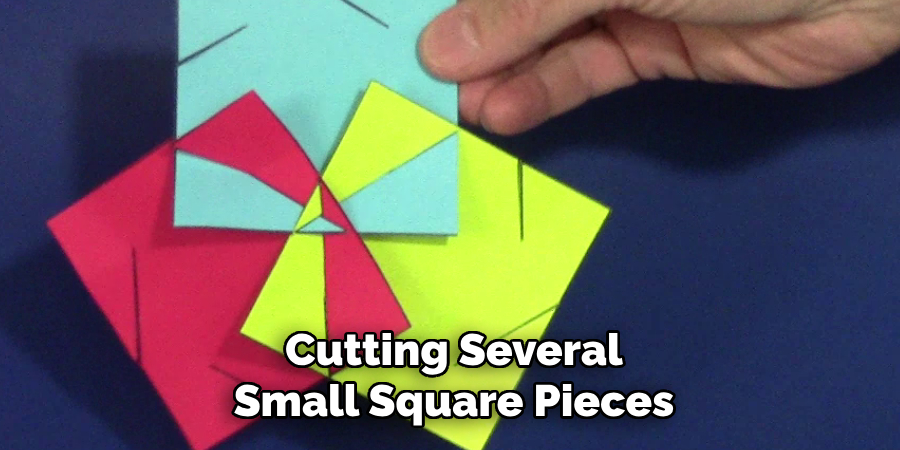
Step 1: Creating Multiple Paper Units
Begin by cutting several small square pieces of paper. These squares should all be of identical size to ensure uniformity in the structure. Fold each square into a specific unit according to the modular origami technique you are following. Typically, this involves creating triangular or rectangular folds that allow the pieces to interlock.
Step 2: Connecting the Pieces
Take two folded units and slot them together carefully along their edges without using glue. The folds should naturally create pockets or tabs that fit into each other. Continue adding more units, interlocking them into place to form the ball’s spherical shape gradually. Be patient during this step, as precise alignment ensures the structure is secure and visually appealing.
Step 3: Strengthening the Ball
Once all units are connected and the spherical shape is complete, press lightly on the entire structure to ensure the units fit snugly together. This final adjustment strengthens the paper ball, making it more stable and cohesive. The result is an intricate, modular paper ball showcasing creativity and precision, with no adhesive required.
Decorating the Paper Ball
Adding a personal touch to your modular origami ball can enhance its beauty and showcase your creativity. To introduce colors and patterns, consider folding them with colored or patterned paper. Select hues that complement the intended setting or theme, whether it’s a festive decoration or an artistic display. If using plain paper, you can draw intricate designs, geometric patterns, or even doodles on the sheets before folding them into individual units. This ensures the artwork integrates seamlessly into the final structure.
For added durability and a polished finish, you can apply a thin coating of light glue or Mod Podge over the completed ball. Using a soft brush, gently spread the adhesive in an even layer, ensuring that all surfaces are coated without over-saturating the paper. Once dried, this layer not only reinforces the paper’s structural integrity but also adds a slight sheen, enhancing the visual appeal. Allow adequate drying time before handling the ball to avoid smudging or deformation. With these enhancements, your modular paper ball transforms into a vibrant and resilient work of art that truly reflects your personal style.
Creative Uses for Paper Balls
As Toys or Lightweight Balls for Kids
Paper balls can serve as fun, lightweight, safe toys for children to play with. Their soft, lightweight nature makes them ideal for indoor games, such as a gentle game of catch or juggling, without the risk of damage to household items or injury. You can customize the design with vibrant colors or playful patterns to make them even more engaging for kids. These eco-friendly toys are also easy to remake if they wear out, making them a sustainable option for playtime.
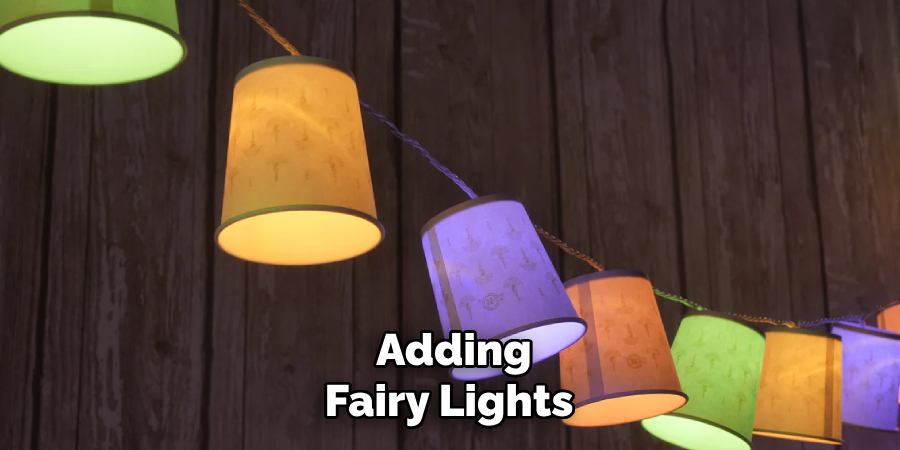
Decorative Items for Parties
Modular paper balls can add an artistic flair to party decorations. Suspended from the ceiling or arranged as table centerpieces, they create an eye-catching and unique aesthetic. Their versatility allows you to match color schemes or themes for birthdays, weddings, or holiday celebrations. Adding fairy lights or metallic accents to the paper balls can elevate their charm, making them perfect for both casual and formal gatherings.
Origami and Craft Projects
For origami enthusiasts, modular paper balls present an excellent avenue to showcase creativity and skill. They can be part of larger craft projects, such as creating mobiles, garlands, or even room dividers. By experimenting with different paper textures and patterns, the possibilities for customization and artistic expression are endless, ensuring each creation is truly unique.
Conclusion
Paper balls come in various forms, whether created by simple crumpling, intricate origami, or stunning modular techniques. Each method offers its own charm and creative potential, making them suitable for diverse uses like decorations, crafts, or toys. Experimenting with different sizes, patterns, and embellishments allows for endless personalization and artistic expression. Not only are they fun to make, but they also promote eco-friendly crafting by using recyclable materials. If you’re wondering how to make a paper ball, start small and explore your creativity—you’ll find these projects are as enjoyable as they are versatile.
About the Author
Adrien Rowe, an expert in knitting, fiber arts, and bookbinding, promotes sustainability and creativity through workshops and tutorials. Passionate about education and community, he inspires crafters of all levels to learn, share, and grow in a supportive, idea-driven environment.
Professional Focus
Specializes in advanced knitting techniques, fiber manipulation, and textile innovation.
Expert in book arts, including cotton papermaking, handmade paper techniques, and bookbinding.
Dedicated to educating and inspiring crafters of all skill levels through tutorials, workshops, and hands-on learning experiences.
Passionate about creating a supportive community where makers can share ideas, learn, and grow.
Education History
Rhode Island School of Design (RISD) – Bachelor of Fine Arts (BFA) in Textiles.
University of Iowa Center for the Book – Master of Fine Arts (MFA) in Book Arts.
Expertise:
Advanced knitting, fiber manipulation, papermaking, bookbinding, sustainability-focused crafting, educational workshops, creative tutorials, and fostering a supportive maker community.