Building a homemade rocket is an exciting and educational project combining creativity and science. This guide on how to make a rocket with a bottle is designed to help you create a functional DIY rocket using simple, low-cost materials. The project is perfect for hands-on learning and demonstrates key physics concepts like Newton’s Third Law of Motion, which states that every action has an equal and opposite reaction.
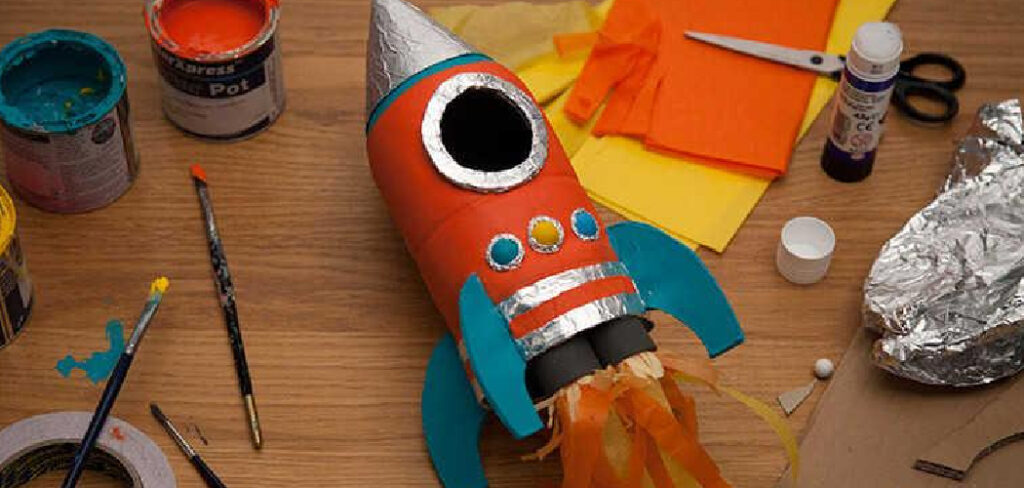
By engaging in this activity, you’ll better understand forces and pressure and improve problem-solving and engineering skills. Whether you’re conducting it as a science experiment, a fun activity with family, or with students in a classroom setting, this bottle rocket project is safe and easy to assemble. It provides endless opportunities to experiment with design and propulsion. Plus, it’s an excellent way to explore aerodynamics and have fun outdoors.
Materials and Tools Needed
To build your bottle rocket, you’ll need a few simple materials and tools that are easy to gather. Below is a comprehensive list of what you’ll require for this project:
Essential Materials
- 1-liter or 2-liter Plastic Bottle: A soda bottle works best as it provides the right structure for the rocket.
- Water or Air Pressure: Used as the main propulsion system for your rocket.
- Cork or Rubber Stopper: This should fit snugly into the bottle opening to contain the pressure before launch.
- Baking Soda and Vinegar: An alternative method for propulsion that relies on a chemical reaction to generate thrust.
Additional Supplies
- Cardboard or Foam Board: These materials are ideal for crafting fins to stabilize the rocket during flight.
- Tape, Glue, or Hot Glue Gun: Necessary for attaching the fins and other components securely to the bottle.
- Scissors or Craft Knife: For cutting cardboard or foam pieces into the desired shapes.
- Straws, String, or a Launchpad Setup: These can help create a stable launching system for the rocket.
These materials and tools will ensure a smooth and successful bottle rocket-making experience. Remember to gather everything in advance for a streamlined assembly process!
How to Make a Rocket with A Bottle: Building the Rocket Body
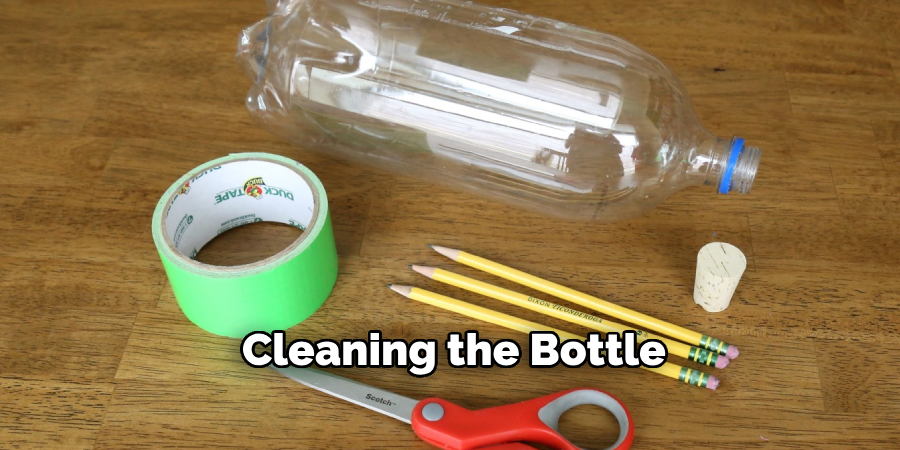
Step 1: Preparing the Bottle
Begin by thoroughly cleaning the bottle to remove any residue or debris. This ensures a smooth surface for attaching components and prevents any interference during the rocket’s flight. Once cleaned, remove any labels from the bottle to give it a streamlined appearance. Flip the bottle upside down so that the bottle cap will function as the rocket’s nozzle, serving as the point where propulsion is released during launch.
Step 2: Attaching the Fins
Using cardboard or foam board, cut out 3-4 triangular fins. Each fin should be roughly the same size to maintain balance and stability during flight. Place the fins at equal intervals around the base of the bottle (now the bottom, after flipping). This even spacing helps ensure the rocket flies straight by reducing wobble or uneven aerodynamics. Use a strong adhesive like glue or sturdy tape to attach the fins securely to the bottle. Double-check that the fins are firmly in place and aligned for optimal performance.
Step 3: Making the Rocket Nose Cone
To complete the rocket body, construct a nose cone to enhance aerodynamics and minimize drag during flight. Roll a piece of sturdy paper or lightweight plastic into a cone shape, adjusting its size to fit the bottled rocket’s top edge (now the base when upside down). Secure the cone in place using tape, glue, or another adhesive. Ensure the attachment is stable to avoid detachment during launch. A properly affixed nose cone improves the rocket’s appearance and flight efficiency.
Launching the Rocket
Final Safety Checks

Before the launch, double-check that all components are securely in place. Verify the bottle is sealed properly to maintain sufficient pressure for a successful launch. Inspect the fins and nose cone to make sure they are firmly attached and aligned. Place the rocket upright on the launch pad and ensure it is stable and balanced to prevent tipping over. Confirm that the launch area is clear of obstacles and that all spectators are standing at a safe distance.
Countdown and Launch Process
Once the safety checks are complete, it’s time to initiate the launch. If using air pressure, begin by pumping air into the bottle using a suitable pump to build up the necessary pressure. Alternatively, if using a vinegar and baking soda mix, carefully measure and combine the ingredients within the bottle. Be ready, as the chemical reaction can begin quickly. Step back immediately after creating pressure or mixing the reaction, ensuring you are a safe distance away. Start a countdown—5, 4, 3, 2, 1—and release the rocket from the launch pad. Watch as your homemade creation soars into the sky, propelled by the energy you’ve built up. Enjoy the excitement of your successful launch!
Experimenting and Improving the Design
Adjusting the Fin Shape and Placement
The shape and placement of the rocket’s fins play a crucial role in its stability during flight. Experiment with fins of varying shapes, such as triangular, trapezoidal, or curved designs, to determine which provides the most consistent and efficient stabilization. Additionally, try positioning the fins at different angles or slightly tilting them to create a spinning effect. This can enhance flight stability, reduce wobbling, and help the rocket maintain a straighter trajectory. Document each variation and the results to discover the most effective configuration for your rocket.
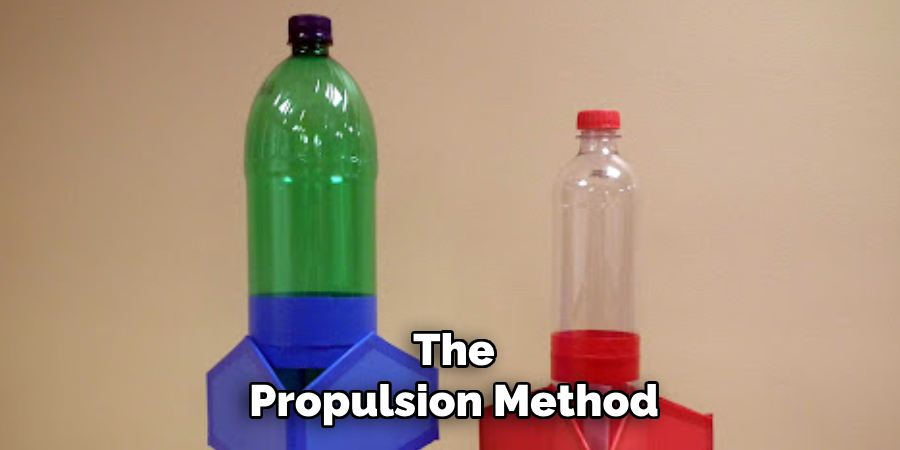
Trying Different Propulsion Methods
The propulsion method directly impacts the rocket’s power and flight performance. Beyond air pressure, consider experimenting with alternative methods such as Alka-Seltzer and water or a mentos and soda reaction. Each method involves distinct chemical or physical reactions that produce thrust. For instance, the mentos and soda reaction relies on rapid gas expansion, while Alka-Seltzer utilizes a steady release of carbon dioxide. Test each option to see how they influence flight speed, altitude, and overall performance.
Increasing Height and Distance
Adjust air pressure levels or refine the ratios in chemical propulsion methods to maximize your rocket’s height and distance. Gradually increasing the air pressure or fine-tuning your fuel-to-water ratio can help optimize thrust. Keep careful notes of every adjustment and the corresponding results. With incremental modifications and analysis, you can push the boundaries of your rocket’s flight capabilities, achieving exciting new benchmarks.
Troubleshooting Common Issues
Rocket Fails to Launch
If your rocket fails to launch, check for blockages in the nozzle or ensure the seal is airtight. Inspect the propulsion mechanism to confirm that air or pressure is being adequately built up. Additionally, verify that the fuel-to-water ratio or air pressure is within optimal ranges.
Instability During Flight
Unstable flight paths are often caused by uneven weight distribution or incorrect fin alignment. Reassess the rocket’s design to ensure the fins are balanced and securely attached. Adding weight to the nose of the rocket can also help stabilize its trajectory.
Limited Height or Distance
Consider increasing air pressure or refining the fuel mixture if your rocket is not reaching the desired height or distance. Additionally, check for any leaks that may prevent the rocket from generating sufficient thrust. Ensure all connections are secure and reinforce any weak or worn areas.
Frequently Asked Questions (FAQs)
1. What Materials Are Best for Building a Bottle Rocket?
Lightweight materials, such as plastic bottles, sturdy paper, cardboard, foam board, and lightweight plastic, are ideal for constructing a bottle rocket. These materials balance durability and aerodynamic efficiency, ensuring a stable and effective design.
2. How Can I Ensure My Rocket Flies Straight?
To ensure straight flight, evenly space the fins around the base of the bottle and align them carefully. Properly secure the fins with adhesive and check for balanced weight distribution. Adding a well-attached nose cone can also help improve stability and reduce drag.
3. What Propulsion Method Is the Safest for Beginners?
For beginners, using air pressure is the safest option. This method manually pumps air into the bottle and avoids potential hazards associated with chemical reactions. Ensure safety precautions are followed regardless of the propulsion method.
4. Can I Reuse My Bottle Rocket After Launching?
Yes, bottle rockets can often be reused if they remain intact after landing. Inspect for any damage, especially to the fins, nozzle, and nose cone, and make necessary repairs to prepare it for another launch.
5. How Far or High Can a Bottle Rocket Fly?
A bottle rocket’s distance or height depends on pressure levels, propulsion methods, and design efficiency. With optimal conditions, bottle rockets can reach impressive heights and travel considerable distances. Experimenting with variables will help maximize performance.
6. Are There Safety Considerations I Should Follow?
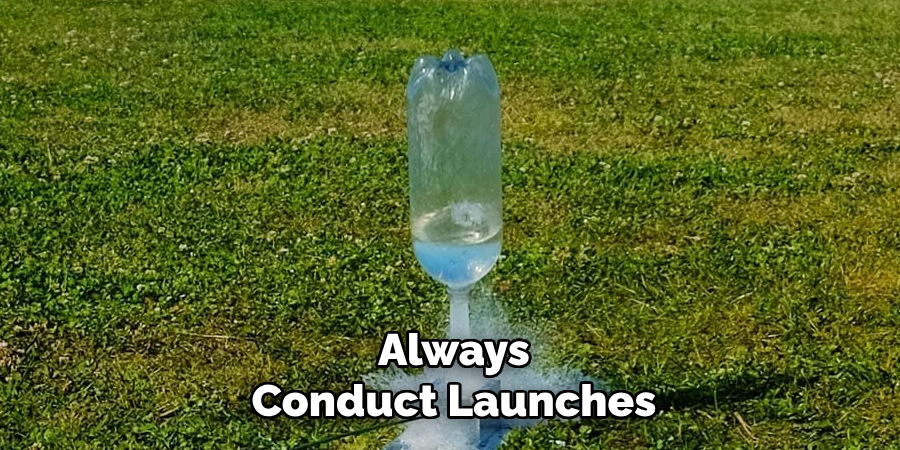
Absolutely. Always conduct launches in open, outdoor spaces away from people, animals, or structures. Ensure all parts are securely attached and maintain a safe distance during the countdown and launch. Safety goggles and caution are recommended.
Conclusion
Building bottle rocket designs is an exciting and educational activity combining creativity and scientific exploration. By constructing the rocket, selecting a propulsion method, and setting up a secure launch pad, you can experience the thrill of launching your creation. This process provides valuable insights into forces, pressure, and aerodynamics, deepening your understanding of physics concepts. how to make a rocket with a bottle. Experiment with variations and adjustments to see how they affect flight. Most importantly, enjoy the process and have fun discovering new possibilities!
About the Author
Adrien Rowe, an expert in knitting, fiber arts, and bookbinding, promotes sustainability and creativity through workshops and tutorials. Passionate about education and community, he inspires crafters of all levels to learn, share, and grow in a supportive, idea-driven environment.
Professional Focus
Specializes in advanced knitting techniques, fiber manipulation, and textile innovation.
Expert in book arts, including cotton papermaking, handmade paper techniques, and bookbinding.
Dedicated to educating and inspiring crafters of all skill levels through tutorials, workshops, and hands-on learning experiences.
Passionate about creating a supportive community where makers can share ideas, learn, and grow.
Education History
Rhode Island School of Design (RISD) – Bachelor of Fine Arts (BFA) in Textiles.
University of Iowa Center for the Book – Master of Fine Arts (MFA) in Book Arts.
Expertise:
Advanced knitting, fiber manipulation, papermaking, bookbinding, sustainability-focused crafting, educational workshops, creative tutorials, and fostering a supportive maker community.