Origami is the traditional Japanese art of paper folding, and creating an origami star is a fun and rewarding project suitable for all skill levels. These delicate paper stars can be used for decoration, gifts, or simply as a relaxing craft.
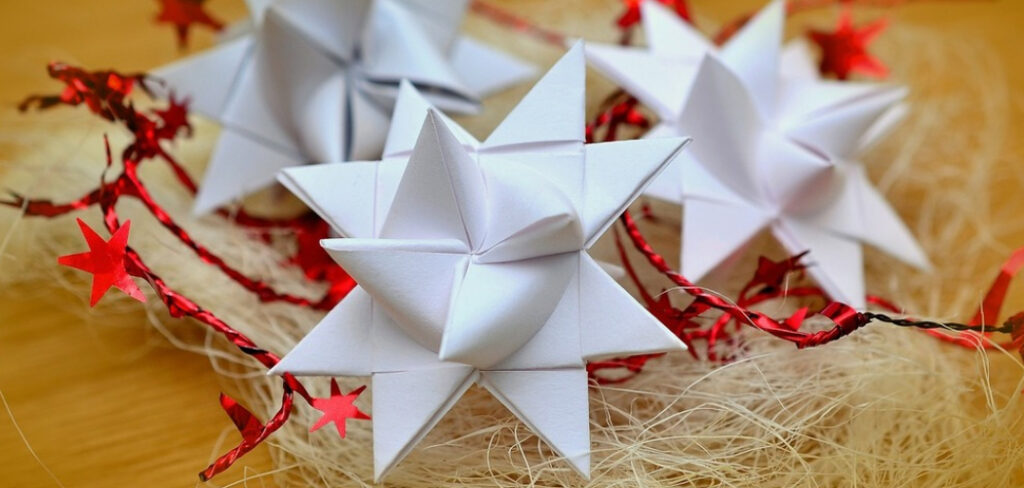
By following a few simple steps on how to make an origami star, you can transform a plain sheet of paper into a beautiful and unique star. This guide will walk you through the process, making it easy to master this lovely art form. If you’re looking for a simple craft project, star origami easy tutorials are a great way to create beautiful, decorative stars in no time.
Materials Needed
Square Sheet of Paper (Any Size or Color):
To make an origami star, you will need a square sheet of paper. You can use any type of paper such as origami paper, colored construction paper, or even printer paper.
Scissors:
Though not entirely necessary, scissors may be helpful in making precise and clean folds. If you are a beginner, it is recommended to have a pair of scissors on hand.
Optional Materials:
You can also use a ruler or bone folder to help with folds and creases, as well as decorative items like glitter, markers, or stickers to add a personal touch to your origami star.
8 Simple Step-by-step Guidelines on How to Make an Origami Star
Step 1: Folding the Paper into a Triangle
Begin by taking your square sheet of paper and folding it in half diagonally to form a triangle. Make sure the edges are perfectly aligned for an even fold. Press down firmly along the crease to ensure a sharp and precise fold. If necessary, use a ruler or bone folder to strengthen the crease.
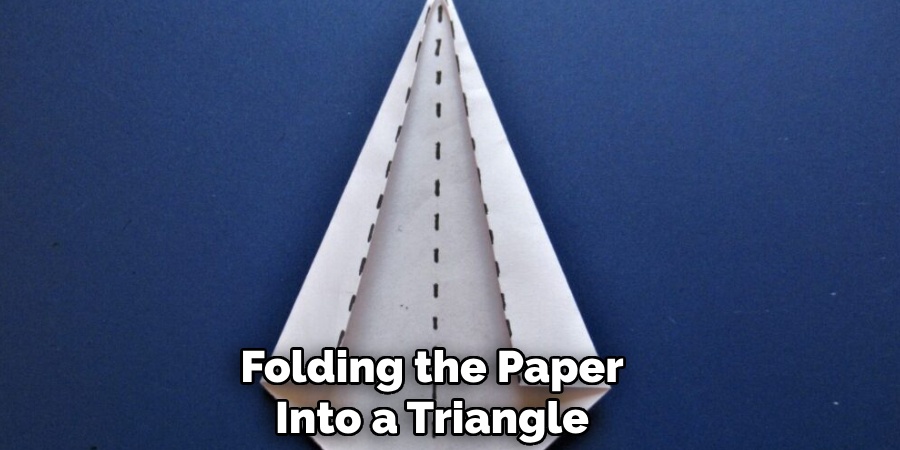
Once this step is complete, you should have a crisp triangular shape as the foundation for your origami star.
Step 2: Folding the Triangle in Half Again
Take the triangle from Step 1 and fold it in half again by bringing the two corners along the longest edge together. Align the tips carefully to ensure the fold is symmetrical. Press down firmly along the new crease to create a sharp fold.
This step reduces the size of the triangle and lays the groundwork for the more intricate folds needed to form your star. Once you have completed this fold, you will have a smaller triangle as your base for the following steps.
Step 3: Folding the Top Corners to the Center
Take the top corners of your triangle and fold them inwards towards the center crease. Make sure to align the tips precisely at the center crease to create a symmetrical fold.
Press down firmly along both new creases to create sharp folds. This step creates a diamond shape with two flaps at the bottom.
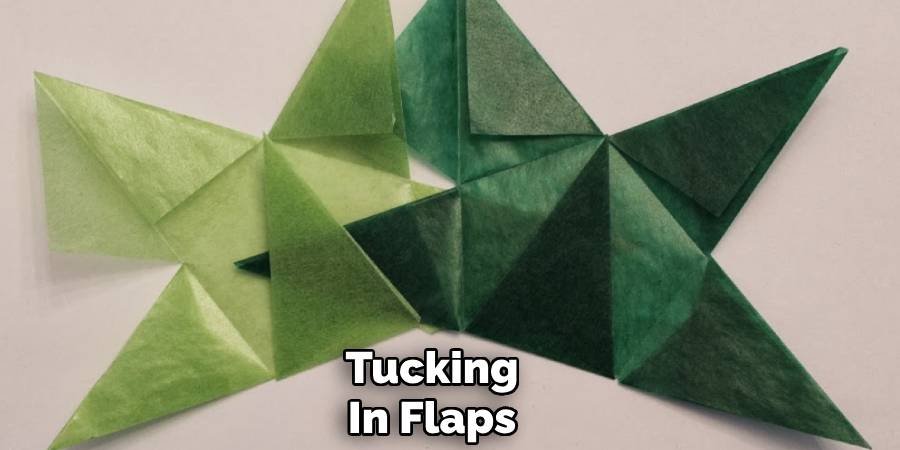
Step 4: Tucking in Flaps
Take the two bottom flaps of the diamond shape and fold them upwards, tucking them into the pockets formed by the folds created in the previous step. Carefully slide each flap into its corresponding pocket, ensuring that the folds remain neat and the structure holds together. Press down gently to secure the flaps in place.
At this stage, your folded paper should start resembling the preliminary structure of a star, with a compact and stable base to build upon in the next steps.
Step 5: Folding the Bottom Corners to the Top
Take the bottom corners of your diamond shape and fold them upwards towards the top tip, aligning them precisely with the center crease. This creates two new triangles at the bottom. Press down firmly along both folds to make sharp creases.
You should now have a structure that resembles the shape of a house with an inverted roof.
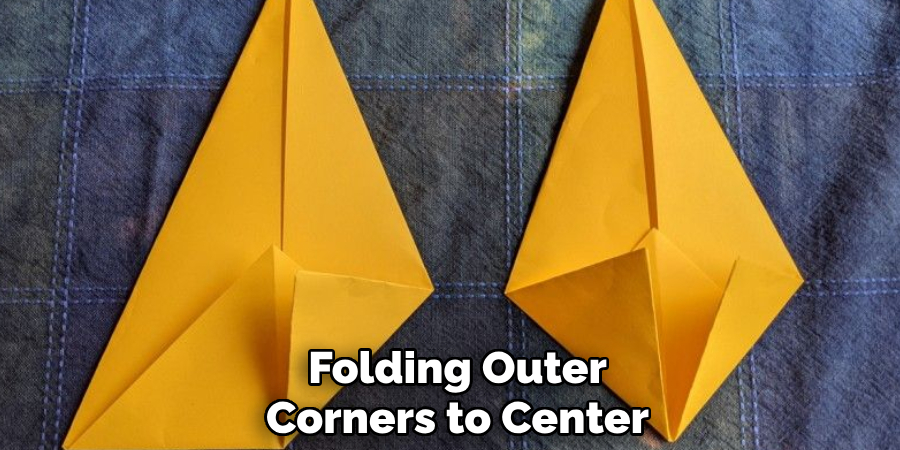
Step 6: Folding Outer Corners to Center
Take each outer corner of your new triangles and fold them towards the center crease, creating two smaller triangles within the larger ones. Ensure that these folds are symmetrical and neat. Press down firmly along both new creases to create sharp folds.
This step creates a square shape at the bottom with four flaps extending outwards.
Step 7: Tucking in Flaps Again
Take the flaps extending outwards from the square shape and gently tuck them into the pockets formed by the folds in the previous steps. Carefully slide each flap into its corresponding pocket, ensuring that the folds stay neat and aligned. This step will further secure the structure of your star and give it a more defined, polished appearance.
Once this step is complete, your origami star will have a more compact and cohesive form, setting it up for the final finishing touches.
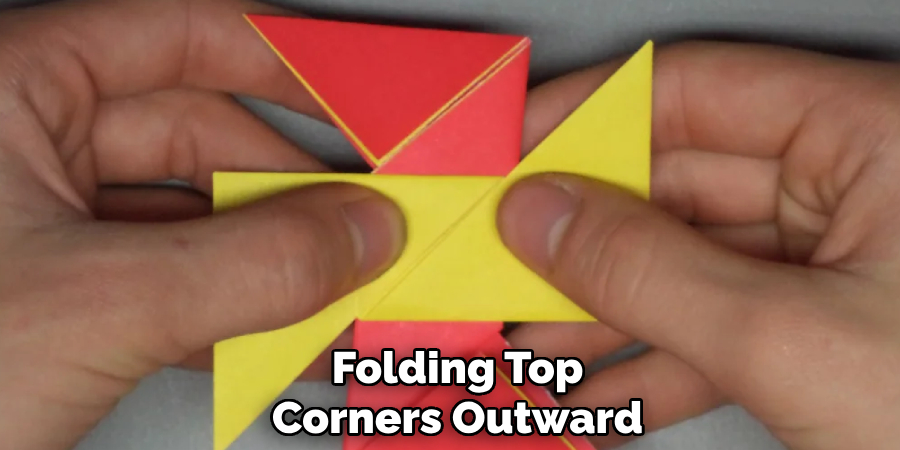
Step 8: Folding Top Corners Outwards
Take the top corners of your square shape and fold them outwards, away from the center. This will create a crisp, pointed tip at the top of your star. Press down along both new creases to make sharp folds.
And voila! Your origami star is complete, ready to be displayed or used in any way you desire. You can use it as a decoration for special occasions, give it as a gift, or simply enjoy making it as a relaxing craft activity.
Following these simple steps on how to make an origami star, you can make a variety of different origami stars by using different colors and sizes of paper.
Tips for Better Origami Stars
Creating the perfect origami star can take some practice, but with these tips, you can refine your technique and produce polished, professional-looking stars every time:
Choose the Right Paper:
Selecting the appropriate paper is crucial. Thin, high-quality origami paper is ideal because it folds easily and holds creases well. Avoid overly thick or stiff paper, which can make intricate folds challenging.
Be Precise:
Accuracy and precision are essential in origami, so take your time to make sure each fold is clean and sharp. Use a ruler or bone folder to help with precise measurements and creases if needed.
Practice Makes Perfect:
Don’t get discouraged if your first few attempts at making an origami star do not turn out as expected. Origami is a skill that takes practice, so keep trying until you master the technique. With each new attempt, try to refine your folds and improve on any mistakes from previous tries.
Get Creative:
While the traditional origami star may be made using only one color of paper, don’t be afraid to experiment with different colors and patterns. You can also add your own personal touch by using stickers or drawings to decorate your origami star.
Have Fun:
Remember, the most important thing about origami is that it should be enjoyable and relaxing. Don’t put too much pressure on yourself to create a perfect result. Enjoy the process and have fun creating your unique origami stars!
Common Mistakes and How to Fix Them
Even with careful preparation and attention to detail, mistakes can happen when creating an origami star. Here are some of the most common issues and tips on how to fix them:
Misaligned Folds
Misaligned folds can cause the final star to look uneven or asymmetrical. This often happens when edges or corners are not properly aligned during folding.
Fix: Take your time to match the edges exactly before making a crease. If a fold is off, gently unfold and reposition the paper, then refold carefully.
Weak Creases
Weak or soft creases prevent the origami star from holding its shape firmly.
Fix: Use a bone folder or the flat edge of a ruler to press down firmly on each fold to ensure sharp, sturdy creases that will hold the structure together.
Tearing the Paper
Thin or low-quality paper can easily tear during intricate folds, especially when flaps are being tucked into pockets.
Fix: Choose durable origami paper that is thin enough for folding but strong enough to resist tearing. Be gentle when tucking flaps into pockets to avoid stressing the paper.
Over-folding
Sometimes folds are made too aggressively or extended beyond the intended angles, which can distort the star’s edges.
Fix: Fold with a light touch and ensure you are not adding unnecessary creases. Work methodically, and check alignment after each fold before moving on to the next step.
Loose Flaps
Flaps that don’t fit snugly into their pockets can make the star unstable and prone to unfolding.
Fix: Ensure that your previous folds are neat and tight before tucking in the flaps. Guide the flaps gently into the pockets, and press firmly to secure them.
Lopsided Stars
If the folds aren’t symmetrical, the resulting star may appear lopsided or uneven.
Fix: Always align edges and tips accurately during each step. Use a flat surface to check the symmetry of your folds as you progress.

Frequently Asked Questions
Q: Can I Use Regular Paper Instead of Origami Paper to Make an Origami Star?
A: Yes, you can use any type of paper to make an origami star, but it may be more challenging to fold, and the end result may not hold its shape. It is best to use thin, high-quality paper specifically designed for origami for optimal results.
Q: How Long Does It Take to Make an Origami Star?
A: The time it takes to make an origami star will vary depending on your skill level and the complexity of the design. With practice, you can complete a simple origami star in just a few minutes. More intricate designs may take longer.
Q: Can I Make Different Sizes of Origami Stars?
A: Yes, you can make origami stars in various sizes by adjusting the size of your paper. Smaller sheets of paper will create smaller stars, while larger sheets will result in bigger stars. You can also experiment with different shapes and proportions to create unique variations of origami stars.
Q: Are There Other Shapes Besides Stars That I Can Make Using Origami Techniques?
A: Absolutely! The possibilities for origami are endless, and there are many other shapes and designs that can be created using similar folding techniques. Some popular options include flowers, animals, and geometric shapes. With practice and creativity, you can make all kinds of origami creations.
Conclusion
Crafting an origami star is a rewarding and enjoyable activity that combines creativity, precision, and patience. Whether you are a beginner exploring the art of origami or an experienced folder refining your skills, making an origami star offers a satisfying challenge and a beautiful final product.
With the right materials, careful attention to detail, and a willingness to experiment, you can create stunning stars that can brighten any space or occasion. Most importantly, the process of creating origami stars is a relaxing and fulfilling way to express your artistic side, making it a craft worth trying and cherishing. Thanks for reading this article on how to make an origami star.
Professional Focus:
Dedicated to exploring and advancing the intersection of traditional craftsmanship and contemporary design. Specializing in textile arts, woodworking, and mixed media, with a commitment to sustainable practices and the art of upcycling. Focused on creating meaningful connections through craft, empowering individuals to unlock their creativity, and preserving cultural heritage through innovative, hands-on projects.
Vission:
To inspire and empower crafters of all experience levels to unlock their creative potential. Encourages hands-on experimentation, self-expression, and exploration through diverse craft projects.
Education:
- Bachelor of Arts (BA) in Craft and Material Studies – Virginia Commonwealth University.
- Specialized training in various crafting disciplines and material handling.
Recognition:
- Featured in local art exhibits for groundbreaking craft projects
- Partnered with community organizations to host crafting workshops
- Recognized for contributions to sustainable and eco-conscious crafting
Expertise:
Crafting expert with a focus on blending traditional techniques with innovative designs. Specialization:
- Textile arts (weaving, embroidery, fabric dyeing)
- Woodworking and furniture design
- Mixed media and upcycling projects