Cross stitch bookmarks are a delightful and practical craft project that allows you to combine creativity with functionality. Whether you’re a seasoned cross stitcher or a beginner looking for an easy project to start with, bookmarks are an excellent choice. They make thoughtful handmade gifts and can be customized with a variety of patterns, colors, and themes to suit any personality. This guide will walk you through the basic steps and provide tips for how to make cross stitch bookmarks.
Why Cross Stitch is Great for Beginners
Cross stitch is an excellent craft for beginners because it is easy to learn and requires minimal tools to get started. The technique involves creating small, uniform X-shaped stitches on a fabric grid, which makes it simple to follow patterns and achieve consistent results. Unlike some other crafts, cross stitch uses a limited range of basic stitches, so you can quickly build confidence as you work. Additionally, beginners can start with small, manageable projects like bookmarks or ornaments, which don’t require a significant time commitment.
The hobby is also budget-friendly, with plenty of affordable patterns, threads, and supplies available. Most importantly, cross stitch provides a relaxing and satisfying creative outlet, perfect for unwinding while exploring your artistic side.
Materials and Tools Needed
To make cross stitch bookmarks, you’ll need a few basic materials and tools, most of which are easy to find and affordable. Here’s a list of what you’ll need to get started:
- Aida Fabric: This is the go-to fabric for cross stitching, as its evenly spaced grid makes stitching simple. A 14-count Aida fabric is a great choice for beginners.
- Embroidery Floss: Choose floss in the colors you need for your chosen pattern. High-quality brands like DMC or Anchor are popular options.
- Needles: Use tapestry needles with a blunt tip and appropriate size for your fabric. A size 24 or 26 needle is suitable for 14-count Aida fabric.
- Scissors: Small, sharp scissors are essential for cutting threads cleanly.
- Hoop or Frame (Optional): While not strictly necessary for smaller projects like bookmarks, a hoop or frame can help keep your fabric taut for easier stitching.
- Pattern: Select a bookmark-sized cross stitch pattern you love, or design your own! Many free and paid patterns are available online.
- Finishing Materials: For finishing your bookmark, you may need backing fabric, felt, or clear adhesive sheets, as well as ribbon or tassels for decoration.
With these materials and tools, you’ll be ready to begin your bookmark project. Having everything organized and on hand can make the process more enjoyable and efficient.
10 Methods How to Make Cross Stitch Bookmarks
1. Basic Cross Stitch Bookmark on Aida Cloth
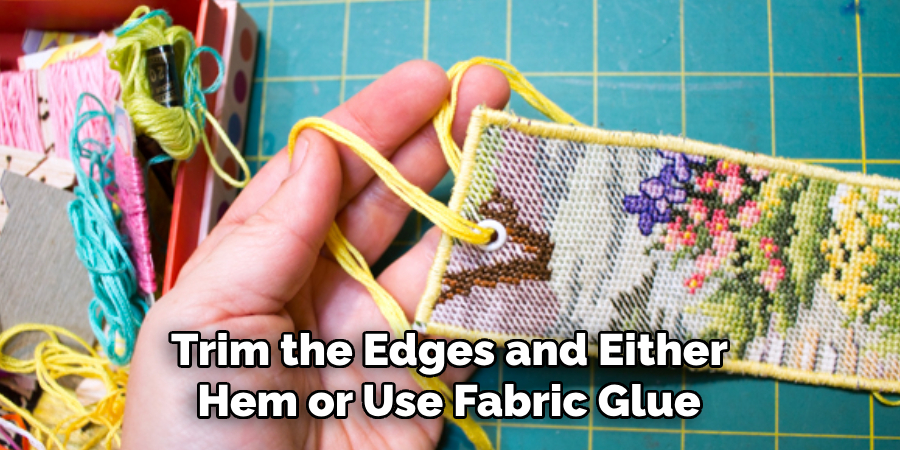
The simplest way to make a cross stitch bookmark is by using Aida cloth as the base. Select a cross stitch pattern, preferably a simple geometric or floral design, and use embroidery floss to stitch onto the fabric. Once the stitching is complete, trim the edges and either hem or use fabric glue to prevent fraying. To finish, back the bookmark with felt or another fabric for durability.
2. Double-Sided Cross Stitch Bookmark
For a more polished look, create a double-sided bookmark by stitching two identical patterns on separate pieces of Aida cloth. After completing the designs, place the pieces back-to-back and whipstitch around the edges. This method ensures the back of the bookmark is as neat as the front, making it more visually appealing.
3. Cross Stitch Bookmark with a Personalized Name
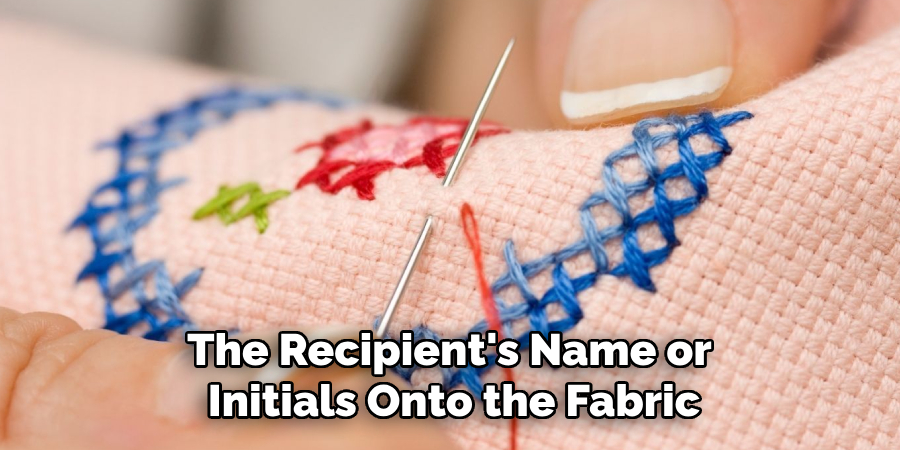
Adding a personalized name or monogram makes the bookmark unique and special. Choose a font-style cross stitch pattern and stitch the recipient’s name or initials onto the fabric. This method is perfect for gifts and adds a personal touch to the bookmark.
4. Cross Stitch Bookmark with Beaded Edges
Incorporating beads along the edges of a bookmark adds elegance and flair. After completing the cross stitch design, use a needle and thread to attach beads along the border. This method enhances the bookmark’s appearance and makes it stand out as a decorative accessory.
5. Themed Cross Stitch Bookmark (Holidays, Hobbies, or Seasons)
Themed bookmarks add charm and variety to cross stitch projects. Choose patterns that align with specific themes such as Christmas, autumn leaves, or a favorite hobby. This method allows for creative flexibility and makes bookmarks ideal for seasonal gifts or personal collections.
6. Cross Stitch Bookmark with a Tassel or Ribbon
Adding a tassel or ribbon to one end of the bookmark gives it a classic and finished look. After completing the stitching, attach a coordinating tassel or ribbon loop at the top or bottom. This not only enhances the aesthetic but also makes it easier to locate the bookmark within a book.
7. Cross Stitch Bookmark with a Fringed Edge
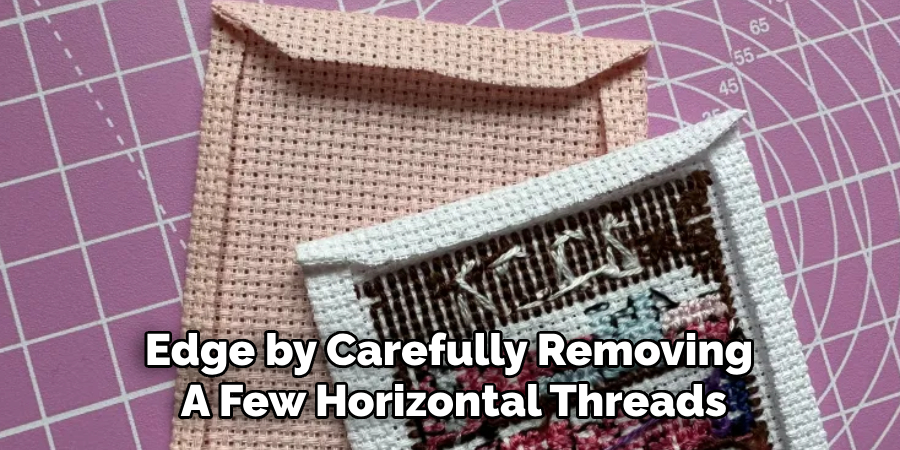
For a decorative touch, create a fringed edge by carefully removing a few horizontal threads from the fabric after stitching. This method gives a unique textured look and prevents the bookmark from looking too rigid. To secure the fringe, apply a small amount of fabric glue or stitch a border.
8. Laminated Cross Stitch Bookmark for Durability
To protect the bookmark from wear and tear, consider laminating the finished piece. After completing the cross stitch, trim the edges neatly and place it inside a laminating pouch. Use a laminator to seal the bookmark, ensuring it remains intact for years without fraying or discoloration.
9. Cross Stitch Bookmark with a Felt Backing
Attaching a felt backing gives the bookmark additional sturdiness and a polished finish. Cut a piece of felt slightly larger than the finished cross stitch piece and glue or stitch it to the back. This method prevents the edges from fraying and provides a soft texture.
10. Cross Stitch Bookmark with Decorative Borders
To add flair, create decorative borders using specialty stitches such as backstitching, blanket stitching, or adding a lace trim. A well-designed border frames the bookmark beautifully and enhances the overall look. This method is perfect for adding an elegant touch to any cross stitch project.
Maintenance and Upkeep
Proper care of your cross stitch bookmarks ensures they remain beautiful and functional for years to come. To keep them clean, gently hand wash your bookmarks in lukewarm water with a mild detergent, avoiding excessive scrubbing to preserve the stitching. Lay the bookmark flat on a clean towel to air dry, ensuring it retains its shape. Avoid placing heavy objects on it while drying, as this could distort the fabric. If the edges start to fray over time, consider sealing them with a small amount of clear fabric glue or adding a decorative border.
For long-term storage, keep your bookmarks in a cool, dry place away from direct sunlight to prevent fading or discoloration. With these simple maintenance tips, your handmade bookmarks will remain a cherished item for years to come.
Where to Get Cross Stitch Bookmarks Free Pattern
Finding free cross stitch bookmark patterns is easier than you might think. Many websites and online communities dedicated to cross stitching offer free downloadable patterns in a variety of styles and difficulty levels. Websites like Pinterest, DMC, and Etsy often have free options alongside paid ones. Additionally, craft blogs and YouTube channels frequently share printable patterns for bookmarks, often accompanied by detailed tutorials. Another great resource is cross stitch forums or social media groups where enthusiasts share their creations and links to free patterns.
Libraries and craft magazines may also contain pattern ideas that can be adapted for bookmarks. With a little searching, you’re sure to find a design that inspires you.
Safety Considerations
While creating cross stitch bookmarks is a fun and relaxing activity, it’s important to keep a few safety considerations in mind, especially if children are involved in the project. Always handle needles carefully, keeping them stored in a safe place when not in use to avoid accidental pricks. Small items like beads, pins, and scissors should be kept out of reach of young children to prevent choking hazards or injuries. When using fabric glue or laminating materials, ensure that you are working in a well-ventilated area to avoid inhaling strong fumes. If you’re cutting fabric or threads, use sharp scissors cautiously and keep your fingers clear of the blades.
Finally, make sure your workspace is properly lit to reduce eye strain while stitching. By following these precautions, you can enjoy your cross stitch project safely and without unnecessary risks.
Conclusion
Creating cross stitch bookmarks is a rewarding craft that combines creativity, functionality, and personal expression. Whether you’re a beginner experimenting with simple designs or an experienced crafter adding intricate details, these bookmarks offer a delightful way to showcase your skills. With a variety of techniques, themes, and embellishments to choose from, you can tailor your projects to suit any occasion or preference. Thanks for reading, and we hope this has given you some inspiration on how to make cross stitch bookmarks!
About the Author
Adrien Rowe, an expert in knitting, fiber arts, and bookbinding, promotes sustainability and creativity through workshops and tutorials. Passionate about education and community, he inspires crafters of all levels to learn, share, and grow in a supportive, idea-driven environment.
Professional Focus
Specializes in advanced knitting techniques, fiber manipulation, and textile innovation.
Expert in book arts, including cotton papermaking, handmade paper techniques, and bookbinding.
Dedicated to educating and inspiring crafters of all skill levels through tutorials, workshops, and hands-on learning experiences.
Passionate about creating a supportive community where makers can share ideas, learn, and grow.
Education History
Rhode Island School of Design (RISD) – Bachelor of Fine Arts (BFA) in Textiles.
University of Iowa Center for the Book – Master of Fine Arts (MFA) in Book Arts.
Expertise:
Advanced knitting, fiber manipulation, papermaking, bookbinding, sustainability-focused crafting, educational workshops, creative tutorials, and fostering a supportive maker community.