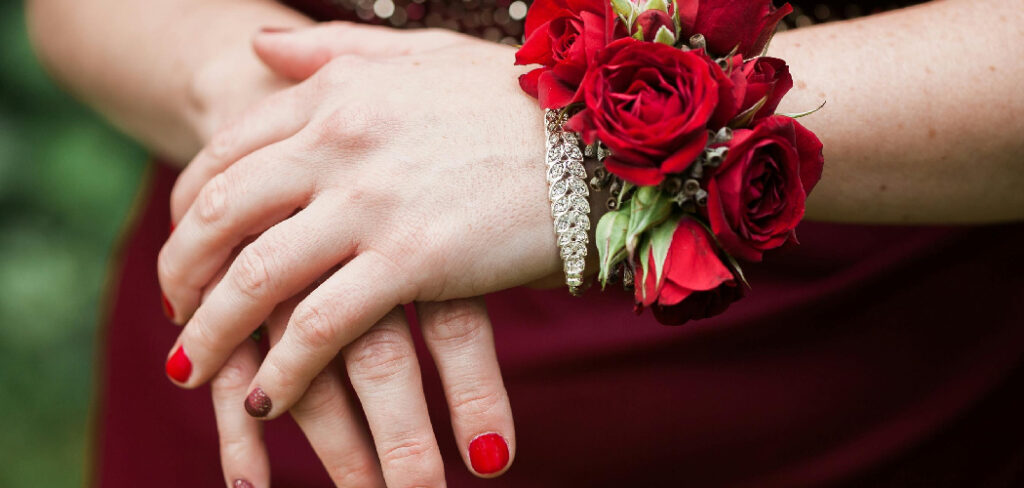
Creating a flower bracelet is a simple and delightful craft that allows you to bring nature’s beauty into a wearable accessory. Perfect for special occasions like wedding parties or simply as a fun DIY project, flower bracelets can be tailored to suit any style or theme.
This guide on How to Make Flower Bracelet will walk you through the steps to design your own bracelet using fresh or artificial flowers, making it an enjoyable activity for all ages. If you’re interested in learning how to create a beautiful and unique accessory, a flower bracelet tutorial is a great place to start for step-by-step instructions.
Why Make a Flower Bracelet?
Flower bracelets are not only beautiful but also offer a personal touch to any outfit or occasion. You can choose your favorite flowers, colors and designs to create a one-of-a-kind piece that reflects your style and personality.
Moreover, making a flower bracelet is an excellent way to express your creativity and bring out the artist in you. It’s also a great bonding activity with friends or family, allowing you to spend quality time together while creating something unique.
Materials Needed
To make a flower bracelet, you will need the following materials:
Fresh or Artificial Flowers of Your Choice:
You can choose to use fresh flowers, artificial ones or a combination of both. Fresh flowers add a natural and fragrant touch to your bracelet, while artificial ones are more durable and can be kept as a keepsake.
Floral Tape:
Floral tape is used to secure the flowers and greenery together in the bracelet. It’s available in different colors, making it easy to match with your chosen flowers.
Wire Cutters:
Wire cutters are necessary to trim the stems of fresh or artificial flowers.
Floral Wire:
The floral wire helps to hold the flowers together and creates a sturdy base for the bracelet.
Ribbon or Elastic Band:
A ribbon or elastic band will be used to wrap around the bracelet and secure it on your wrist.
8 Step-by-Step Guides on How to Make Flower Bracelet
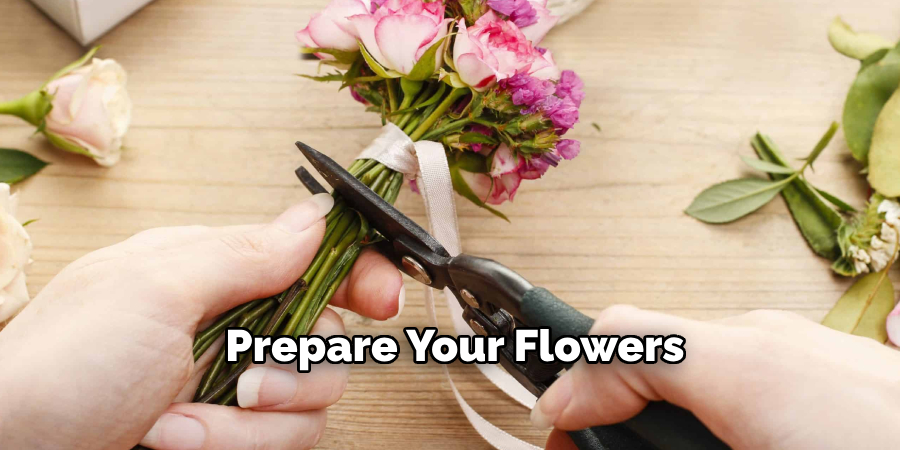
Step 1: Prepare Your Flowers
If you are using fresh flowers, cut the stems to a length of 2-3 inches. Remove any leaves or extra greenery from the stems.
For artificial flowers, make sure they have bendable stems so that you can shape them into your desired design. Arrange your flowers in the order you would like them to appear on the bracelet.
Step 2: Secure the Base with Floral Wire
Take a piece of floral wire and wrap it around your wrist to measure the length needed for your bracelet. Add a few extra inches to ensure it fits comfortably.
Then, twist the wire together at the ends to create a circular base. It should be snug but not too tight.
Step 3: Start Adding Flowers
Take your first flower and place it on the base, securing it with floral tape. Continue adding flowers one by one, overlapping them slightly for a full and cohesive look.
You can also add greenery or smaller filler flowers in between to add texture and dimension.
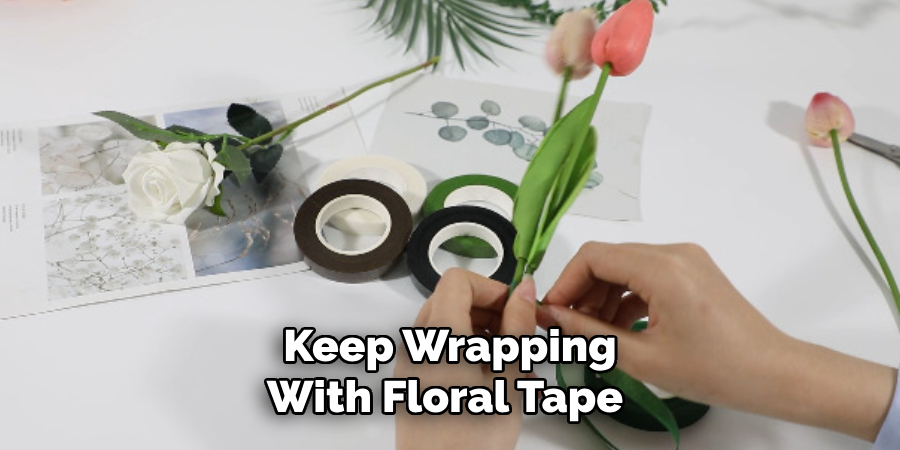
Step 4: Keep Wrapping with Floral Tape
Continue wrapping the floral tape around the stems and the floral wire base as you add more flowers. Hold each flower firmly in place while wrapping to ensure it stays secure. Stretch the tape slightly as you wrap it to activate its adhesive and create a neat finish.
Make sure to cover all the stems and wire completely to give the bracelet a polished and professional look. Repeat the process until the entire base is covered with flowers and greenery, leaving no gaps.
Step 5: Add Finishing Touches
Once all the flowers are secured in place, examine your bracelet for any gaps or uneven areas. Use small filler flowers, greenery, or additional floral tape to fill in these spaces and create a harmonious design. If you’d like, you can also incorporate decorative elements such as tiny beads or glitter to add a touch of sparkle.
Lastly, make sure the ends of the floral tape are neatly tucked and secure to ensure a seamless and professional look. Your bracelet should now look balanced, vibrant, and ready for final adjustments.
Step 6: Final Fittings
Put the bracelet on and check its fit. You can adjust the size by gently bending or reshaping it to accommodate your wrist comfortably. Make sure it’s not too tight or loose and that the flowers are evenly distributed around your wrist.
Otherwise, you can also make adjustments by adding or removing flowers until you are satisfied with the final design.
Step 7: Secure Bracelet with Ribbon or Elastic Band
Once you are happy with your flower bracelet, take the ribbon or elastic band and wrap it around the base of your wrist to secure it in place. You can tie a bow for a more decorative look or use a knot for a more secure hold.
If you prefer, you can also glue or tie a small piece of ribbon to the backside of the bracelet for extra support and comfort.
Step 8: Enjoy Your Beautiful Flower Bracelet
Congratulations! You have now successfully created your very own flower bracelet. Admire your creation and wear it with pride, whether it’s for a special occasion or just as an everyday accessory.
You can also experiment with different types of flowers, colors, and designs to create a wide variety of flower bracelets that match any style or theme. Let your creativity run wild,and have fun designing unique pieces that showcase your individuality. Show off your beautiful flower bracelets to friends and family and share this guide on How to

Following these steps on how to make flower bracelet, you can create beautiful and unique flower bracelets that will add a personal touch to any outfit or occasion. This activity is not only enjoyable but also allows you to express your creativity and bond with loved ones. So why not give it a try and make your own flower bracelet today?
Care Tips and Maintenance
To ensure your flower bracelet stays fresh and beautiful for as long as possible, follow these simple care tips and maintenance suggestions:
For Fresh Flowers:
Hydration:
Lightly mist the flowers with water using a spray bottle to keep them hydrated. Avoid over-saturating as this can damage the floral tape and make it come undone.
Avoid Direct Sunlight and Heat:
Fresh flowers are delicate and can wilt easily when exposed to direct sunlight or heat. Keep your flower bracelets in a cool and shaded area to help them last longer.
Remove When Sleeping or Showering:
To avoid damaging the flowers, it’s best to remove your bracelet before sleeping or showering. This will also prevent any potential accidents, such as getting caught on hair or clothing.
For Artificial Flowers:
Dust Regularly:
Keep your artificial flower bracelet clean by dusting it regularly with a soft cloth or brush. This will help maintain its vibrant appearance.
Store Properly:
When not in use, store your flower bracelet in a cool and dry place to avoid any damage or discoloration. You can also wrap it in tissue paper or a soft cloth for extra protection.
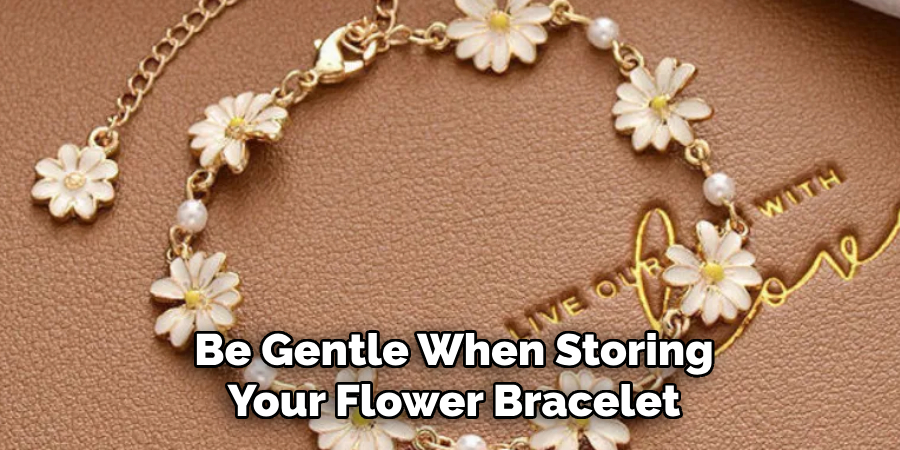
Handle with Care:
While artificial flowers are more durable than fresh ones, they can still get damaged if handled roughly. Be gentle when wearing or storing your flower bracelet to ensure its longevity.
By following these care tips and maintenance suggestions, you can enjoy your beautiful flower bracelet for a longer period of time and preserve its beauty. Share this guide with others so they too can create and care for their own flower bracelets!
Frequently Asked Questions
Q: Can I Use Any Type of Flower for My Bracelet?
A: Yes, you can use any type of flower that you prefer for your bracelet. Just make sure the stems are strong and flexible enough to be wrapped with floral tape.
Q: How Long Will My Flower Bracelet Last?
A: The longevity of your flower bracelet depends on the type of flowers used, how well you take care of it, and other external factors such as weather and handling. Fresh flower bracelets typically last for a few days to a week, while artificial ones can last for years with proper care.
Q: Can I Make Multiple Flower Bracelets Using One Guide?
A: Absolutely! This guide is meant to provide a basic framework for making flower bracelets, but feel free to experiment and create different designs using various types of flowers and techniques.
Q: Is It Safe to Wear My Flower Bracelet All Day?
A: Yes, it is safe to wear your flower bracelet all day as long as you take care not to get it wet and avoid exposing it to direct sunlight or heat. However, if you feel any discomfort or irritation, it’s best to remove the bracelet and give your skin a break.
Q: Can Kids Make Flower Bracelets Too?
A: Yes, this is a fun and easy activity for kids of all ages (with parental supervision). Encourage their creativity by letting them choose their own flowers and colors for their bracelets.
Conclusion
In conclusion, flower bracelets are not only a beautiful accessory but also a fun and easy DIY project. With just a few supplies and some simple steps on how to make flower bracelet, you can create unique and personalized pieces that add a touch of nature and elegance to any outfit.
Whether you’re making them for yourself or as a gift for someone else, flower bracelets are a lovely way to express your creativity and spread joy to others. So gather your materials, follow our step-by-step guide, and enjoy the process of creating your own beautiful flower bracelet.
Professional Focus:
Dedicated to exploring and advancing the intersection of traditional craftsmanship and contemporary design. Specializing in textile arts, woodworking, and mixed media, with a commitment to sustainable practices and the art of upcycling. Focused on creating meaningful connections through craft, empowering individuals to unlock their creativity, and preserving cultural heritage through innovative, hands-on projects.
Vission:
To inspire and empower crafters of all experience levels to unlock their creative potential. Encourages hands-on experimentation, self-expression, and exploration through diverse craft projects.
Education:
- Bachelor of Arts (BA) in Craft and Material Studies – Virginia Commonwealth University.
- Specialized training in various crafting disciplines and material handling.
Recognition:
- Featured in local art exhibits for groundbreaking craft projects
- Partnered with community organizations to host crafting workshops
- Recognized for contributions to sustainable and eco-conscious crafting
Expertise:
Crafting expert with a focus on blending traditional techniques with innovative designs. Specialization:
- Textile arts (weaving, embroidery, fabric dyeing)
- Woodworking and furniture design
- Mixed media and upcycling projects