Are you looking for a fun and easy craft to do with your kids? Making paper spiders is the perfect activity!
How to make paper spider is a fun and easy craft activity that anyone can enjoy, regardless of age or skill level. This project is perfect for room decorations, party favors, or simply as a creative way to spend an afternoon. With just a few materials like paper, scissors, glue, and markers, you can craft an impressive and spooky spider in no time. Additionally, making paper spiders is a great way to encourage creativity and fine motor skills in children.
Follow these simple steps to bring your spider paper craft to life and add a handmade charm to your decorations! Let’s get started!
What Are the Benefits of Making Paper Spiders?
Before we dive into the steps, let’s take a moment to appreciate the benefits of this craft activity.
- It Promotes Creativity: Making paper spiders allows children to use their imagination and create unique designs for their spiders. They can also experiment with different colors and patterns, making each spider one-of-a-kind.
- It Improves Fine Motor Skills: This craft requires cutting, folding, and gluing, which are all great activities for developing fine motor skills in young children.
- It is an Affordable and Eco-friendly Option: Instead of buying plastic or store-bought decorations, you can use materials around your home to create fun and spooky paper spiders. This not only saves money but also reduces waste.
- It is a Fun Activity for the Whole Family: Making paper spiders can be a group activity involving the whole family. It provides an opportunity to bond and spend quality time together while being creative.
Now that we know the benefits of making paper spiders let’s jump into the steps on how to make one!
What Will You Need?
Gather the following materials before you begin:
- Black or colored construction paper
- Scissors
- Glue
- Markers, crayons, or any other coloring supplies
Once you have all the materials ready, it’s time to begin crafting!
9 Easy Steps on How to Make Paper Spider
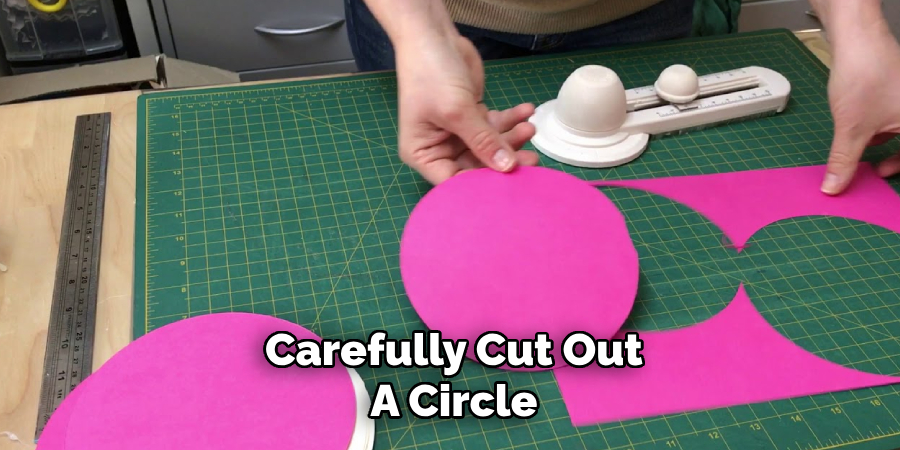
Step 1. Cut a Circle
Using black or colored construction paper, carefully cut out a circle to form the spider’s body. You can use a small cup or any circular object as a guide to draw a perfect circle before cutting. The circle size will determine the spider’s body size, so feel free to adjust based on your preference. If you’re crafting with younger kids, it might be a good idea to help them with the cutting to ensure safety.
Step 2. Create the Legs
To make the spider’s legs, cut eight long, thin strips of paper from black or colored construction paper. The strips should all be roughly the same length and width, but you can adjust the size to match the spider body you created in Step 1. Once the strips are ready, fold each accordion style to give them a fun, bouncy look. This will make the legs appear more animated and lifelike. If you’re working with younger children, they might enjoy personalizing the legs by adding patterns or textures using markers or crayons. After the legs are prepared, set them aside for now, as they will be attached in a later step.
Step 3. Attach the Legs
Using glue or tape, carefully attach the eight paper strips to the back of the circle you cut out earlier. Position the legs evenly around the body to give your spider a balanced and realistic look. Ensure the legs are secure and can be adjusted slightly to create a lifelike pose. This step brings your spider to life with its characteristic eight-legged appearance!
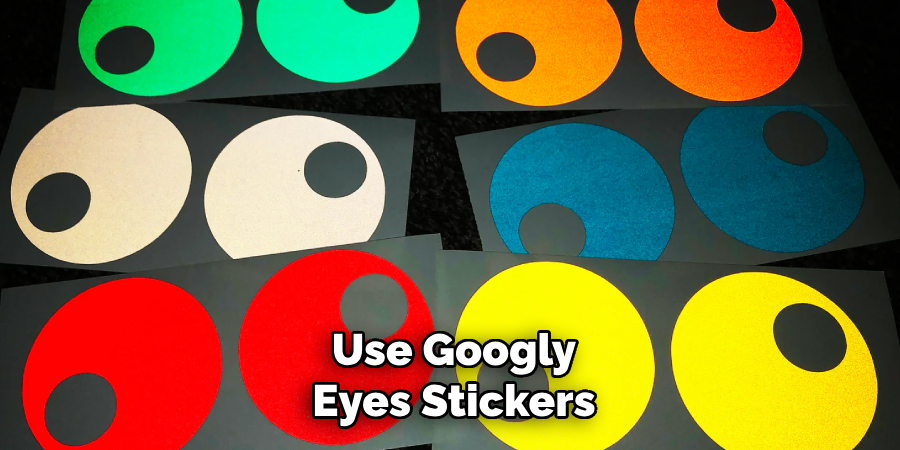
Step 4. Add the Eyes
To give your spider personality, it’s time to add the eyes! Use googly eyes stickers, or simply cut out small circles from paper. Most spiders have multiple eyes, but for this craft, you can choose how many you’d like to add—two, four, or even more! Using glue, attach the eyes to the front of the spider’s body. Experiment with different placements to make your spider look friendly, silly, or spooky. This step gives your creation an expressive and unique character!
Step 5. Decorate Your Spider
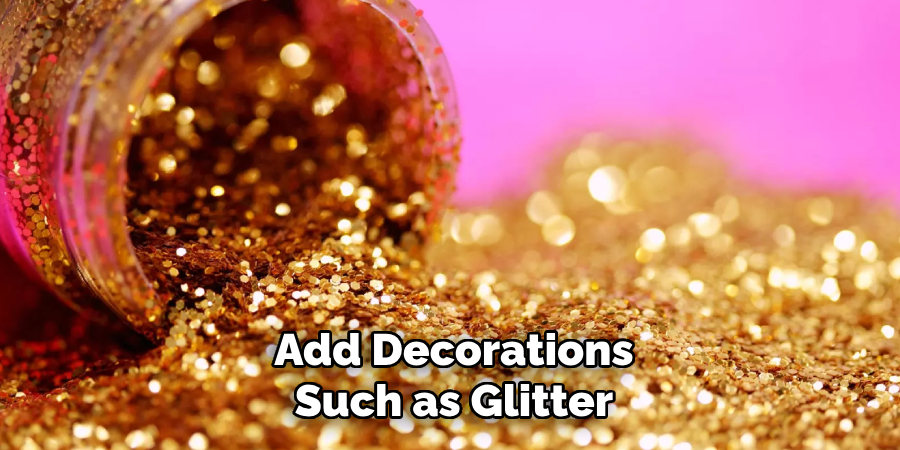
Now it’s time to add some final touches to make your spider stand out! You can decorate the body and legs with markers, glitter, or paint. Add patterns, stripes, or even a bit of sparkle to give your spider a fun or eerie vibe, depending on the theme you’re going for. If you’d like, attach some string to the back to hang your spider as a decoration. This final step lets your creativity shine and completes your spider craft masterpiece!
Step 6. Display Your Spider
Once your spider is fully decorated and the glue or paint has dried, it’s time to show it off! Place your spider on a shelf, a window sill, or as part of a larger Halloween display. If you’ve added string, hang it from the ceiling, a door frame, or even a light fixture to create the illusion of a crawling or dangling spider. Sharing your creations with friends and family is a great way to celebrate your crafty achievement and spread festive cheer or spooky vibes!
Step 7. Share Your Creation
Take a moment to capture your spider craft by snapping a photo! Whether for social media, a DIY blog, or simply to document your project, showing off your handiwork is a fun way to inspire others. Share your creation with a short description of how you made it, or even provide tips for others looking to try. Engaging with others about your craft adds another layer of enjoyment to the experience and allows you to connect with fellow crafters.
Step 8. Clean Up
After completing your spider craft, take the time to tidy up your workspace. Gather any leftover materials, such as fabric scraps, paints, or glue, and store them for future projects. Properly dispose of any debris or waste, and ensure brushes, tools, or containers are cleaned and ready for reuse. A clean workspace not only keeps your crafting area organized but also makes it easier to start your next creative endeavor!
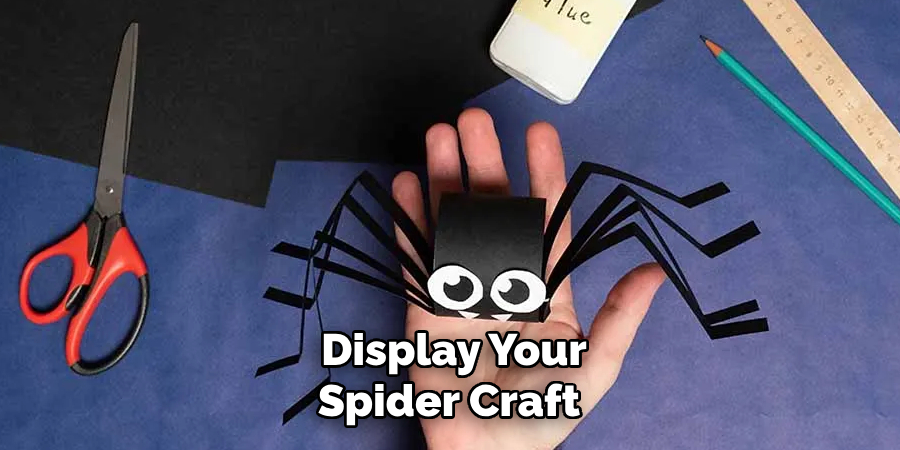
Step 9. Display Your Spider Craft
Now that your spider craft is complete and your workspace is clean find the perfect spot to display your creation! Whether it’s on a shelf, as part of a Halloween centerpiece, or hanging in a window, showcasing your project highlights your effort and creativity. Consider pairing it with complementary decorations to enhance its impact. Displaying your craft allows you to enjoy your daily handiwork, delights guests, and inspires future craft ideas.
By following these 9 easy steps, you and your family can create a variety of paper spiders to decorate your home and celebrate Halloween!
5 Things You Should Avoid
- Using Poor-Quality Paper: Avoid using thin, fragile, or non-durable paper, as it may easily tear during folding or cutting. Opt for a sturdy paper type to ensure your spider has a long-lasting structure.
- Skipping Measurements: Precise measurements are essential to ensure symmetry and accuracy. Skipping this step can result in a misshapen or uneven spider.
- Rushing Through the Process: Hurrying through the steps can lead to mistakes, such as uneven folds or misaligned cuts. Take your time to follow instructions carefully.
- Using Unsharpened Tools: Dull scissors or craft blades can create jagged edges and damage the paper. Always use sharp tools to achieve clean cuts and neat results.
- Ignoring Safety Precautions: Working with sharp tools or adhesives can lead to accidents if you’re not cautious. Make sure to handle tools responsibly and keep your workspace organized.
How Can You Combine Different Spider Designs?
One way to combine different spider designs is by using them as templates or inspiration for your own creation. You can incorporate elements from one design into another, creating a unique and personalized spider.
Another way is by layering different spider designs on top of each other. This can be done by cutting out multiple varying-sized spiders and gluing them together in a stacked formation. This creates a 3D effect and adds depth to your spider.
You can also experiment with different colors and patterns when combining spider designs. Use colored paper or add decorations such as glitter or googly eyes to make each layer stand out.
Lastly, don’t be afraid to get creative and develop your unique combinations. The possibilities regarding paper spider designs are endless, so have fun and let your imagination run wild!
Conclusion
How to make paper spider is a fun and simple craft project that allows you to explore your creativity.
By using basic materials like paper, scissors, and glue, you can craft unique spider designs that suit your preferences. The process is engaging and versatile, from choosing your design and cutting out the shapes to combining various styles and adding decorative touches.
With a little ingenuity, you can turn a simple craft into a delightful activity that adds a playful touch to any occasion. Start crafting today and see how many imaginative paper spiders you can create!
Professional Focus:
Dedicated to exploring and advancing the intersection of traditional craftsmanship and contemporary design. Specializing in textile arts, woodworking, and mixed media, with a commitment to sustainable practices and the art of upcycling. Focused on creating meaningful connections through craft, empowering individuals to unlock their creativity, and preserving cultural heritage through innovative, hands-on projects.
Vission:
To inspire and empower crafters of all experience levels to unlock their creative potential. Encourages hands-on experimentation, self-expression, and exploration through diverse craft projects.
Education:
- Bachelor of Arts (BA) in Craft and Material Studies – Virginia Commonwealth University.
- Specialized training in various crafting disciplines and material handling.
Recognition:
- Featured in local art exhibits for groundbreaking craft projects
- Partnered with community organizations to host crafting workshops
- Recognized for contributions to sustainable and eco-conscious crafting
Expertise:
Crafting expert with a focus on blending traditional techniques with innovative designs. Specialization:
- Textile arts (weaving, embroidery, fabric dyeing)
- Woodworking and furniture design
- Mixed media and upcycling projects