Outdoor metal art can transform any garden, patio, or outdoor space into a visually stunning area that reflects personal style and artistic taste. However, exposure to the elements – such as rain, snow, UV rays, and even pollution – can take a toll on these beautiful pieces, leading to rust, corrosion, and fading over time. Protecting your outdoor metal art is essential to preserving its beauty and longevity.

In this guide on how to protect outdoor metal art, we will explore various methods and tips for safeguarding these artistic treasures from the adversities of outdoor conditions, ensuring they remain as captivating as the day you brought them home.
What is Outdoor Metal Art?
Before we delve into the ways of protecting outdoor metal art, let’s first understand what it is. Outdoor metal art refers to any form of artistic creation made from metal that is designed and intended for display in outdoor spaces. It can come in various forms such as sculptures, wall hangings, garden ornaments, and even furniture. These pieces are usually created using durable metals such as iron, steel, aluminum, and copper, which are suitable for outdoor environments.
Outdoor metal art is a popular choice among homeowners and landscapers due to its aesthetic appeal, durability, and versatility. It can add character to any outdoor space and create a focal point that draws the eye. However, with exposure to various elements, these beautiful pieces require proper protection to maintain their allure.
Why is it Important to Protect Outdoor Metal Art?
Outdoor metal art pieces are not only decorative, but they also serve as a significant investment for many. Properly protecting them can help maintain their value and save you from having to replace them prematurely. Additionally, metal art that is well-maintained will continue to enhance the beauty of your outdoor space for years to come. You can also avoid the hassle and cost of removing rust, repairing damages, and repainting by taking preventive measures to protect your outdoor metal art.
Choosing the Right Metals for Outdoor Art
When it comes to outdoor metal art, not all metals are created equal. Some metals are better suited for outdoor environments than others. For instance, iron and steel are prone to rusting when exposed to moisture, while aluminum is more resistant to corrosion.
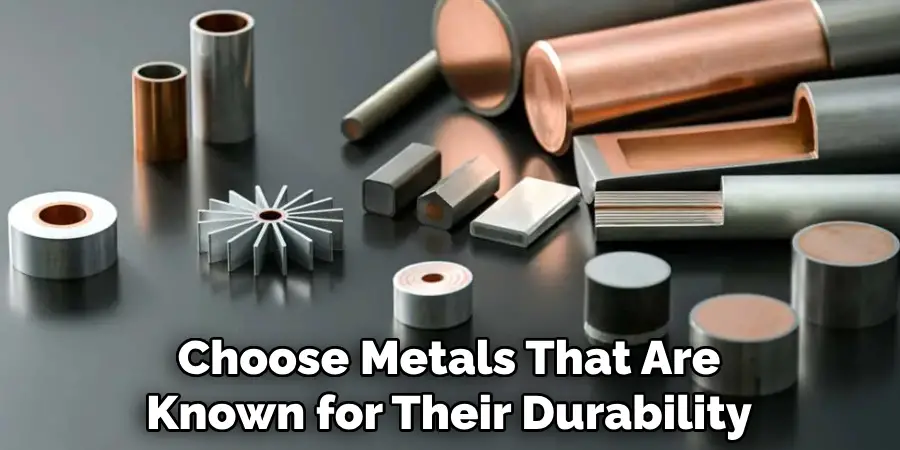
Before purchasing any outdoor metal art pieces, consider the climate in your area and choose metals that are known for their durability in those conditions. Additionally, opt for pieces that have a protective coating such as powder coating or galvanizing, which can help prevent rust and corrosion.
Needed Materials
Protective Coating Such as Powder Coating or Galvanizing:
As mentioned earlier, a protective coating is essential in safeguarding outdoor metal art. Powder coating and galvanizing are two popular options for protecting metals against corrosion and rust.
Powder Coating:
This method involves applying a dry powder onto the metal surface, which is then baked to create a strong and durable finish. It provides excellent resistance against chipping, scratching, fading, and corrosion.
Galvanizing:
This process involves coating the metal with a layer of zinc, creating a barrier between the metal and its environment. Zinc is highly resistant to corrosion, making it an effective method for protecting outdoor metal art.
Sealant:
A sealant can also be used as an additional protective layer over the coating to enhance its durability. Choose a sealant designed for outdoor use and ensure it is compatible with the type of coating used on your metal art.
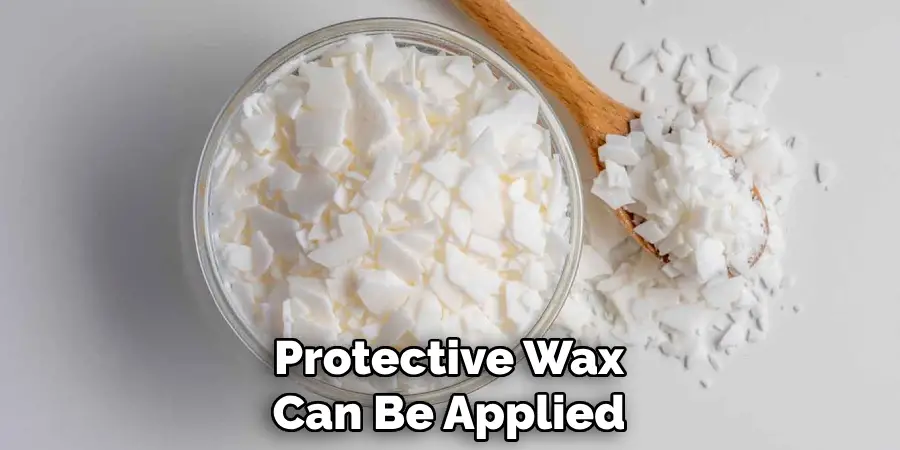
Protective Wax:
For small pieces of metal art, a protective wax can be applied to create a barrier against moisture and UV rays. It also adds shine to the surface, making it look new and vibrant.
10 Step-by-step Guides on How to Protect Outdoor Metal Art
Step 1: Clean the Metal Art
Before applying any protective coating, it’s crucial to clean the metal surface thoroughly. Use a mild detergent and water to remove any dirt, debris, or rust. Rinse with clean water and let it dry completely before moving on to the next step. You can use a soft-bristled brush for hard-to-reach areas. But avoid using abrasive materials that can scratch the surface. The cleaner the metal is, the better the protective coating will adhere.
Step 2: Sand Down Any Rust or Corrosion
If there are any visible signs of rust or corrosion, use sandpaper to gently remove them before cleaning. This step is essential to ensure a smooth surface for the protective coating to adhere. This will also prevent any further corrosion and preserve the metal art’s appearance. You can use a rust converter to help neutralize the rust and prevent it from spreading. Although not necessary, this step can greatly improve the effectiveness of your protective measures. But make sure to let it dry completely before moving on to the next step.
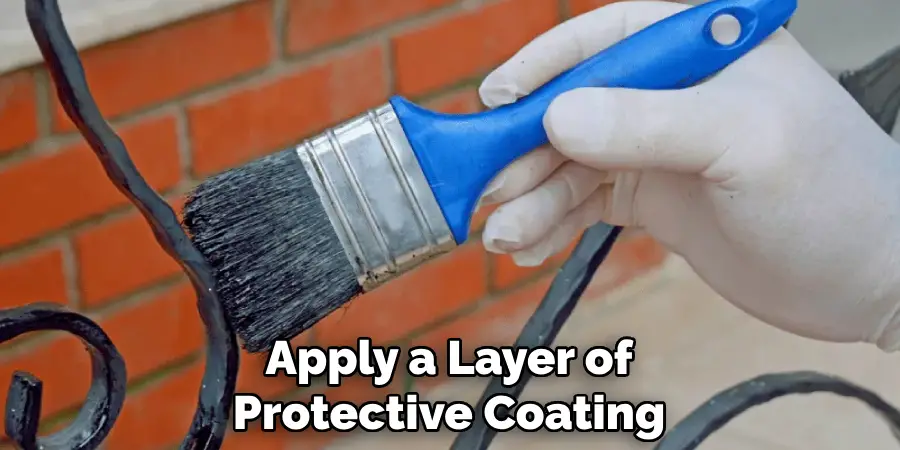
Step 3: Apply Protective Coating
After preparing the metal surface, apply a layer of protective coating using a brush or spray. Ensure that you cover all areas, including corners and hard-to-reach spots. Two coats are usually recommended for optimal protection. Allow each coat to dry completely before applying the next one. Follow the manufacturer’s instructions for drying time and any other specific guidelines. It’s best to do this step in a well-ventilated area. You can also consider wearing protective gear such as gloves and a mask to avoid inhaling any fumes.
Step 4: Let the Coating Cure
After applying the final coat of protective coating, let it cure for at least 24 hours before handling or moving the metal art. This will ensure that the coating is fully bonded with the metal surface and is ready to withstand outdoor conditions. The curing time may vary depending on the type of coating used, so make sure to follow the instructions provided. You can also check the coating’s dryness by lightly touching it to see if it is still tacky. It should feel dry to the touch before moving on to the next step. You can also let it cure for longer if you want to ensure maximum protection.
Step 5: Apply Sealant (Optional)
If desired, you can apply a sealant over the protective coating for added durability. Follow the manufacturer’s instructions for application and curing time. Make sure that the sealant is compatible with the type of coating used. You can also use a sealant specifically designed for outdoor metal art. But keep in mind that this step is not necessary if you have already used a high-quality protective coating. It is more suitable for larger and heavily exposed pieces of metal art.
Step 6: Apply Protective Wax (Optional)
For small metal art pieces, you can apply a layer of protective wax for added protection and shine. Use a soft cloth to buff the wax on the surface, following the manufacturer’s instructions. This will create an additional barrier against moisture and UV rays, prolonging the life of your metal art. It will also add a glossy finish, making your art pieces stand out in your outdoor space. You can reapply wax every few months to maintain the protection and shine. The frequency of waxing will depend on the level of exposure to outdoor elements.
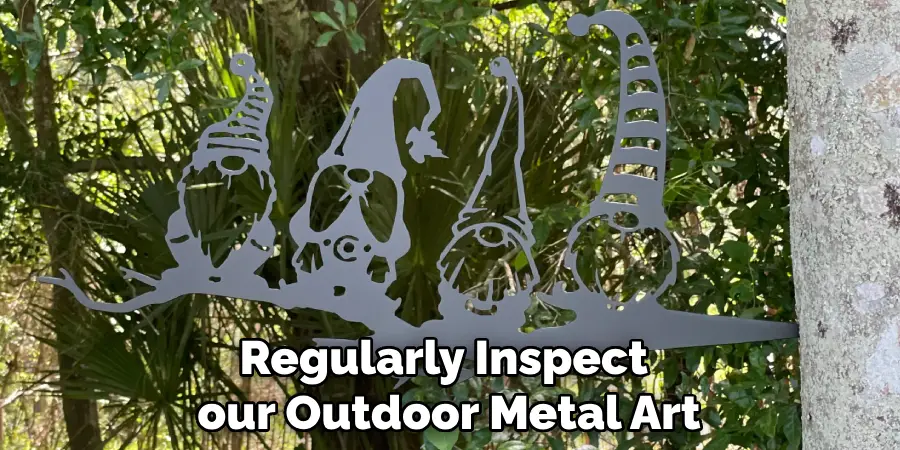
Step 7: Inspect Regularly
Even with protective measures in place, it’s essential to regularly inspect your outdoor metal art for any signs of wear or damage. Check for any areas where the coating may have worn off, exposing the metal to potential rust and corrosion. Address these areas promptly by reapplying a protective coating and wax if necessary. But remember to clean and prepare the surface again before doing so. It’s also a good idea to inspect after severe weather conditions, such as heavy rain or strong winds, which can cause damage.
Step 8: Keep It Away from Harsh Elements
When possible, try to keep your metal art away from harsh outdoor elements such as direct sunlight, extreme temperatures, and heavy rain. These can all affect the durability of your protective measures and cause damage to the metal surface over time. If you have larger pieces of metal art, consider moving them to a sheltered area during severe weather conditions. You can also use outdoor furniture covers to protect smaller pieces from direct exposure. However, remember to remove the cover regularly for proper ventilation and to prevent moisture buildup.
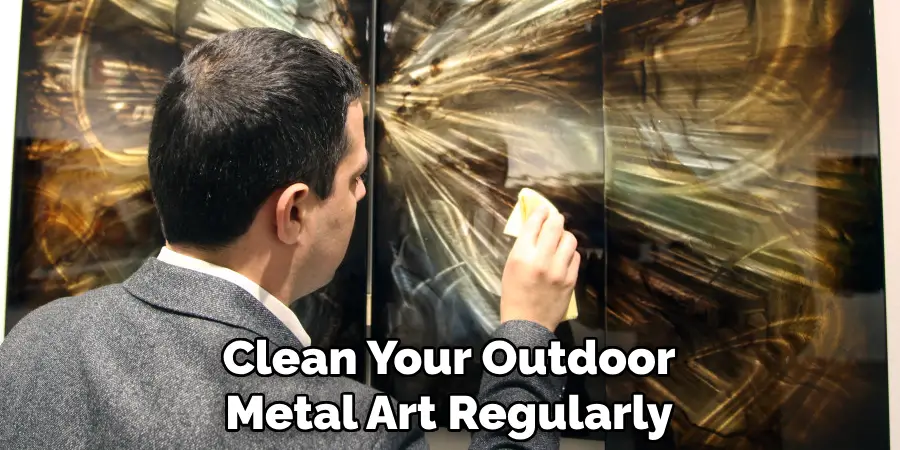
Step 9: Clean Regularly
In addition to regular inspections, it’s also crucial to clean your outdoor metal art regularly. This will help remove any dirt and debris that can accumulate and potentially damage the protective coating over time. Use a mild detergent and water solution to gently clean the surface, avoiding abrasive materials or harsh chemicals that can strip off the protective layer. Rinse with clean water and let it dry completely before inspecting and reapplying any protective measures if needed. There are also specific metal cleaners available in the market that you can use for deep cleaning. Always follow the manufacturer’s instructions for best results.
Step 10: Enjoy Your Outdoor Metal Art
With proper maintenance and protective measures in place, your outdoor metal art can withstand the test of time and continue to enhance your outdoor space for years to come. Regular cleaning and inspections will ensure that it remains in great condition, allowing you to enjoy its beauty without worrying about potential damage or wear. So sit back, relax, and let your metal art be a stunning addition to your outdoor living space. Remember to follow these steps periodically to maintain its quality and keep it looking as good as new.
Following these steps on how to protect outdoor metal art will not only protect your metal art but also preserve its appearance and value. With proper care, your outdoor metal art can be a long-lasting and eye-catching feature in your outdoor space. So don’t hesitate to invest time and effort into maintaining it, and you’ll enjoy the beauty of your metal art for many years to come. Keep creating and adding new pieces to your collection, and enjoy the endless possibilities of outdoor metal art. The sky’s the limit! Happy crafting!
How Much Could It Cost?
The cost of protecting your outdoor metal art will depend on the size and complexity of the pieces, as well as the type of protective measures used. However, it’s a worthwhile investment to ensure the longevity and beauty of your metal art. The cost can range from a few dollars for small pieces up to hundreds of dollars for larger or custom-made pieces. Remember that investing in high-quality protective coatings and other measures will save you money in the long run by avoiding potential damage and repairs.
It’s also essential to factor in the value that your metal art adds to your outdoor space, making it a valuable investment for both aesthetic and practical purposes. So don’t skimp on the protection of your outdoor metal art – it’s worth every penny!
Tips for Protecting Outdoor Metal Art
Here are some essential tips to help you safeguard your outdoor metal art from the elements:
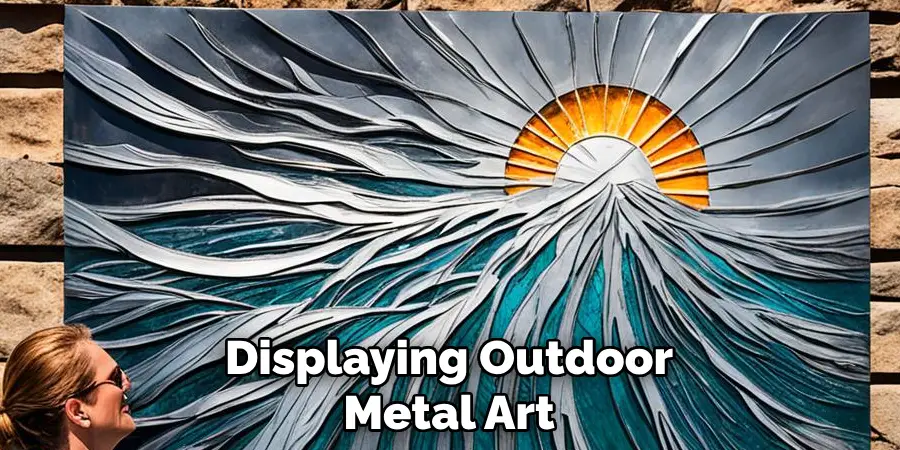
Choose a Suitable Location:
When displaying outdoor metal art, it is crucial to consider its placement carefully. Avoid placing metal art in areas that are prone to direct sunlight, excessive moisture, or high winds. Instead, choose a spot that provides some shade and protection from the elements.
Apply a Protective Coating:
One of the most effective ways to protect outdoor metal art is by applying a protective coating. There are various options available, such as clear lacquer or polyurethane sealant, which can provide a barrier against moisture and UV rays. Make sure to clean and dry the metal surface before application for better adhesion.
Regularly Clean and Maintain:
Regular cleaning is essential to prevent dirt, dust, and grime from building upon the metal surface. Use a mild soap or cleaner specifically designed for outdoor metal surfaces. Avoid harsh chemicals or abrasive materials that can scratch or damage the metal.
Keep an Eye Out for Rust:
Rust is a common problem with outdoor metal art. Inspect your pieces regularly for any signs of rust and address them immediately to prevent further corrosion. You can remove small patches of rust using fine-grade sandpaper and then apply a protective coating over the area. For larger rust spots, seek professional help.
Protect from Extreme Weather:
During harsh weather conditions, it is best to protect your outdoor metal art by either bringing them indoors or covering them with a tarp or cloth. This will prevent any damage from heavy rain, snow, or extreme winds.
Store Properly during Winter:
If you live in an area with harsh winters, it is essential to properly store your outdoor metal art during the off-season. Clean and dry them thoroughly before storing them in a dry, indoor space to avoid exposure to moisture.
Frequently Asked Questions
Q: Can Outdoor Metal Art Be Left Out in the Rain?
A: While most outdoor metal art can withstand light rain, it is best to avoid prolonged exposure to moisture as it can cause rust and corrosion. You can protect your metal art by applying a protective coating and storing it during heavy rain.
Q: How Often Should Outdoor Metal Art Be Cleaned?
A: It is recommended to regularly clean outdoor metal art every few months or more frequently if you notice a buildup of dirt and grime. You can also give them a quick wipe-down after heavy rain or winds.
Q: Is It Necessary to Seal Outdoor Metal Art?
A: Sealing outdoor metal art is not necessary, but it can provide an extra layer of protection against the elements. It can also enhance the color and shine of your metal art. This is especially important for pieces that are constantly exposed to moisture.
Q: Can I Use Household Cleaners to Clean Outdoor Metal Art?
A: It is best to use cleaners specifically designed for outdoor metal surfaces. Household cleaners can be too harsh and cause damage to the metal. It is also important to avoid abrasive materials that can scratch the metal surface.
Q: How Do I Know If My Outdoor Metal Art Needs to Be Repaired?
A: Regularly inspect your outdoor metal art for any signs of rust, damage, or wear. If you notice any issues, it is best to address them immediately before they worsen. Seek professional help for larger repairs or if you’re unsure how to fix the problem.
Conclusion
In conclusion, maintaining the integrity and beauty of your outdoor metal art requires a proactive approach to protection against the elements. By employing a combination of regular maintenance, protective coatings, strategic placement, and occasional touch-ups, you can ensure that your artistic investments endure through the seasons.
Remember, the effort you put into preserving your outdoor art will reflect in its lasting beauty and the continued enhancement of your outdoor spaces. Treat these pieces as you would any cherished possession, and they will reward you with enduring visual pleasure and a unique expression of your personal style. Thanks for reading this article on how to protect outdoor metal art.
About the Author
Adrien Rowe, an expert in knitting, fiber arts, and bookbinding, promotes sustainability and creativity through workshops and tutorials. Passionate about education and community, he inspires crafters of all levels to learn, share, and grow in a supportive, idea-driven environment.
Professional Focus
Specializes in advanced knitting techniques, fiber manipulation, and textile innovation.
Expert in book arts, including cotton papermaking, handmade paper techniques, and bookbinding.
Dedicated to educating and inspiring crafters of all skill levels through tutorials, workshops, and hands-on learning experiences.
Passionate about creating a supportive community where makers can share ideas, learn, and grow.
Education History
Rhode Island School of Design (RISD) – Bachelor of Fine Arts (BFA) in Textiles.
University of Iowa Center for the Book – Master of Fine Arts (MFA) in Book Arts.
Expertise:
Advanced knitting, fiber manipulation, papermaking, bookbinding, sustainability-focused crafting, educational workshops, creative tutorials, and fostering a supportive maker community.